This table…(shakes head) … this table, it belonged to my husband’s Nana which translates into, “We are never getting rid of it” I’ve had tried numerous time to get a new coffee table and have been met with a “No” from Jerry. It was a regular brown coffee table when we got together. I thought it had met it’s demise a few years back when my husband and a friend crashed into it. Wrong!, Jerry screwed it right back together. So, since we can’t let it go, at least we can make it more unique.

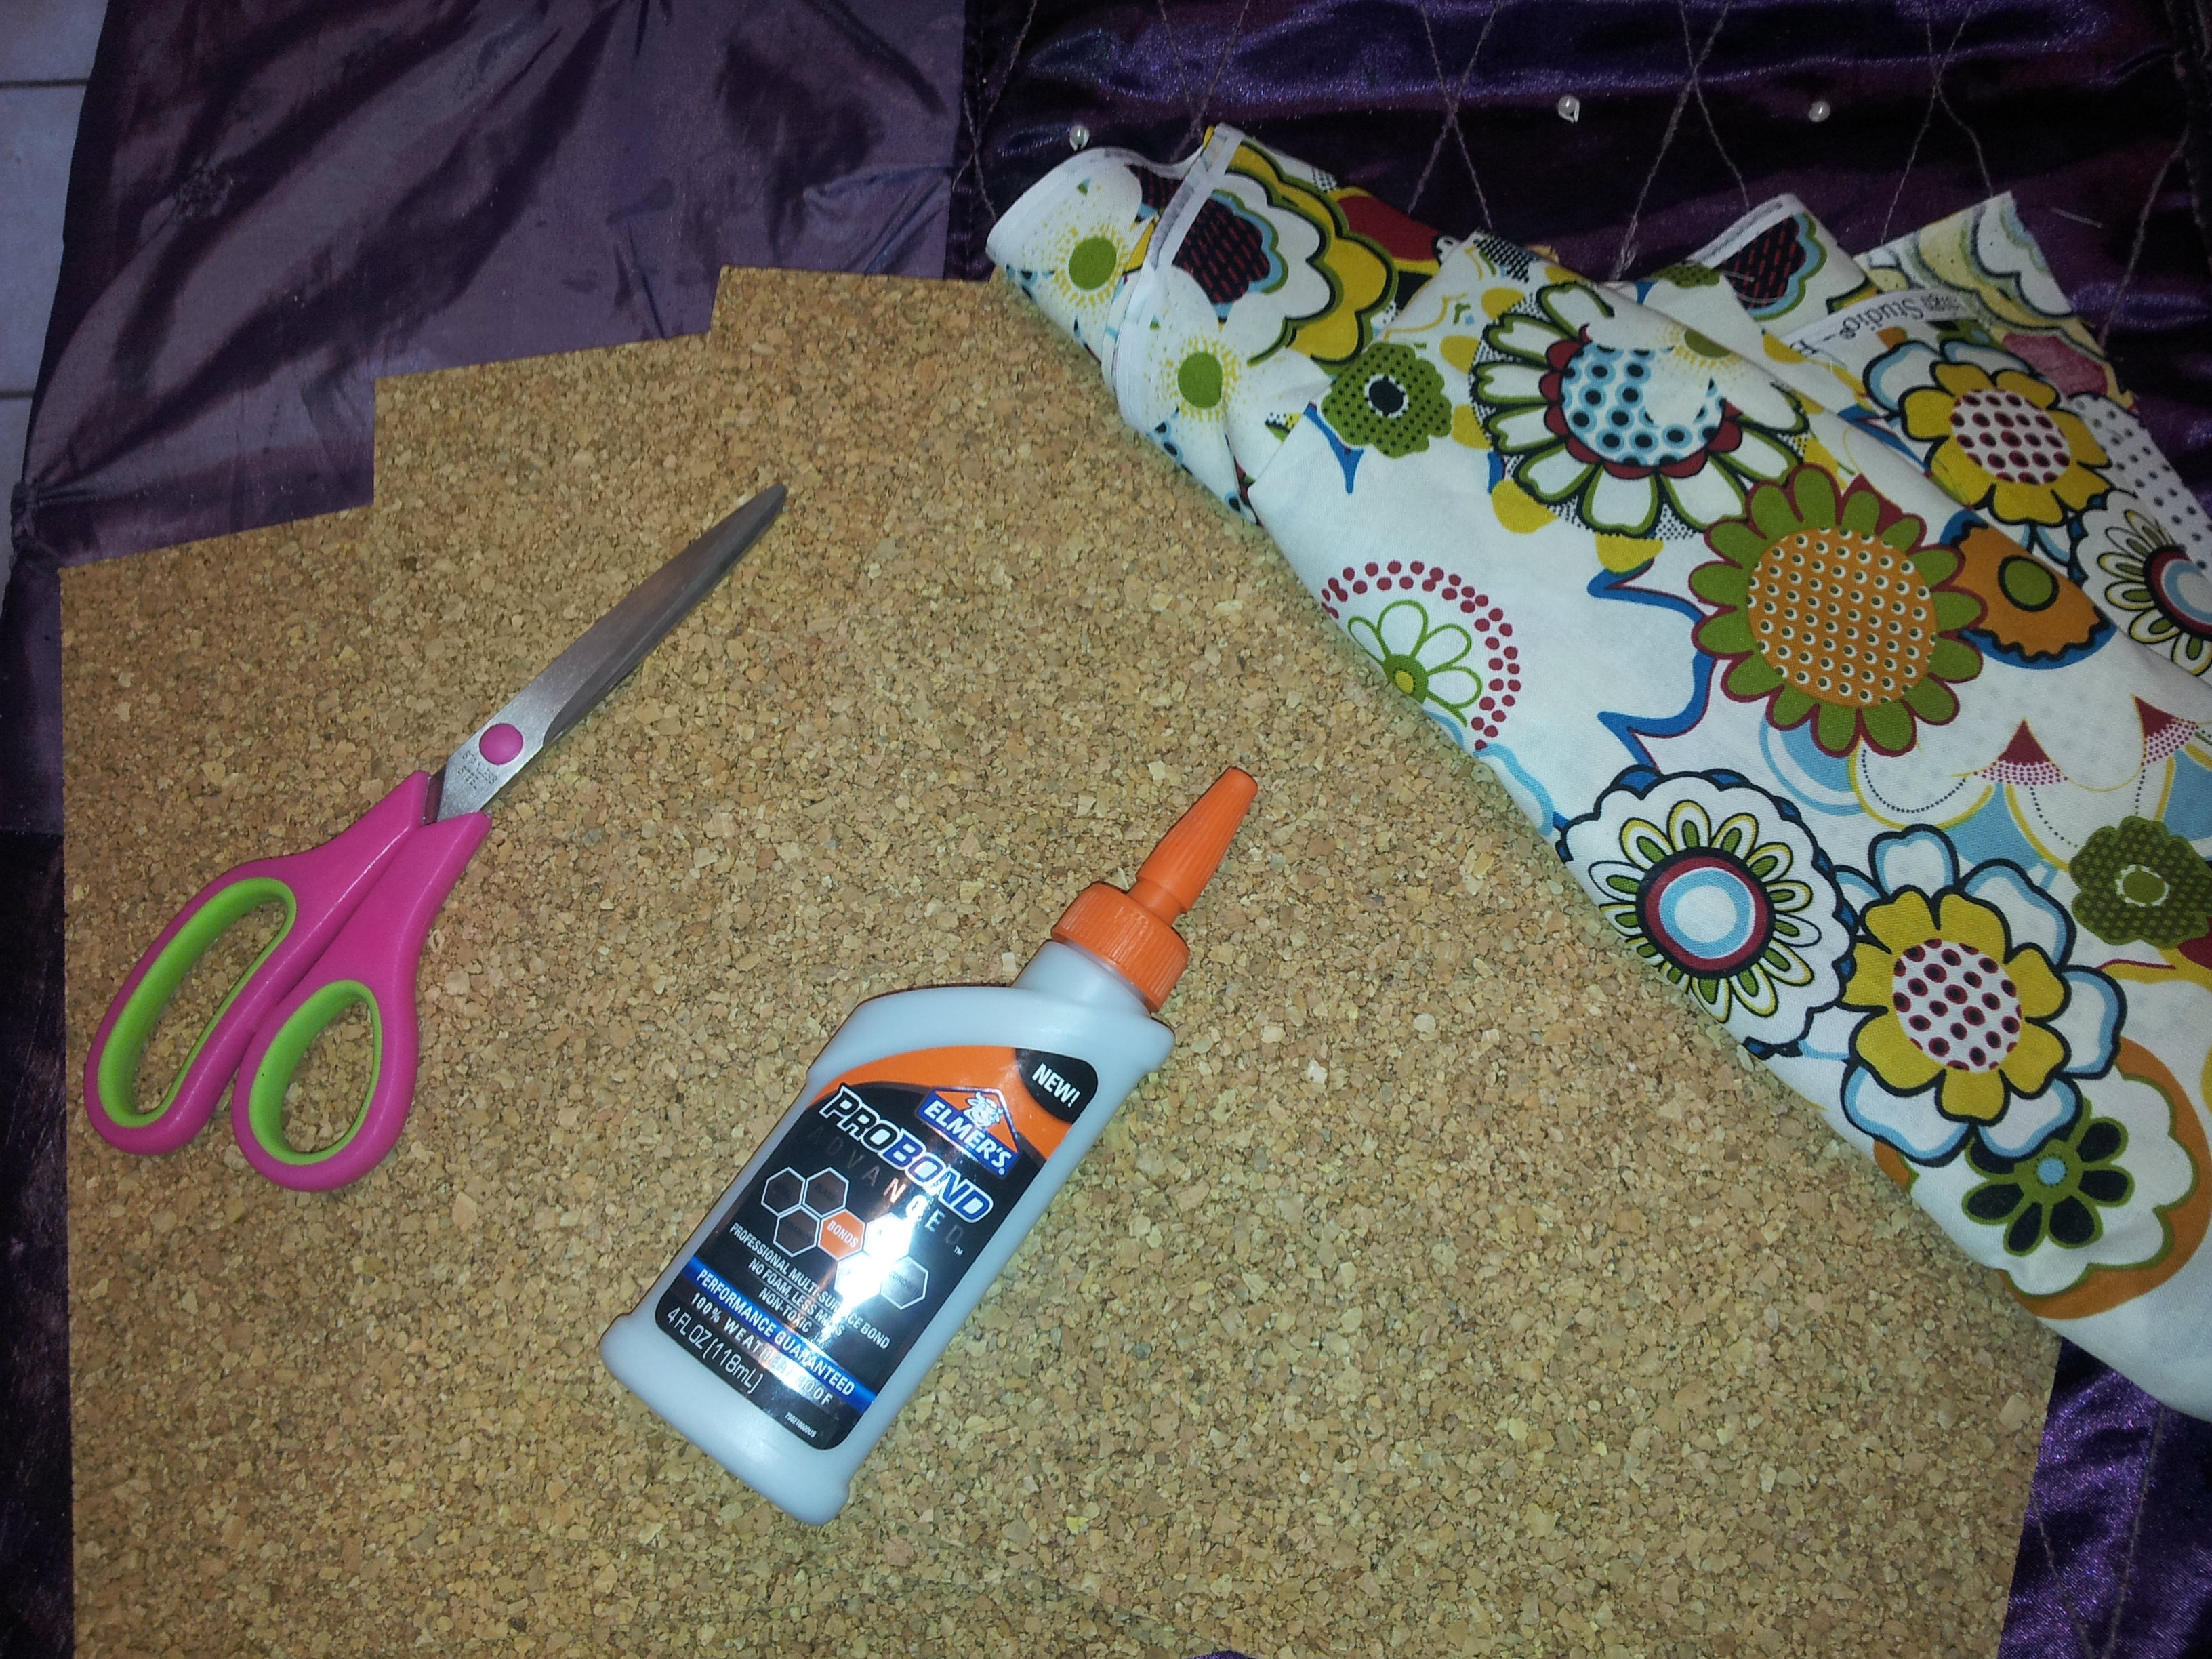
All you need for this project is:
a Surface (coffee table in this case)
Elmer’s Pro bond advanced or equivalent, must bond metal to wood
Martha Stewart Copper Metallic Glaze or equivalent, an acrylic copper will work as well.
Black spray paint your choice of gloss or flat
Polyurethane clear gloss
Pennies, pennies, pennies!!!
Just to go ahead and warn you, you are going to need more pennies than you think. I chose this project because I assumed “Oh! pennies! how cheap this will be!” After my first visit to the bank for $5 in pennies I discovered I was wrong. In all, I estimate $15 in pennies. Not my cup of tea AT ALL!!!
This project in all including paint, pennies, and polyurethane I estimate at around $25. Still cheaper than a new table. I was given the Martha Stewart paint by my sister so FREE! Already had the Elmer’s on hand as well.


This is what we started with. I painted the table a sherbet orange a year or so ago. This was after a slight sanding.
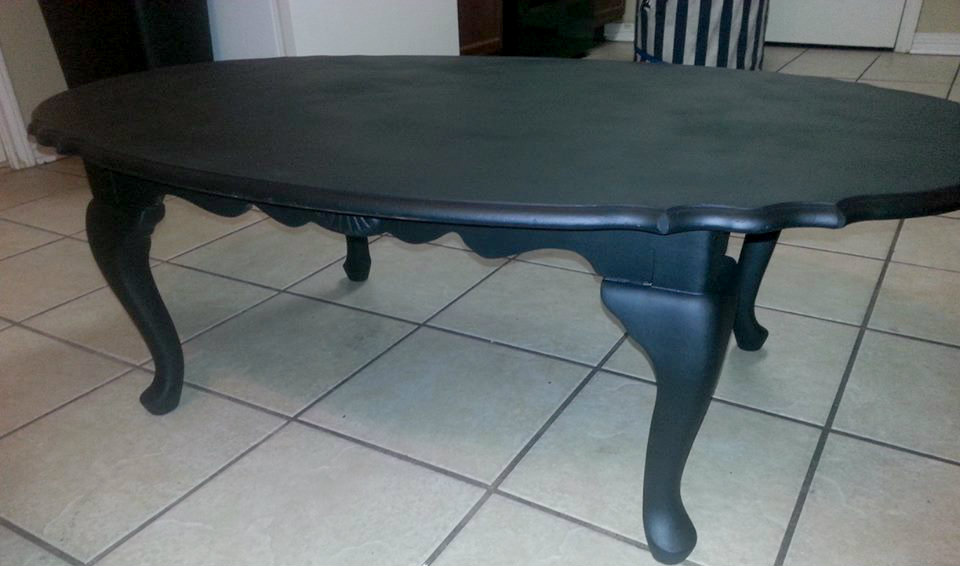
Step 1: Paint entire piece your base color; I chose black. Let dry

Step 2: using you glaze or equivalent, cover whatever surface your placing your pennies. This will make it look like a more cohesive piece. The gaps in between will not stand out as much. Also if your working with an odd shape like I was, this will make your edges look much more uniform.


I used an old blush brush to make swirly patterns. Almost left it like this; was very pretty. I just wanted some texture in my life though, so I continued.

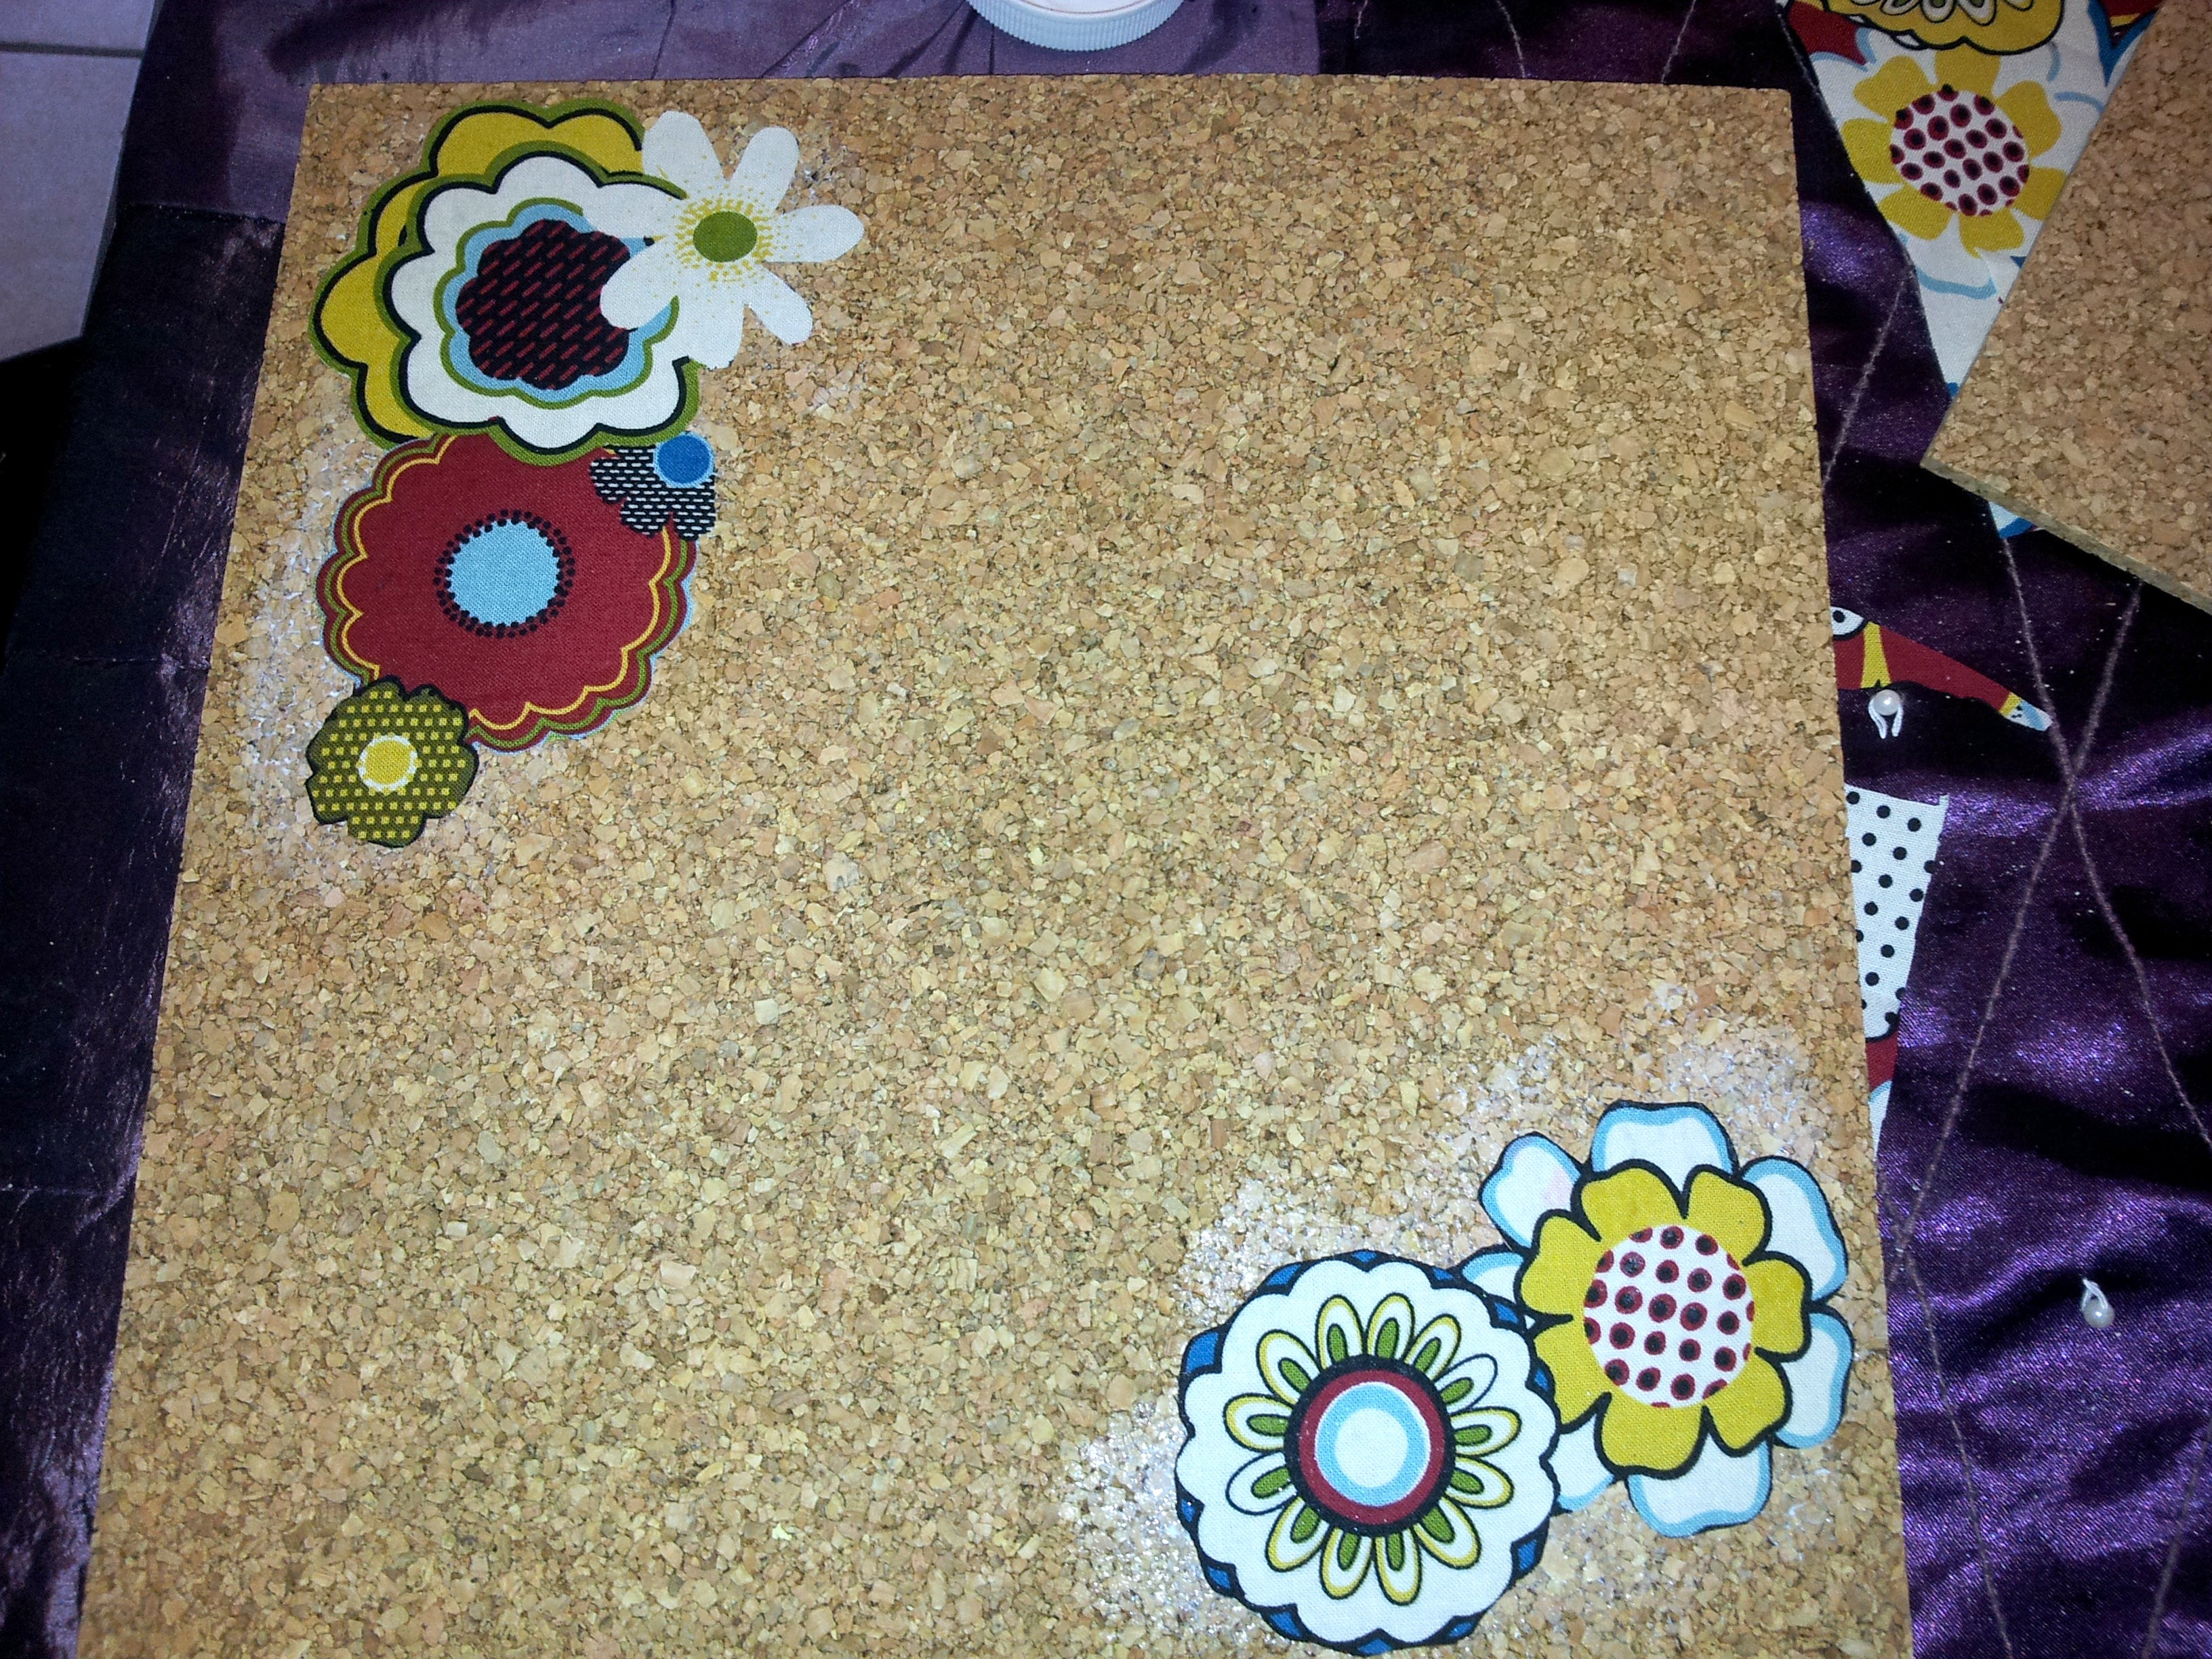
Step 3: using the Elmer’s advanced bond start placing your pennies in a stagger pattern for maximum coverage. If you are working with a odd shape, like this table, it will be your call on how far to let pennies overhang. Some rows will line up perfectly with the edge while others will have a gap or leave your penny hanging over. Totally up to you what you do with it. This is the reason I applied the copper. The copper base makes these edge gaps less noticeable.
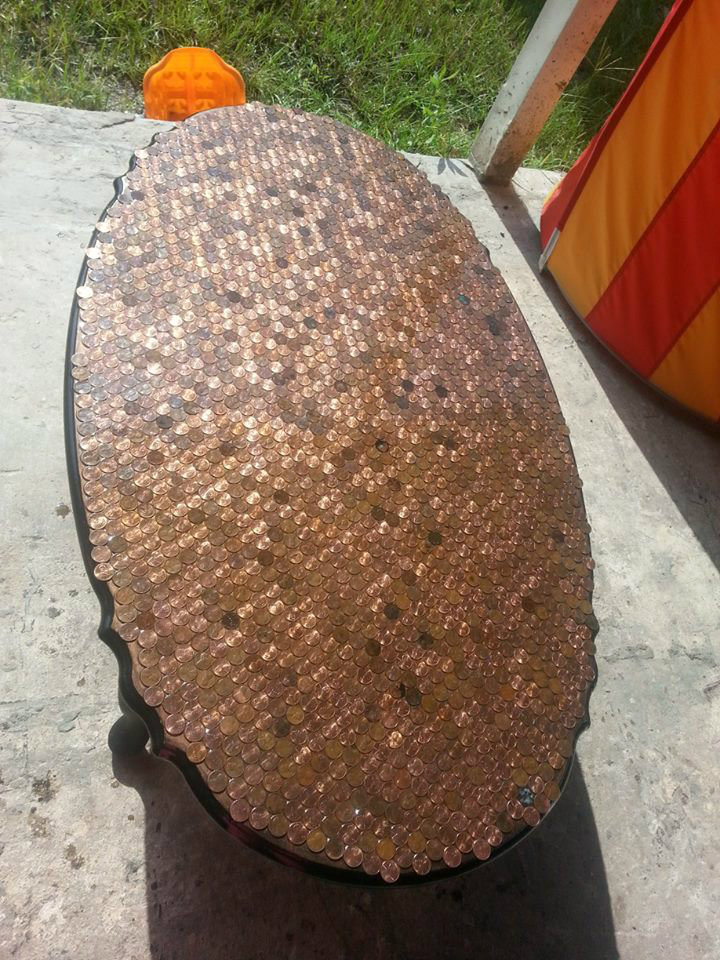
My completely filled table. 15 stinking dollars later! Don’t fret, Gluing them down is much quicker than you think, even a little fun.

Step 4: You want to apply this for numerous reasons. It will protect the pennies from turning colors, avoid them coming off the table from wear, and seal the cracks for easy cleaning. To apply, literally pour the contents of the can into the center of the table. Using a wide paint brush or sponge, work the coat outward to the edges. You may need more or less to completely fill the cracks for a smooth surface area. For a very smooth finish, buy 2 cans. Repeat this step again after table had completely dried with second can of polyurethane.
This will take anywhere from 24-48 hours to dry. I left mine outside for the first 36 hours. The nearly drowning humidity kept it from drying completely so I had to confine it to a bedroom away from toddler hands overnight to finish the drying process. Seriously though, the humidity here is so bad you almost need scuba gear to breathe in the yard.

Step 5: Enjoy table! Mine will get an extra coat of polyurethane I’m sure eventually. I LOVE the wet look it gives it!

Isn’t it lovely?

Paxton saw the camera and waned to “cheese” for Mama.
BONUS!!!

Add pennies in any pattern to a cheap piece of dollar store glass. I think they sell them for candle stands. Got this one for $0.25. It’s a new coaster for my fancy table.
Enjoy!
Related articles
- 10 Great Coffee Table Alternatives (forbes.com)
- The Art of Coffee Tables (epicahome.com)
- Coffee Table (reclaimedandrestored.wordpress.com)