
While looking For a project to use my “cute ugly” fabric on, I decided I not only wanted but needed a shoulder bag for running in and out with my kids. I currently tote a big ole back pack full of everything I could possible need to survive a nuclear attack.
Problem was, I couldn’t find anything but pdf patterns, usually at a steep price also. My printer is currently on deaths door which means pdf is out of the question. So I looked at a few pictures and decided to wing it. I have outlines every detail and I assure you this is a beginner project! I am a beginner myself.

You need: 1/2 yard Main Fabric
1/2 yard lining/complementing fabric
1/3 yard fusible interfacing
2 med-large metal rings
2 small metal rings (optional for adjustable strap)
THATS ONE YARD OF FABRIC!!! Hells yeah!
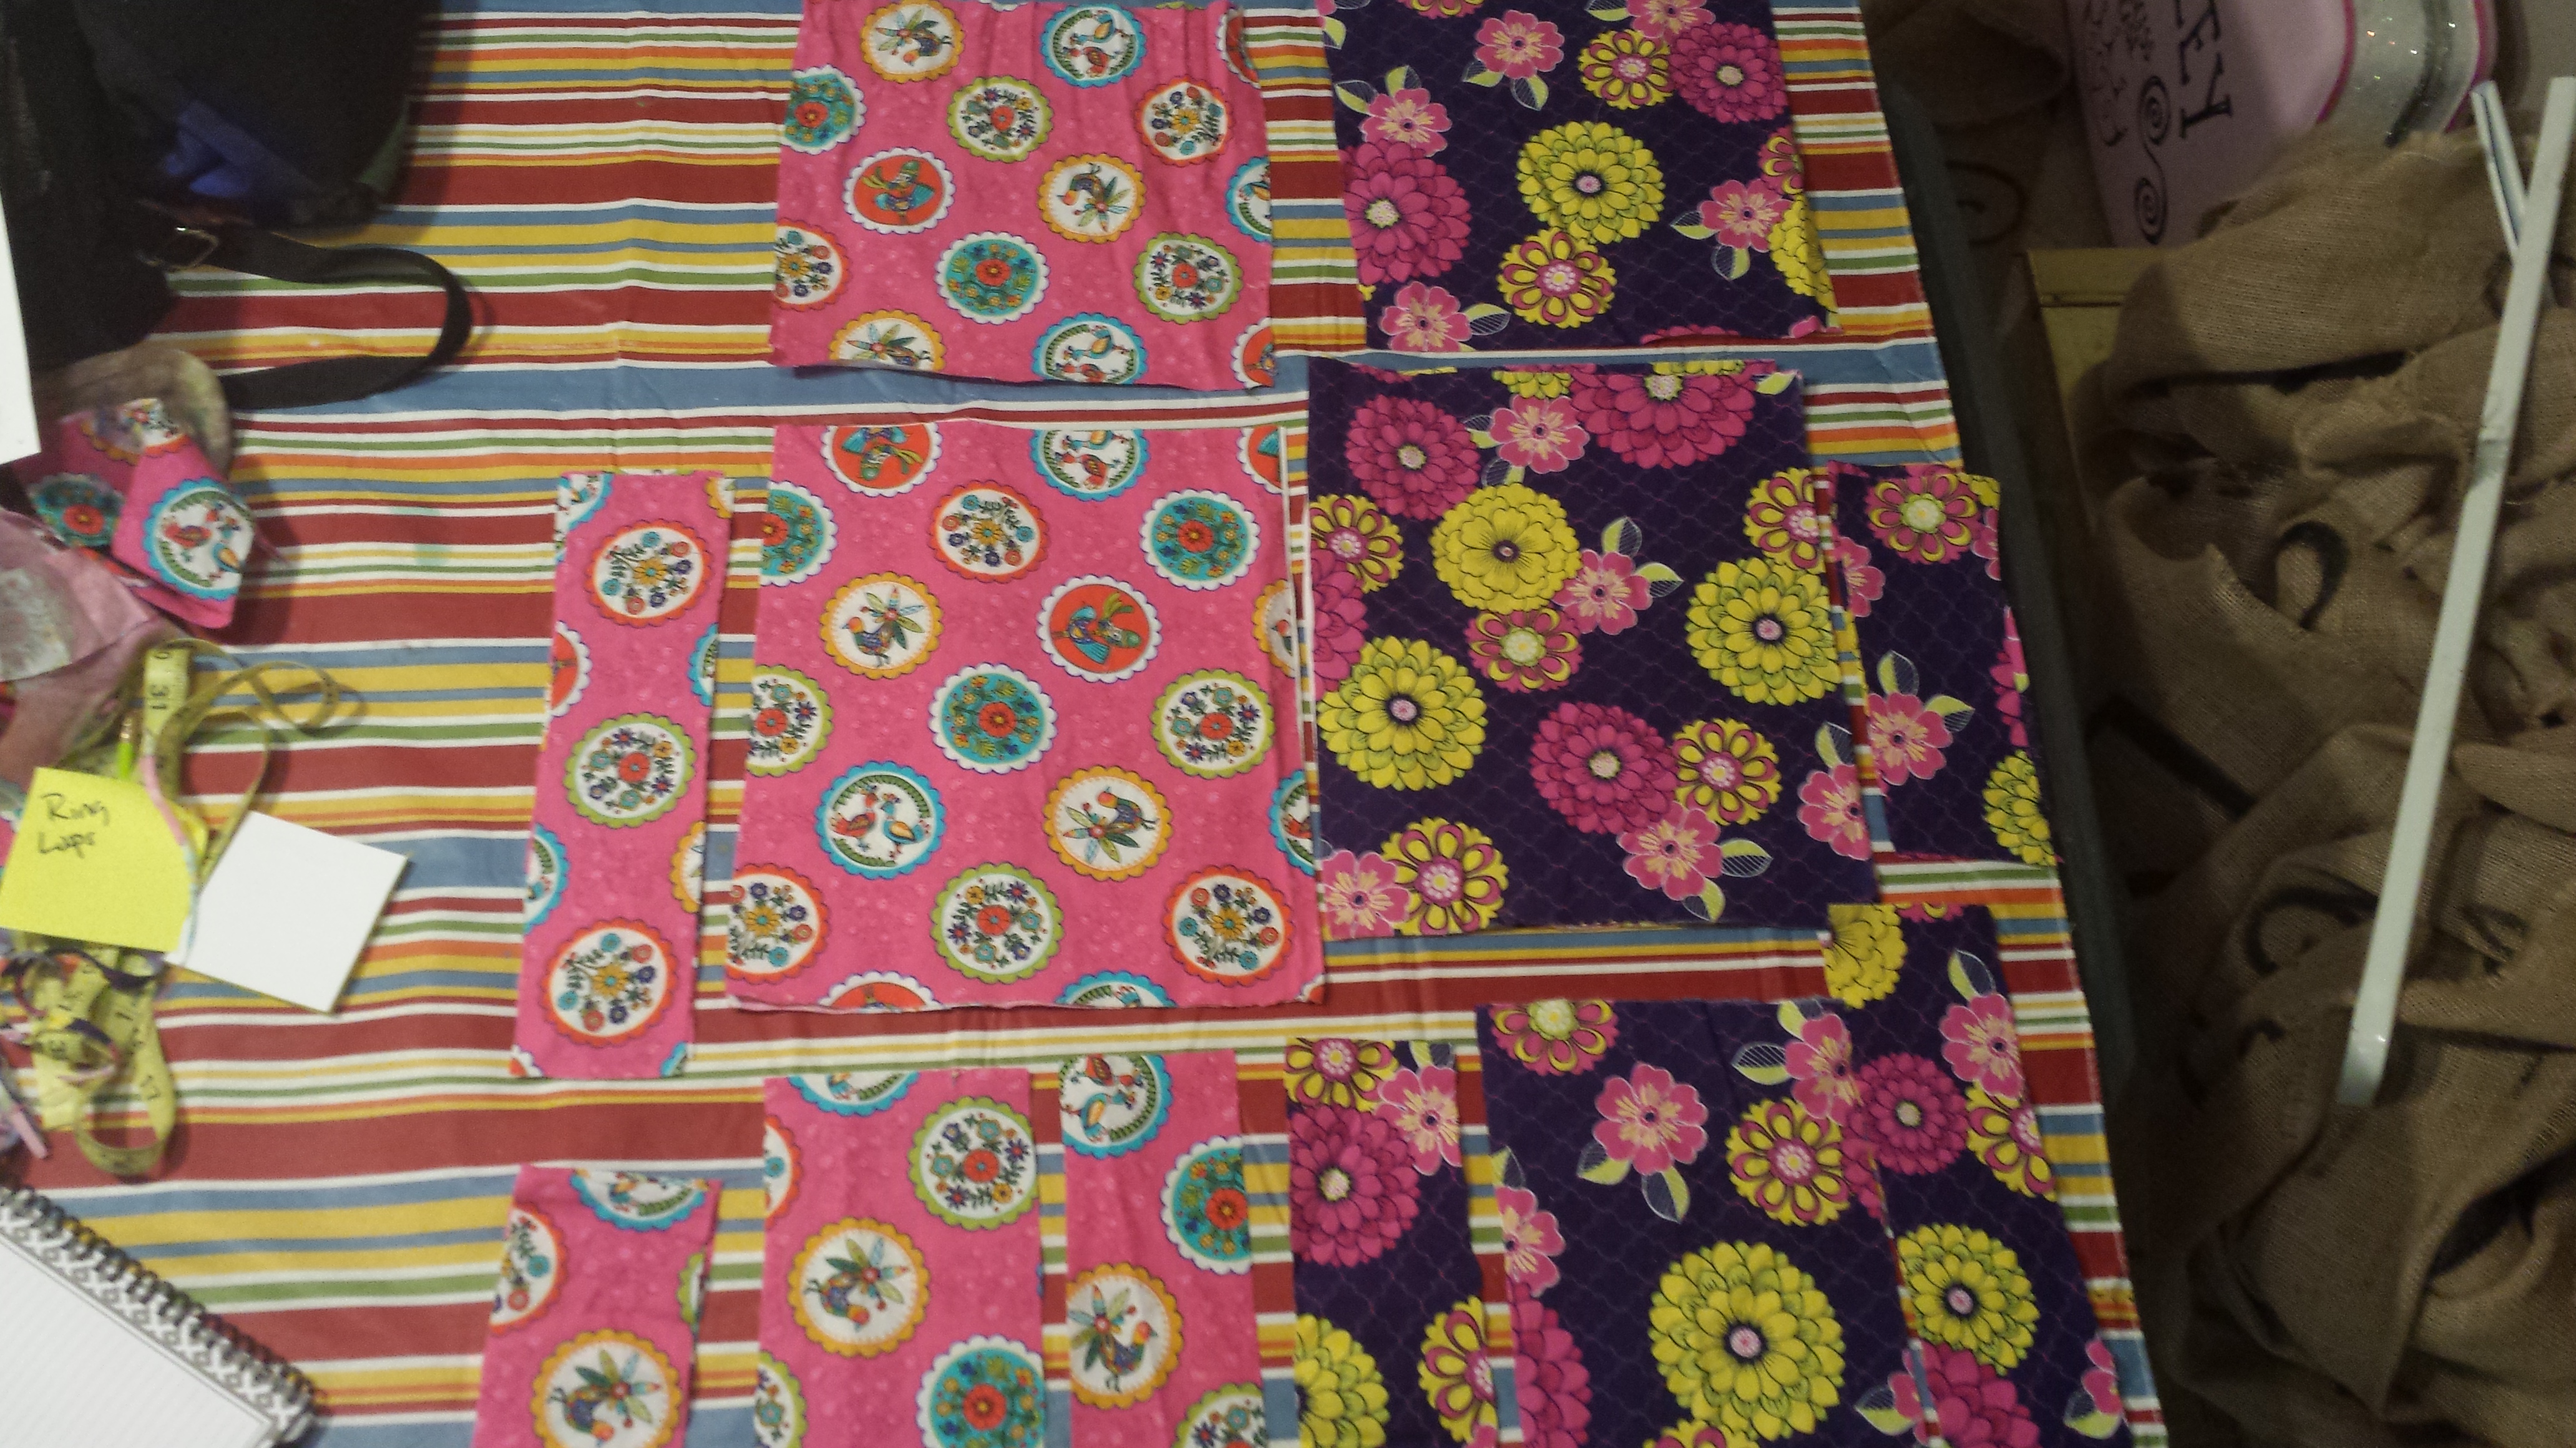
No pattern needed, just the following square and rectangle cuts:
Main Fabric
(2) 10″x 12″
(2) 12″x 3.5″
(2) 3.5″x 8″
(1) 10″x 10″
(1) 10″x 6.5″
(1) 10″x 3.5″
Lining Fabric
(2) 10″x 12″
(2) 12″x 3.5″
(2) 3.5″x 8″
(1) 10″x 10″
(1) 10″x 8.5″
(1) 10″ x 3.5″
Interfacing
(2) 10″x 12″
(1) 10″x 10″
I use old newspapers to draw and cut my squares and rectangles to use as patterns, much easier than retracing every shape.
Keep ALL scraps!!!
Should look something like this.
Firstly attach your fusible interfacing to the 10″x 10″ and both 12″x 10″ pieces of lining fabric
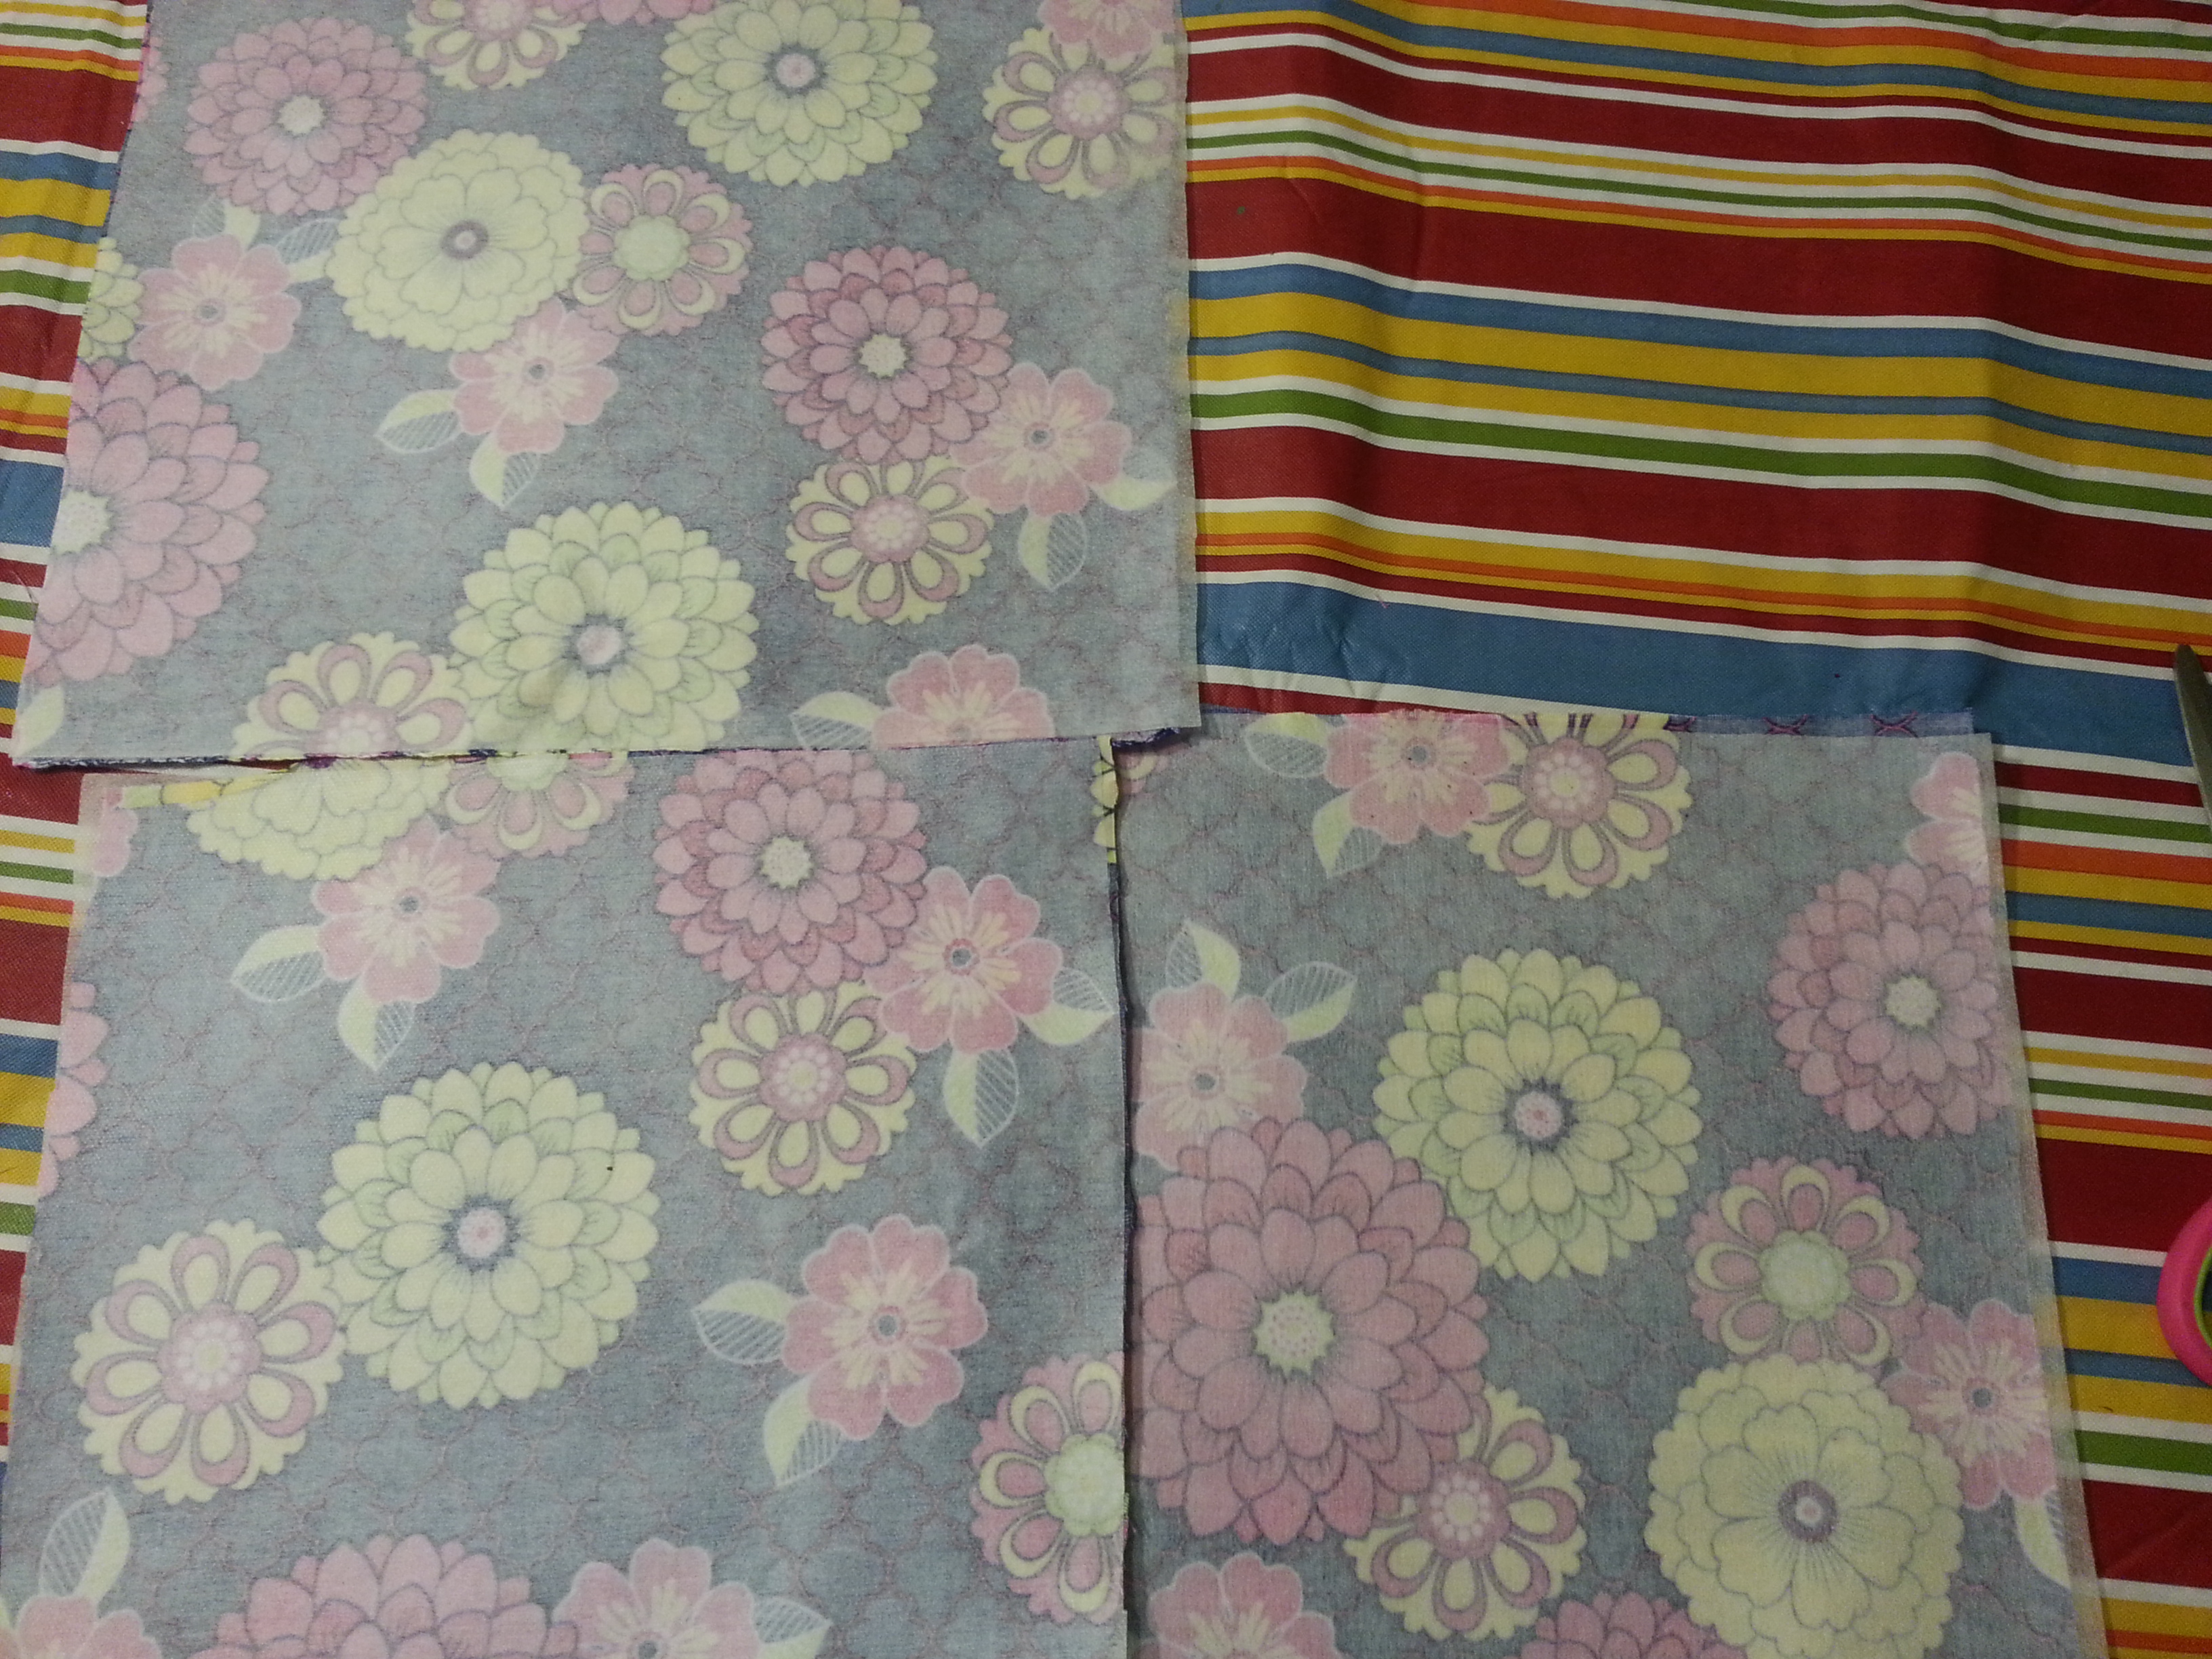
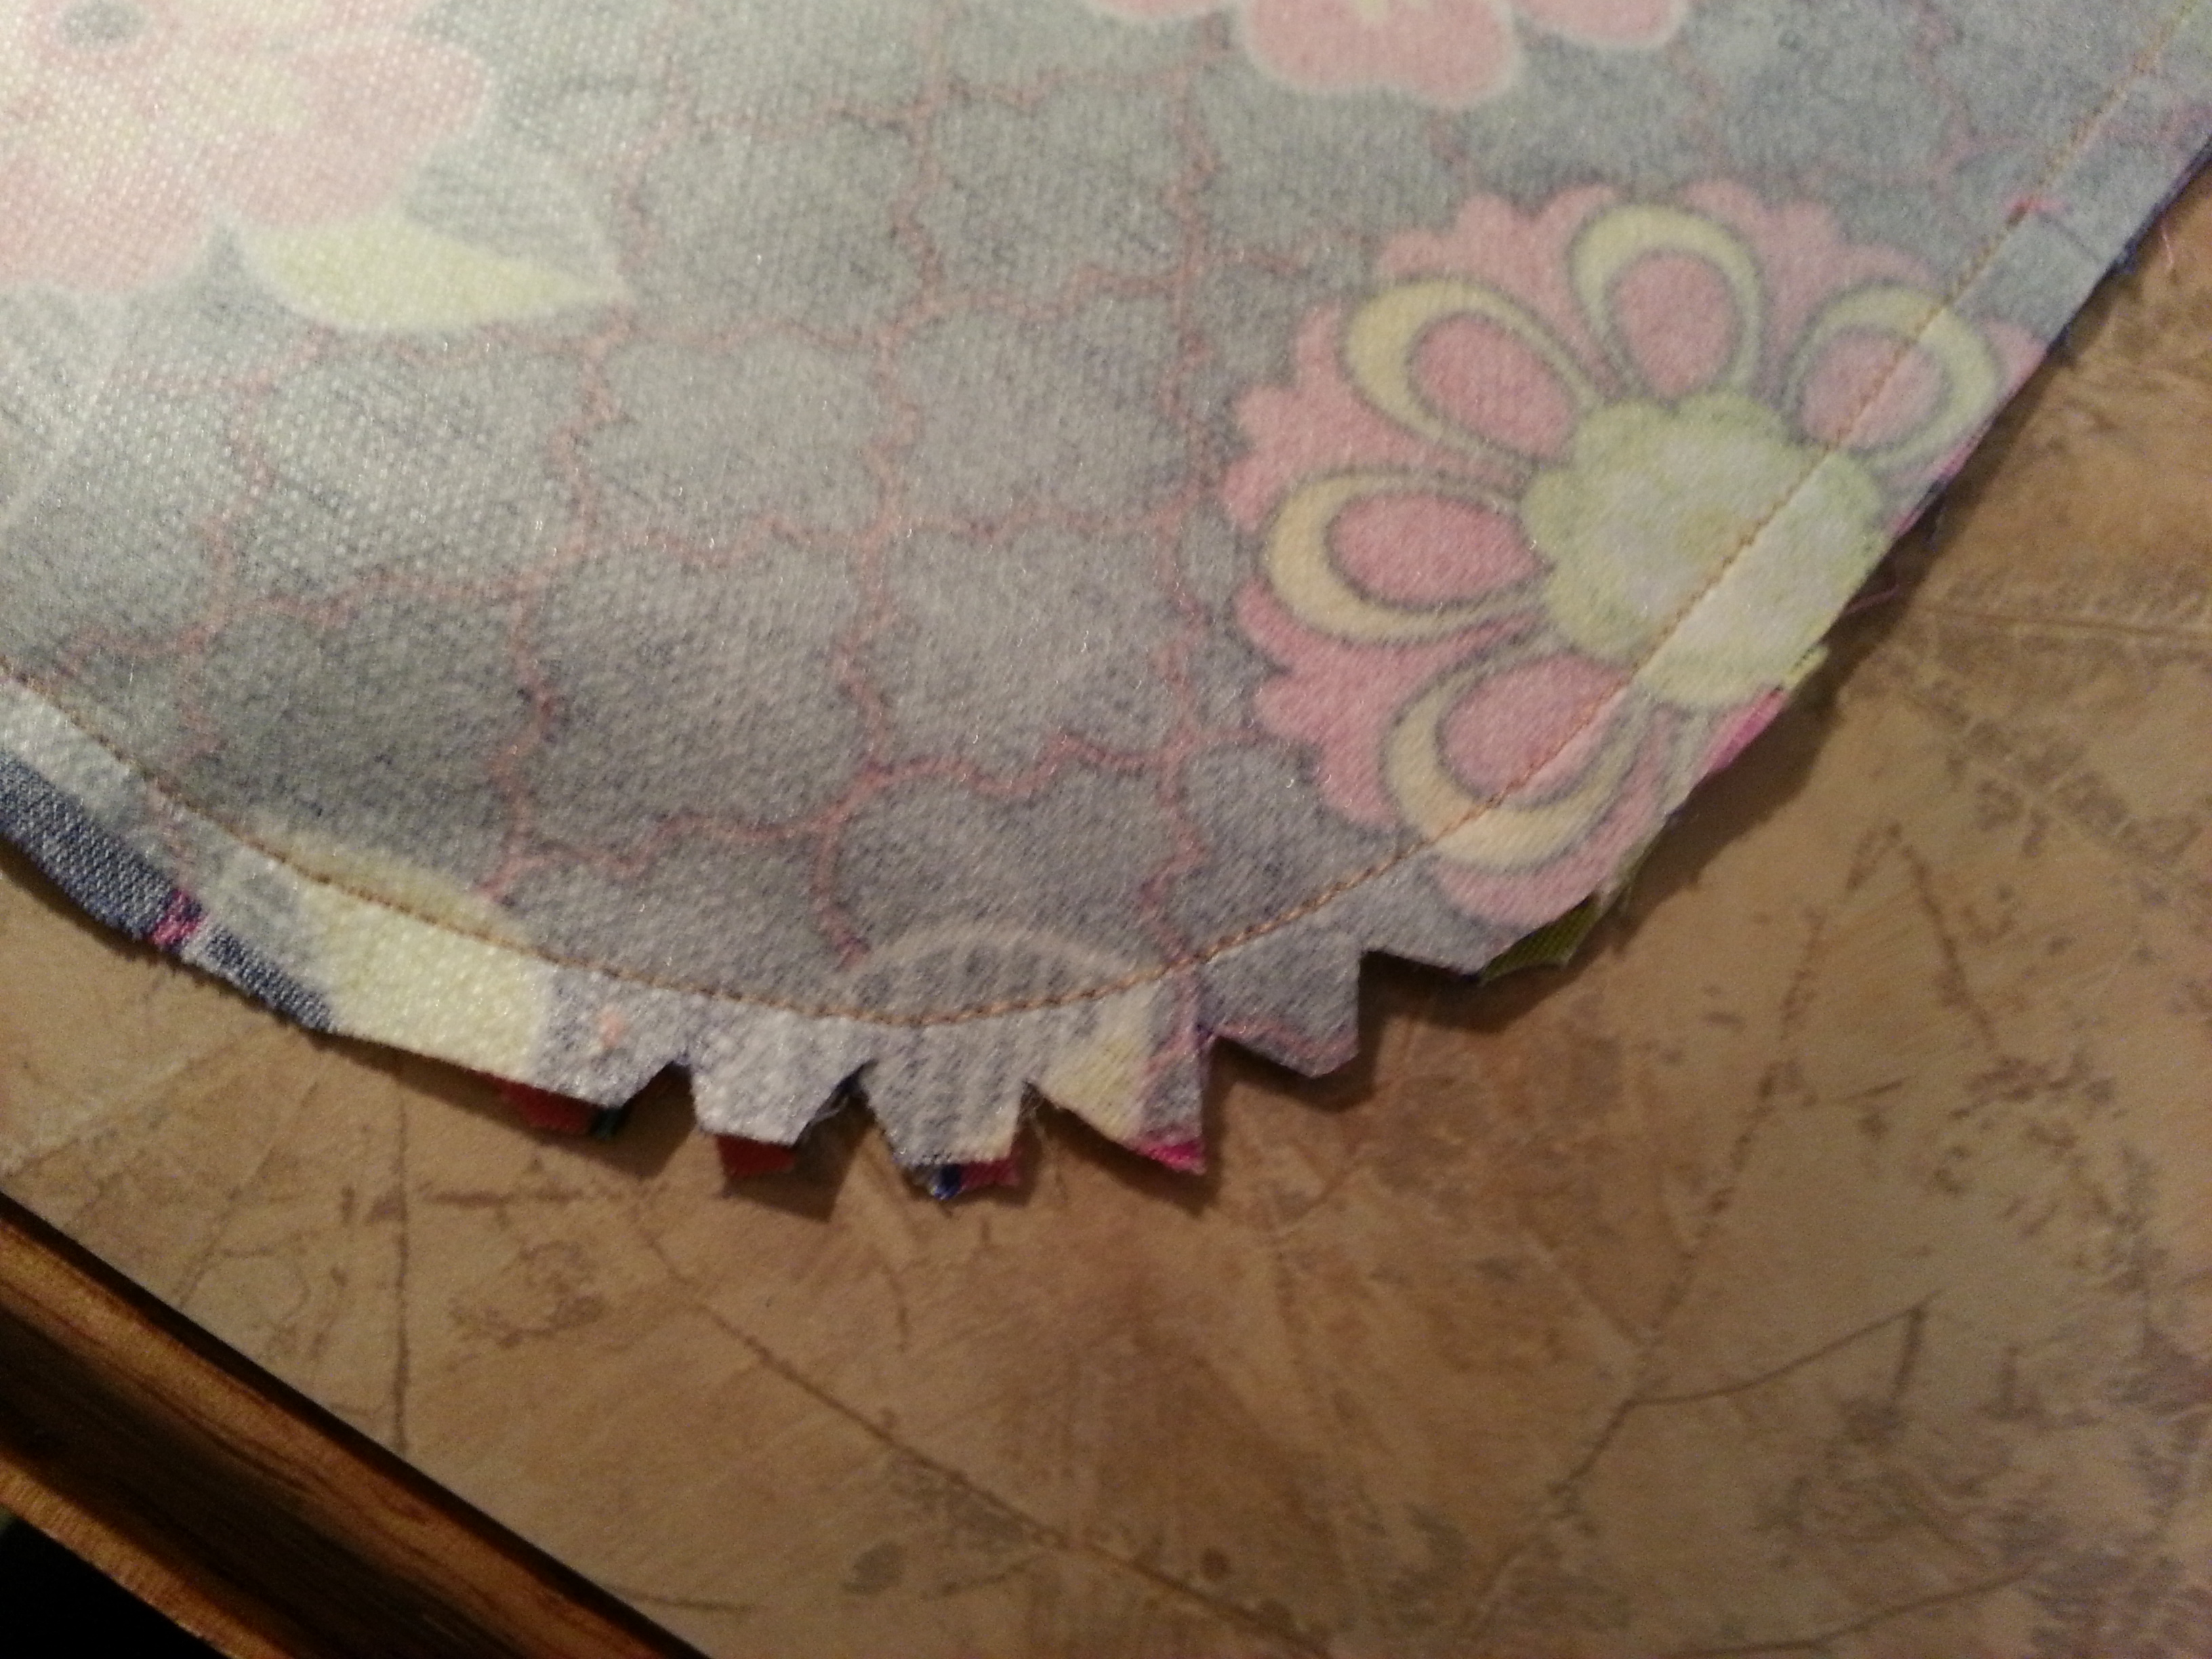
Round the corners of both your 10″x 10″ squares like so…
You can do this by putting them together then folding in half. If you are not confident in your free cut, trace a cup or lid to get a perfect rounded guide line.
Now, place both pieces right sides together. Sew along both sides and around curved ends, leaving the straight side opposite your curved edged open. snip notches into the curve of the fabric to prevent bunching. Be careful not to cut your seam.
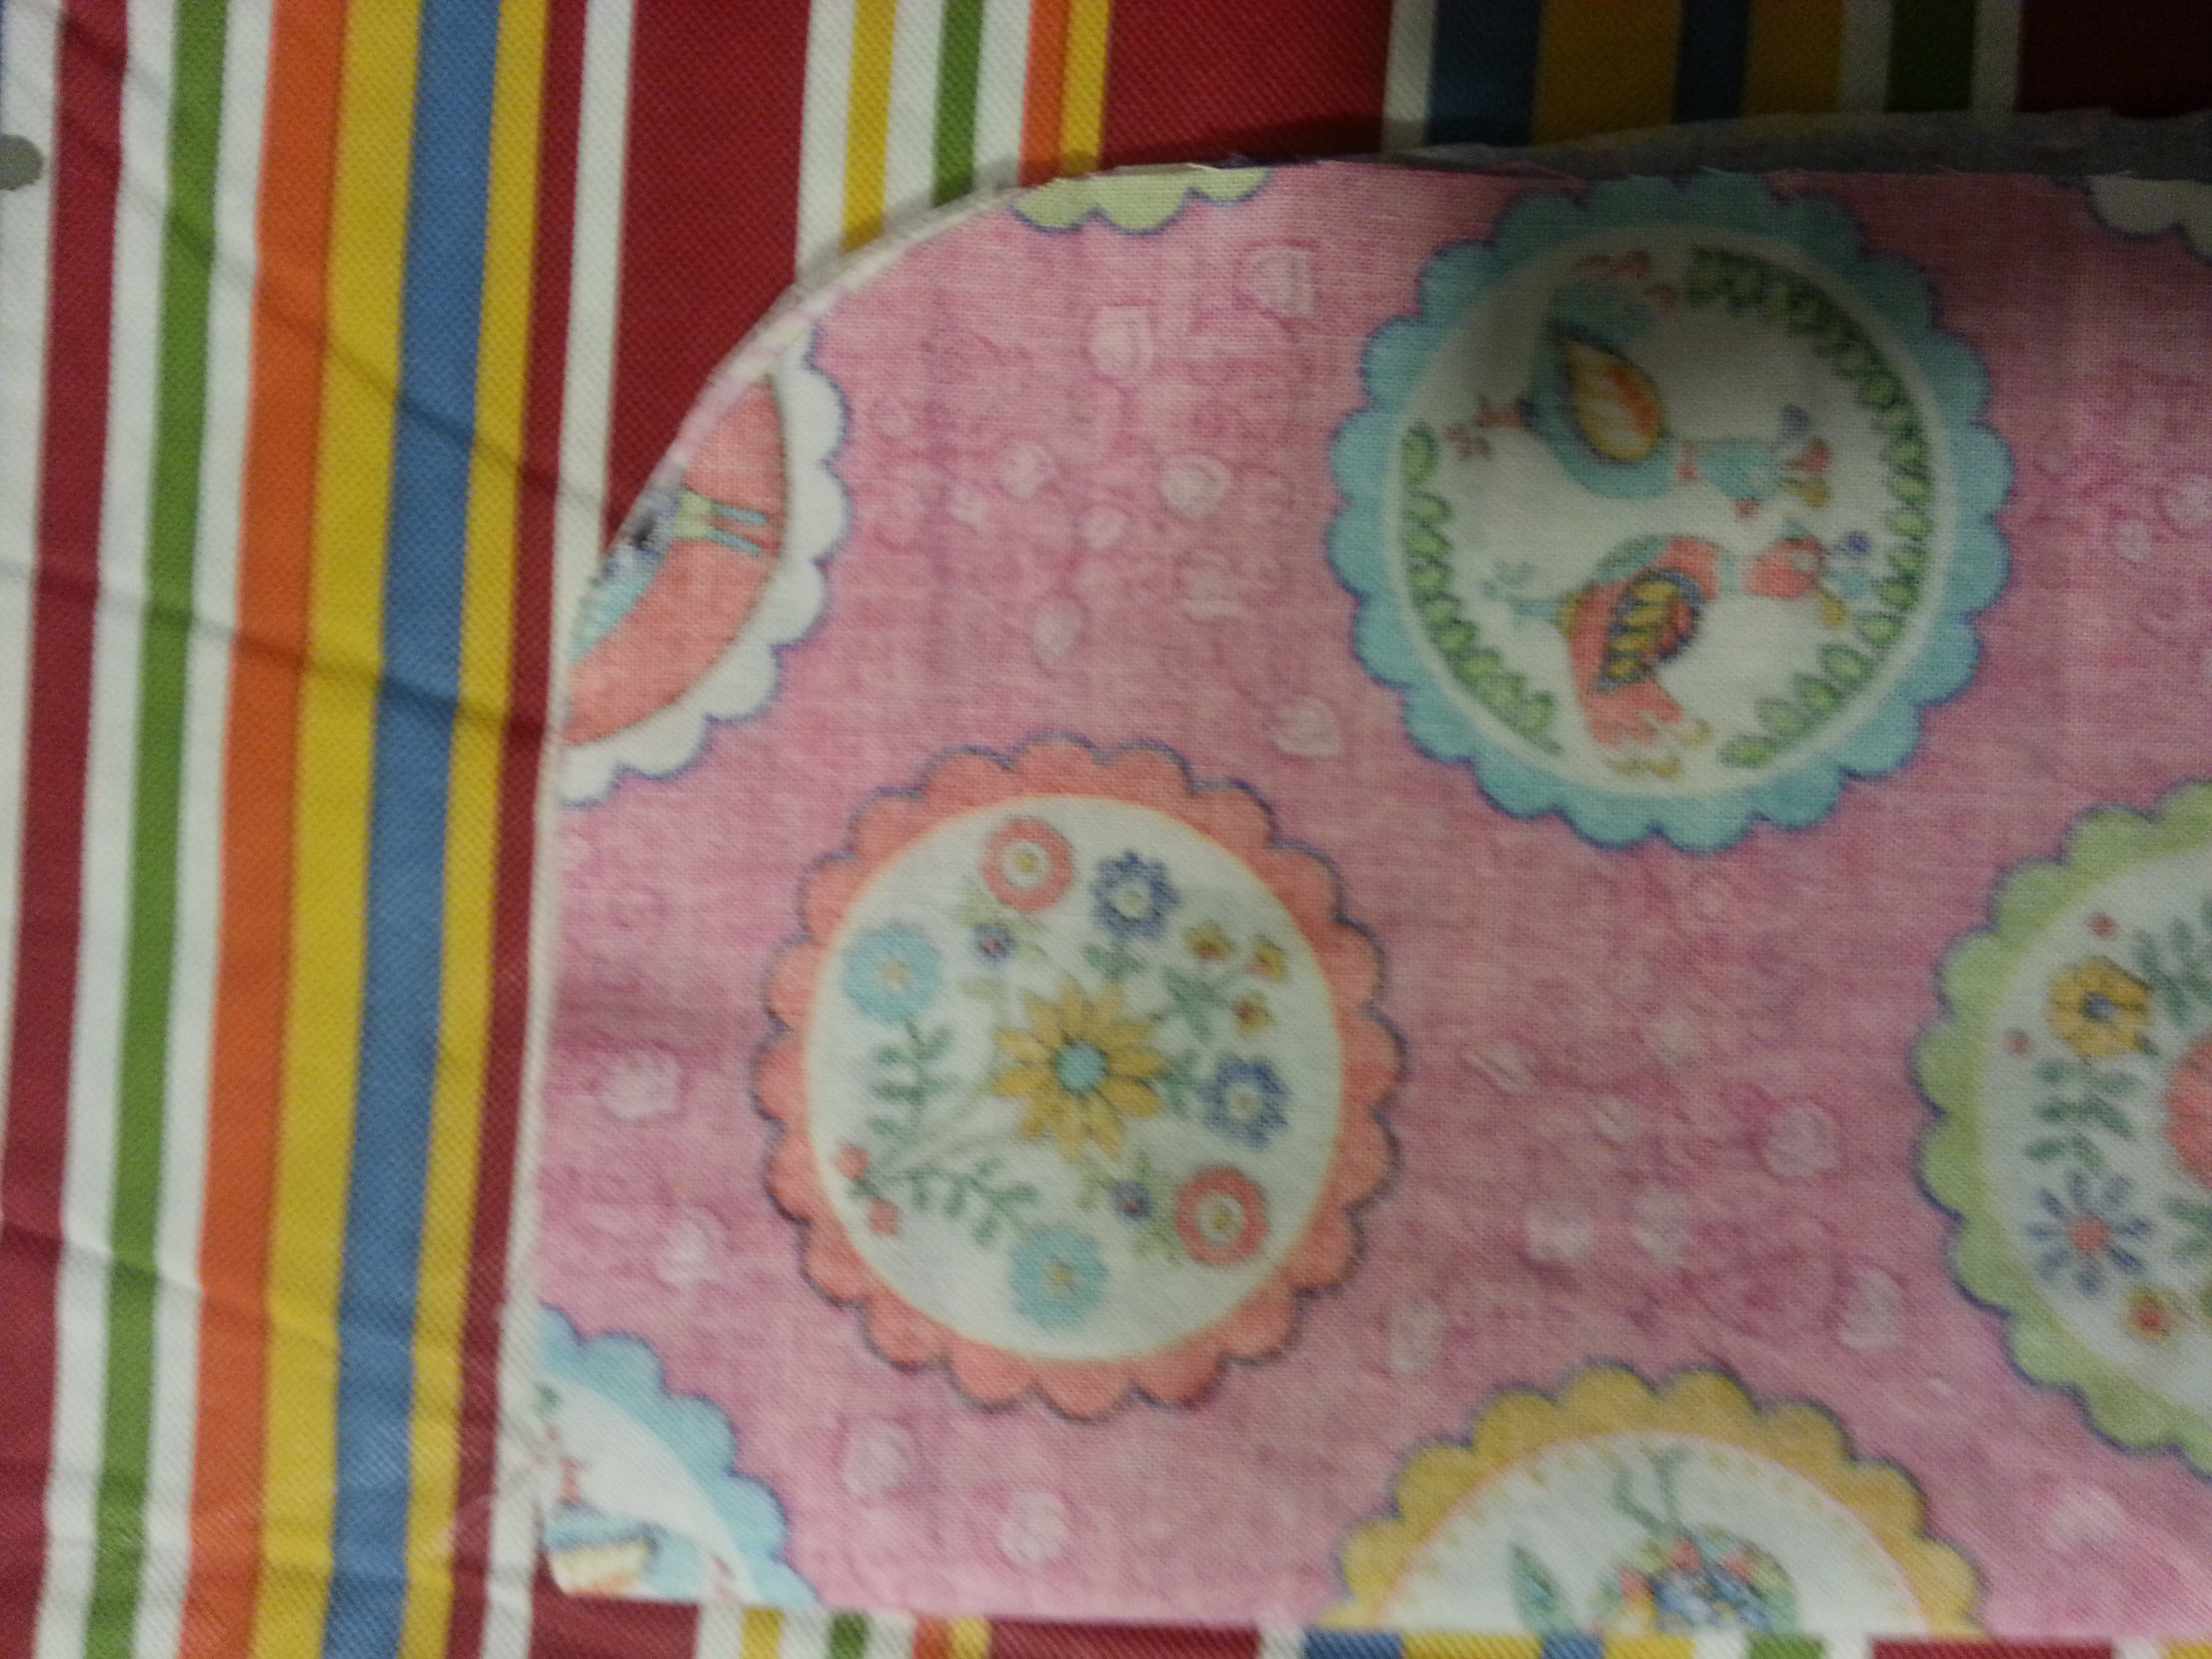
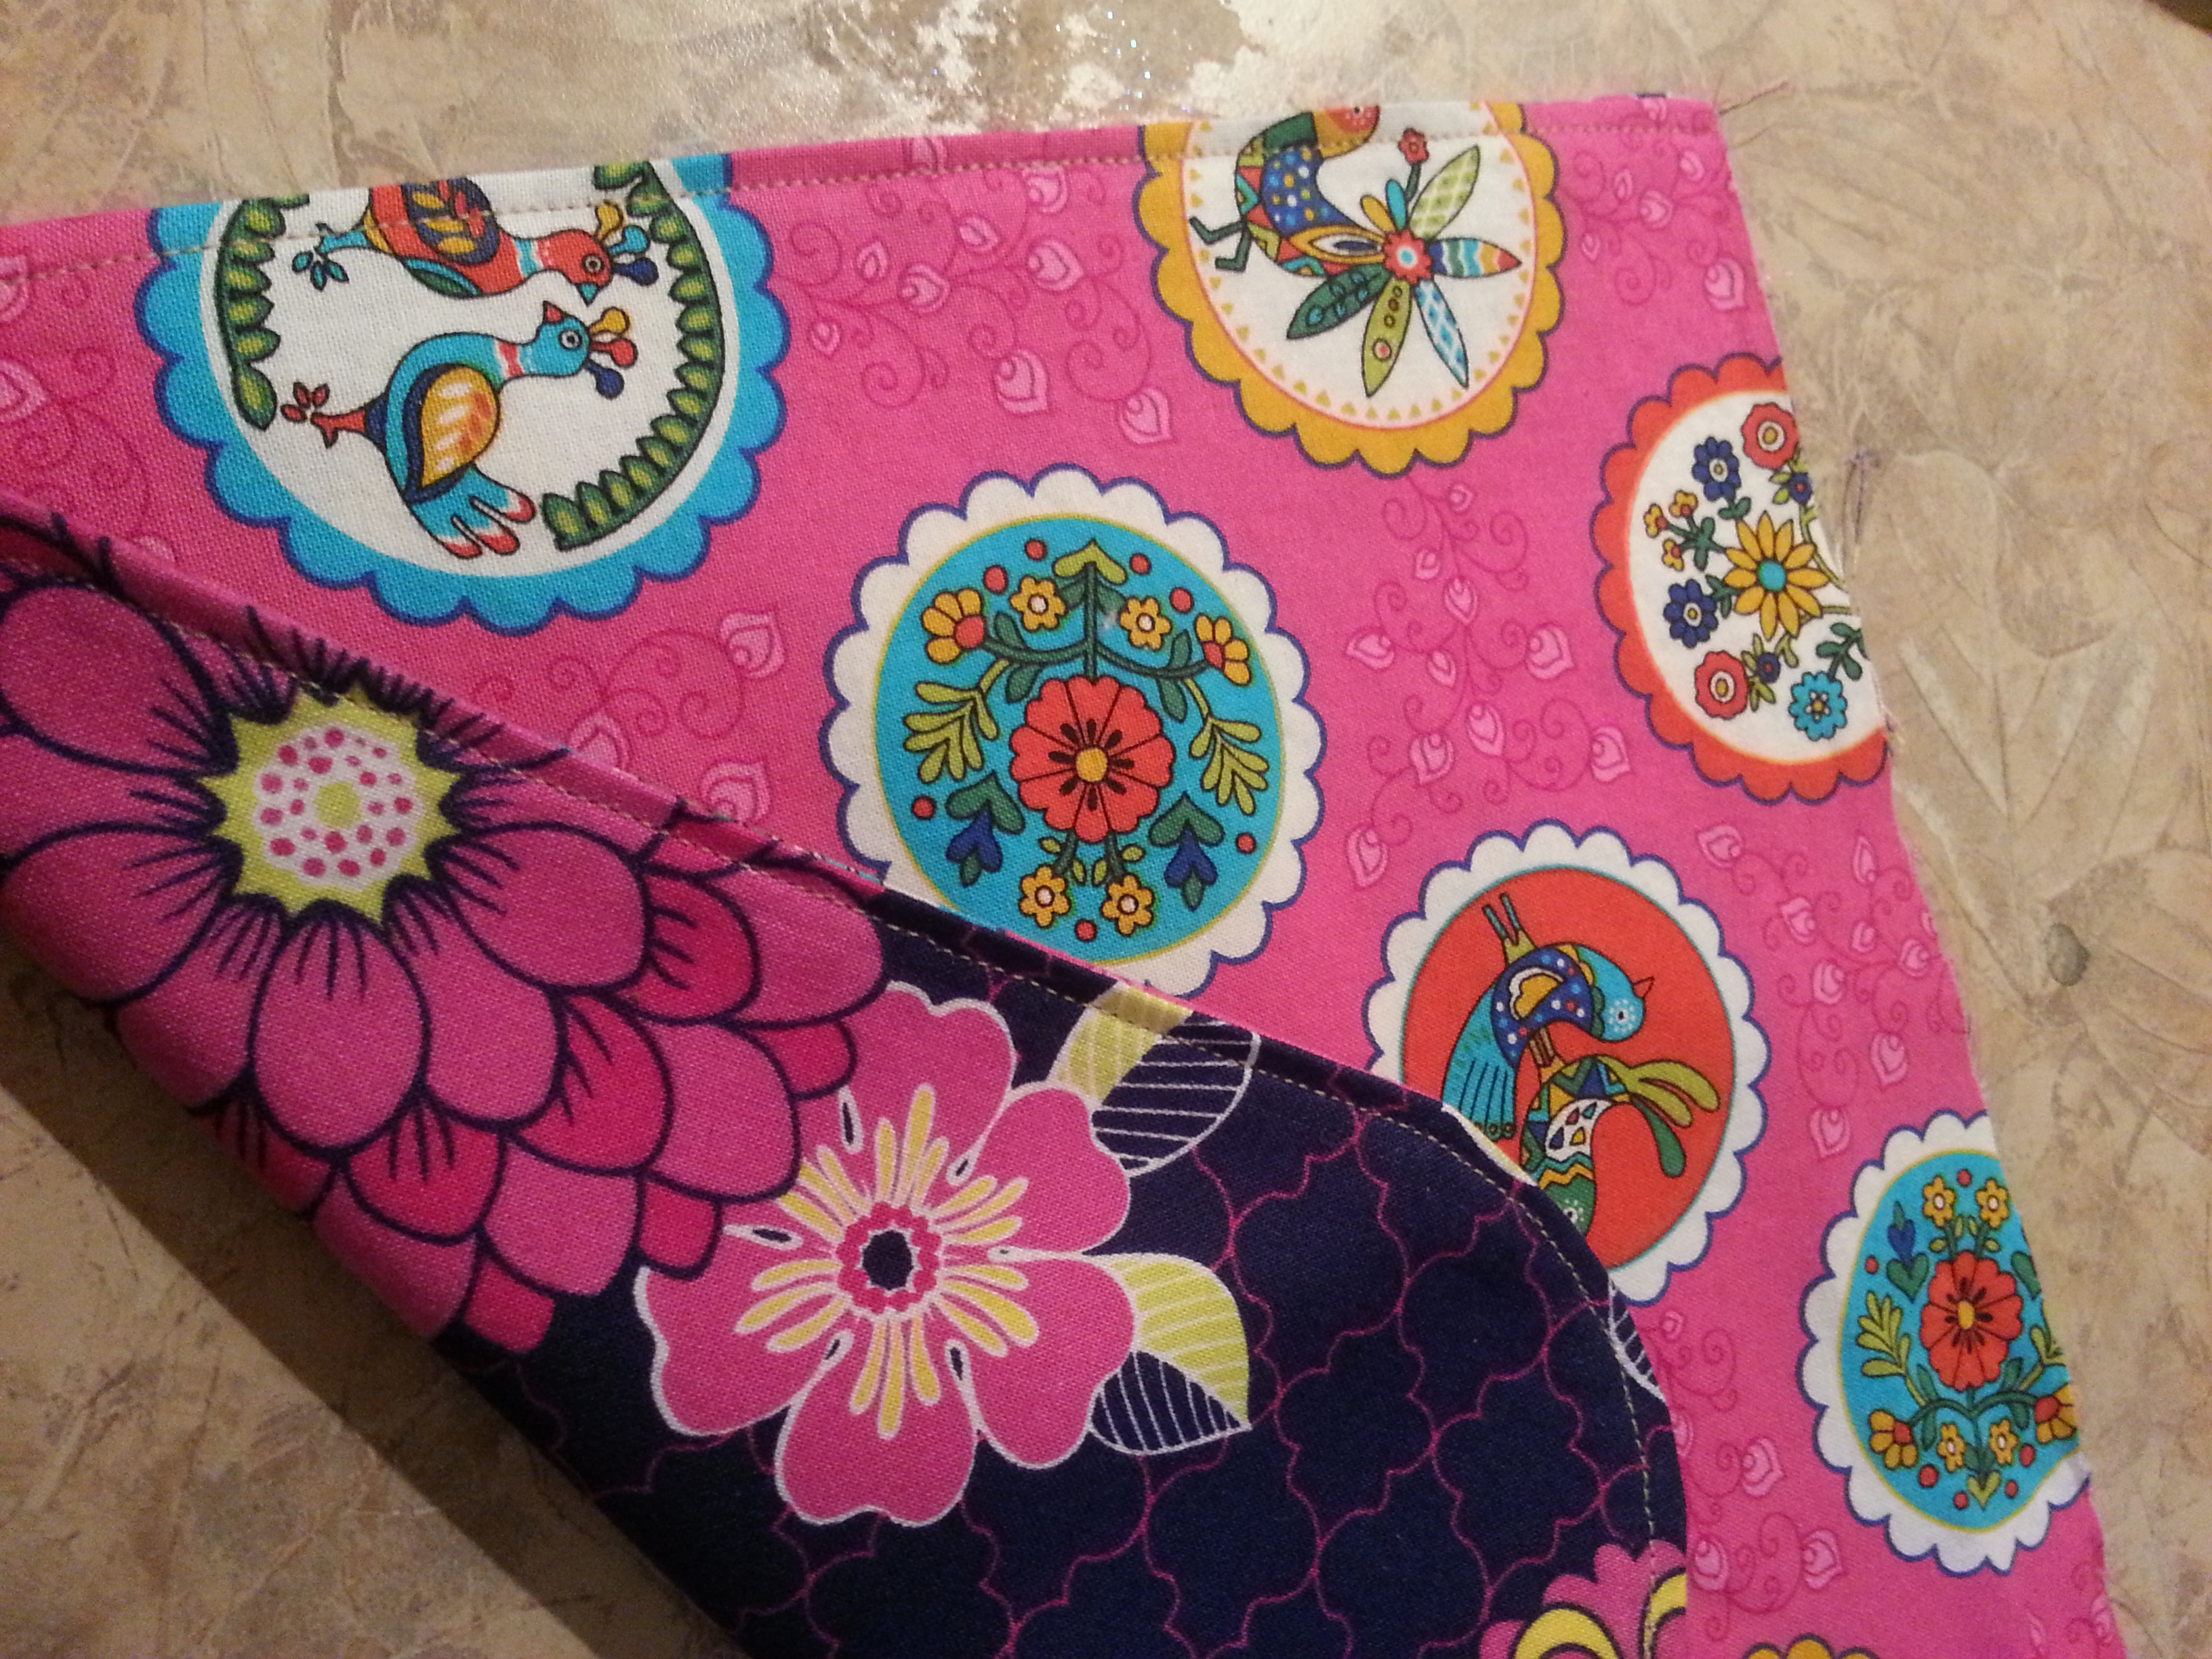
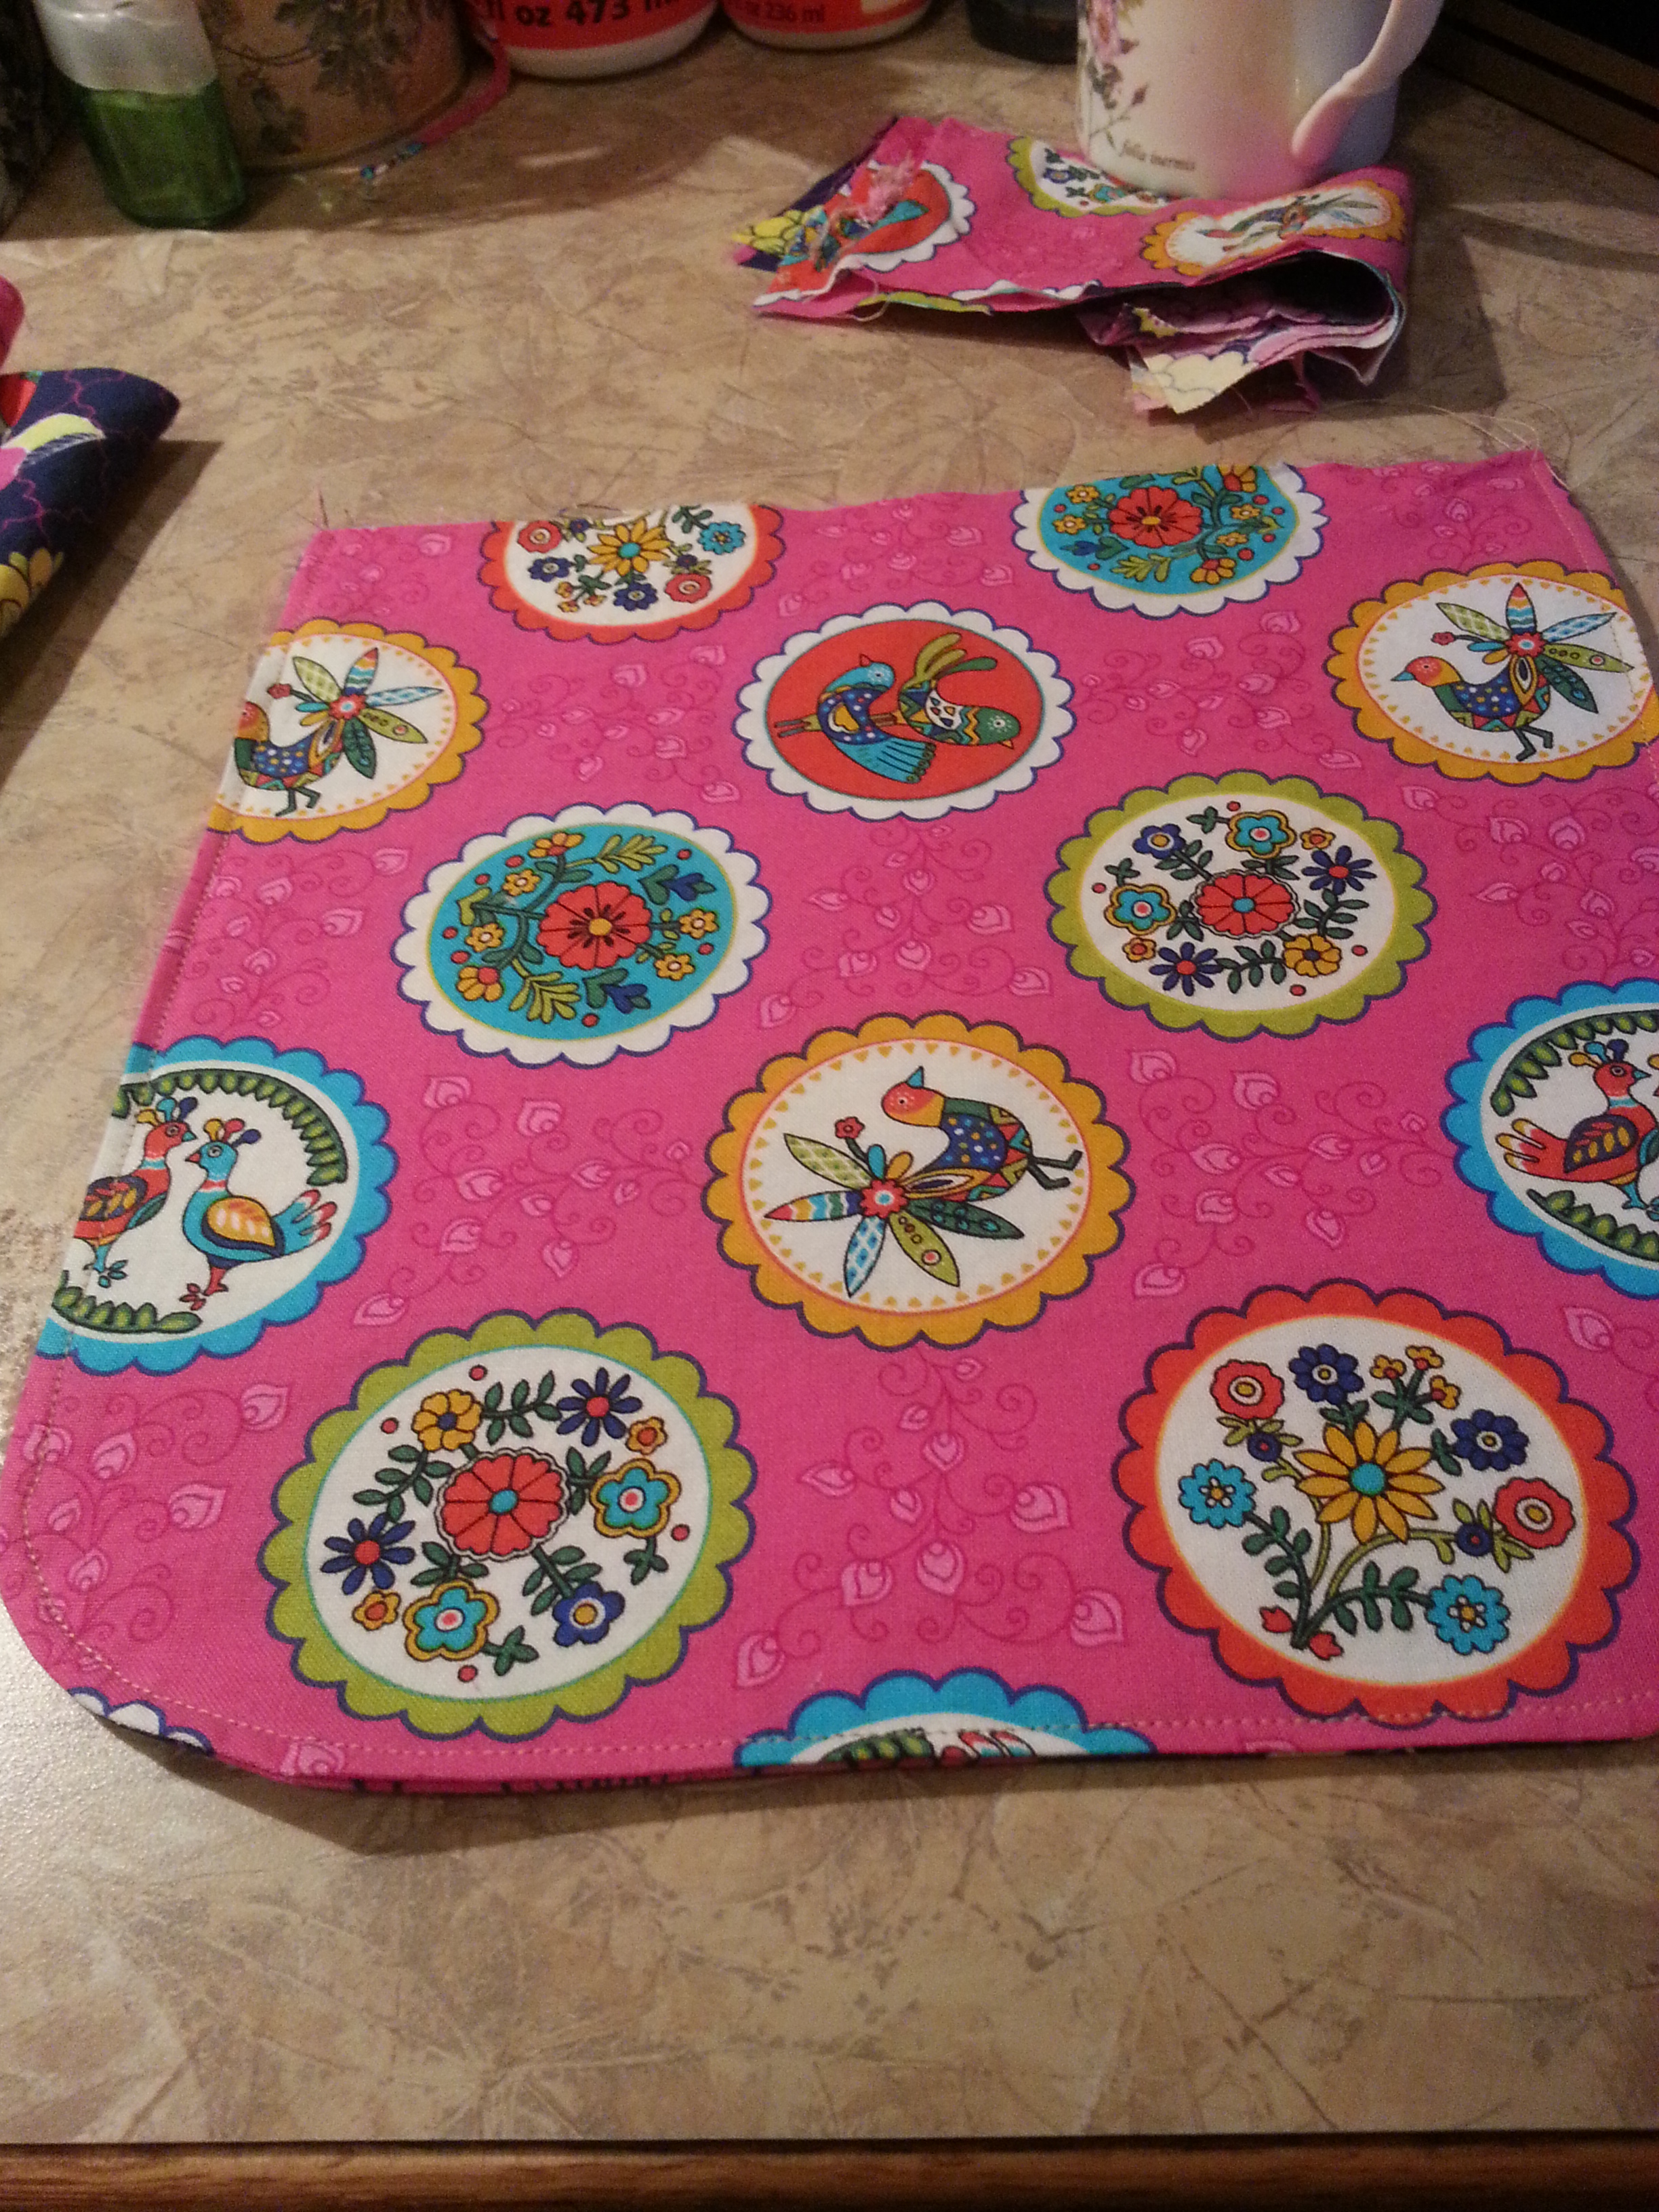
Flip right side out, press, and sew a 1/4″ seam along the edge. Should look similar this when finished. Set aside for now.
Using both the 10″x 6.5″ main fabric and the 10″x 8.5″ lining fabric, fold one of the longest edges down 1/4″ and press. Turn again 1/4″ and press again creating a concealed edge. Sew along this edge to create the finished edge of your pockets.
(I used pockets 2″ shorter than what is suggested here, Mine were a tad more shallow than I had hoped for originally)
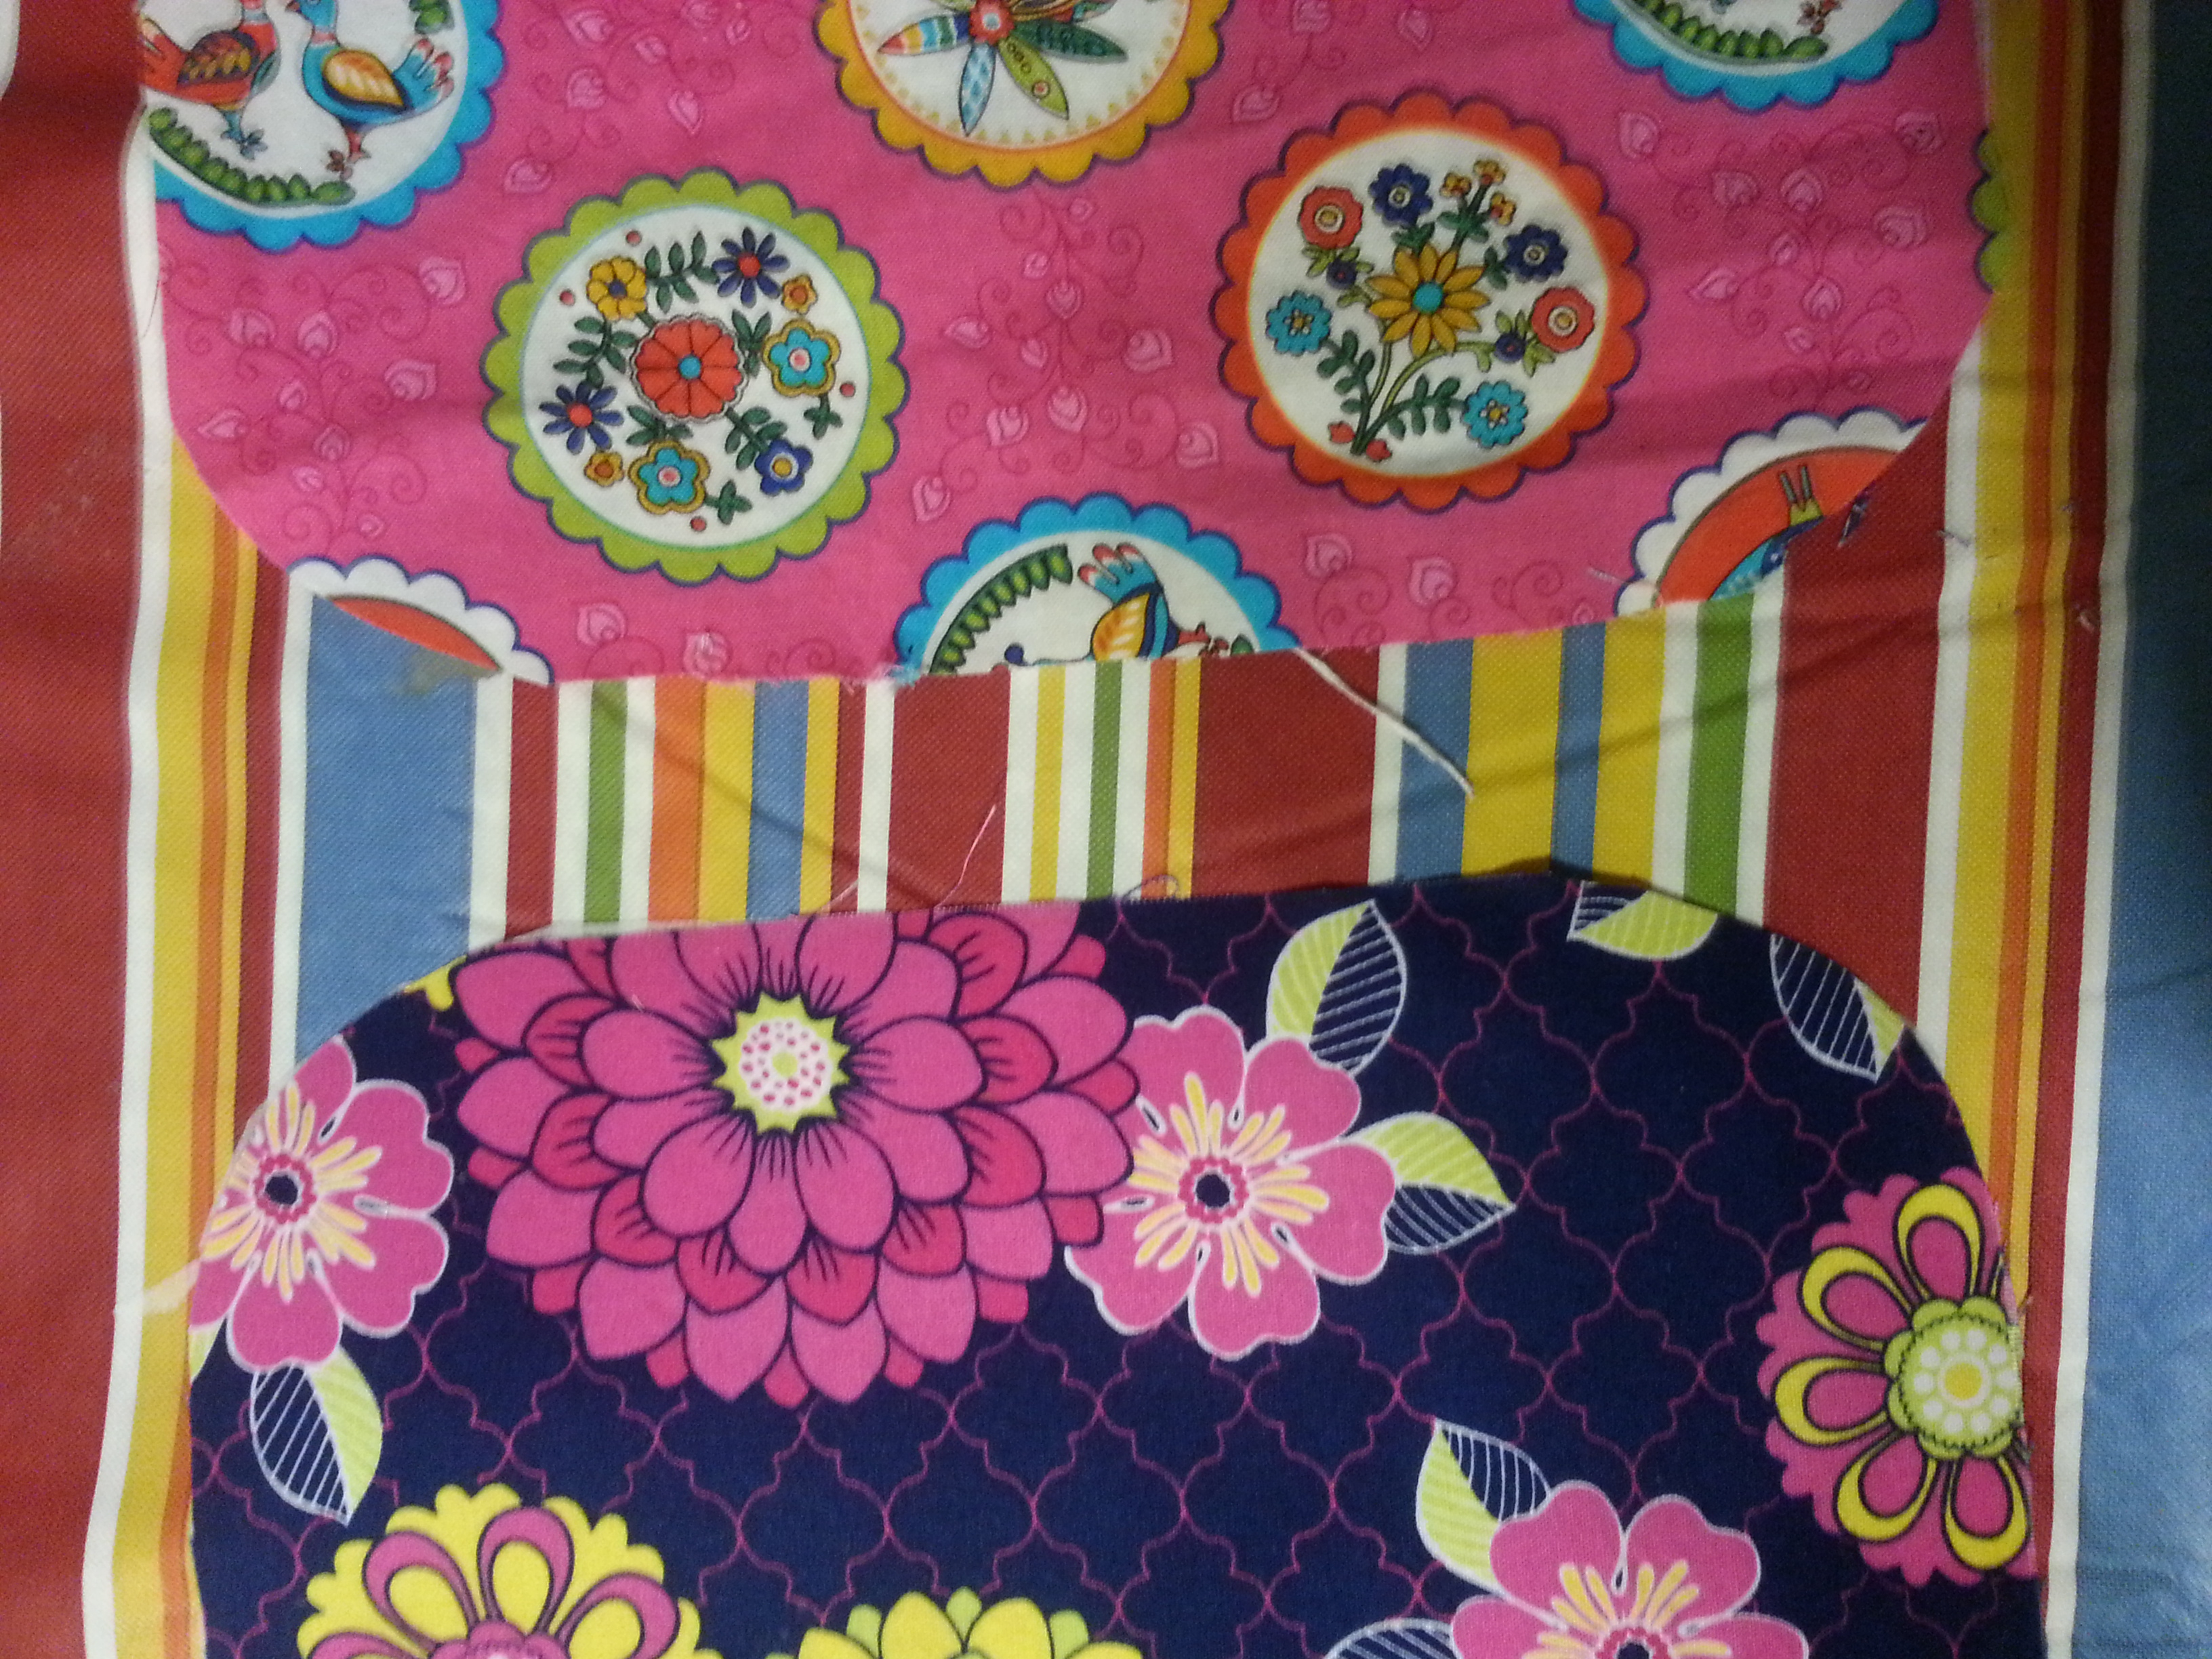
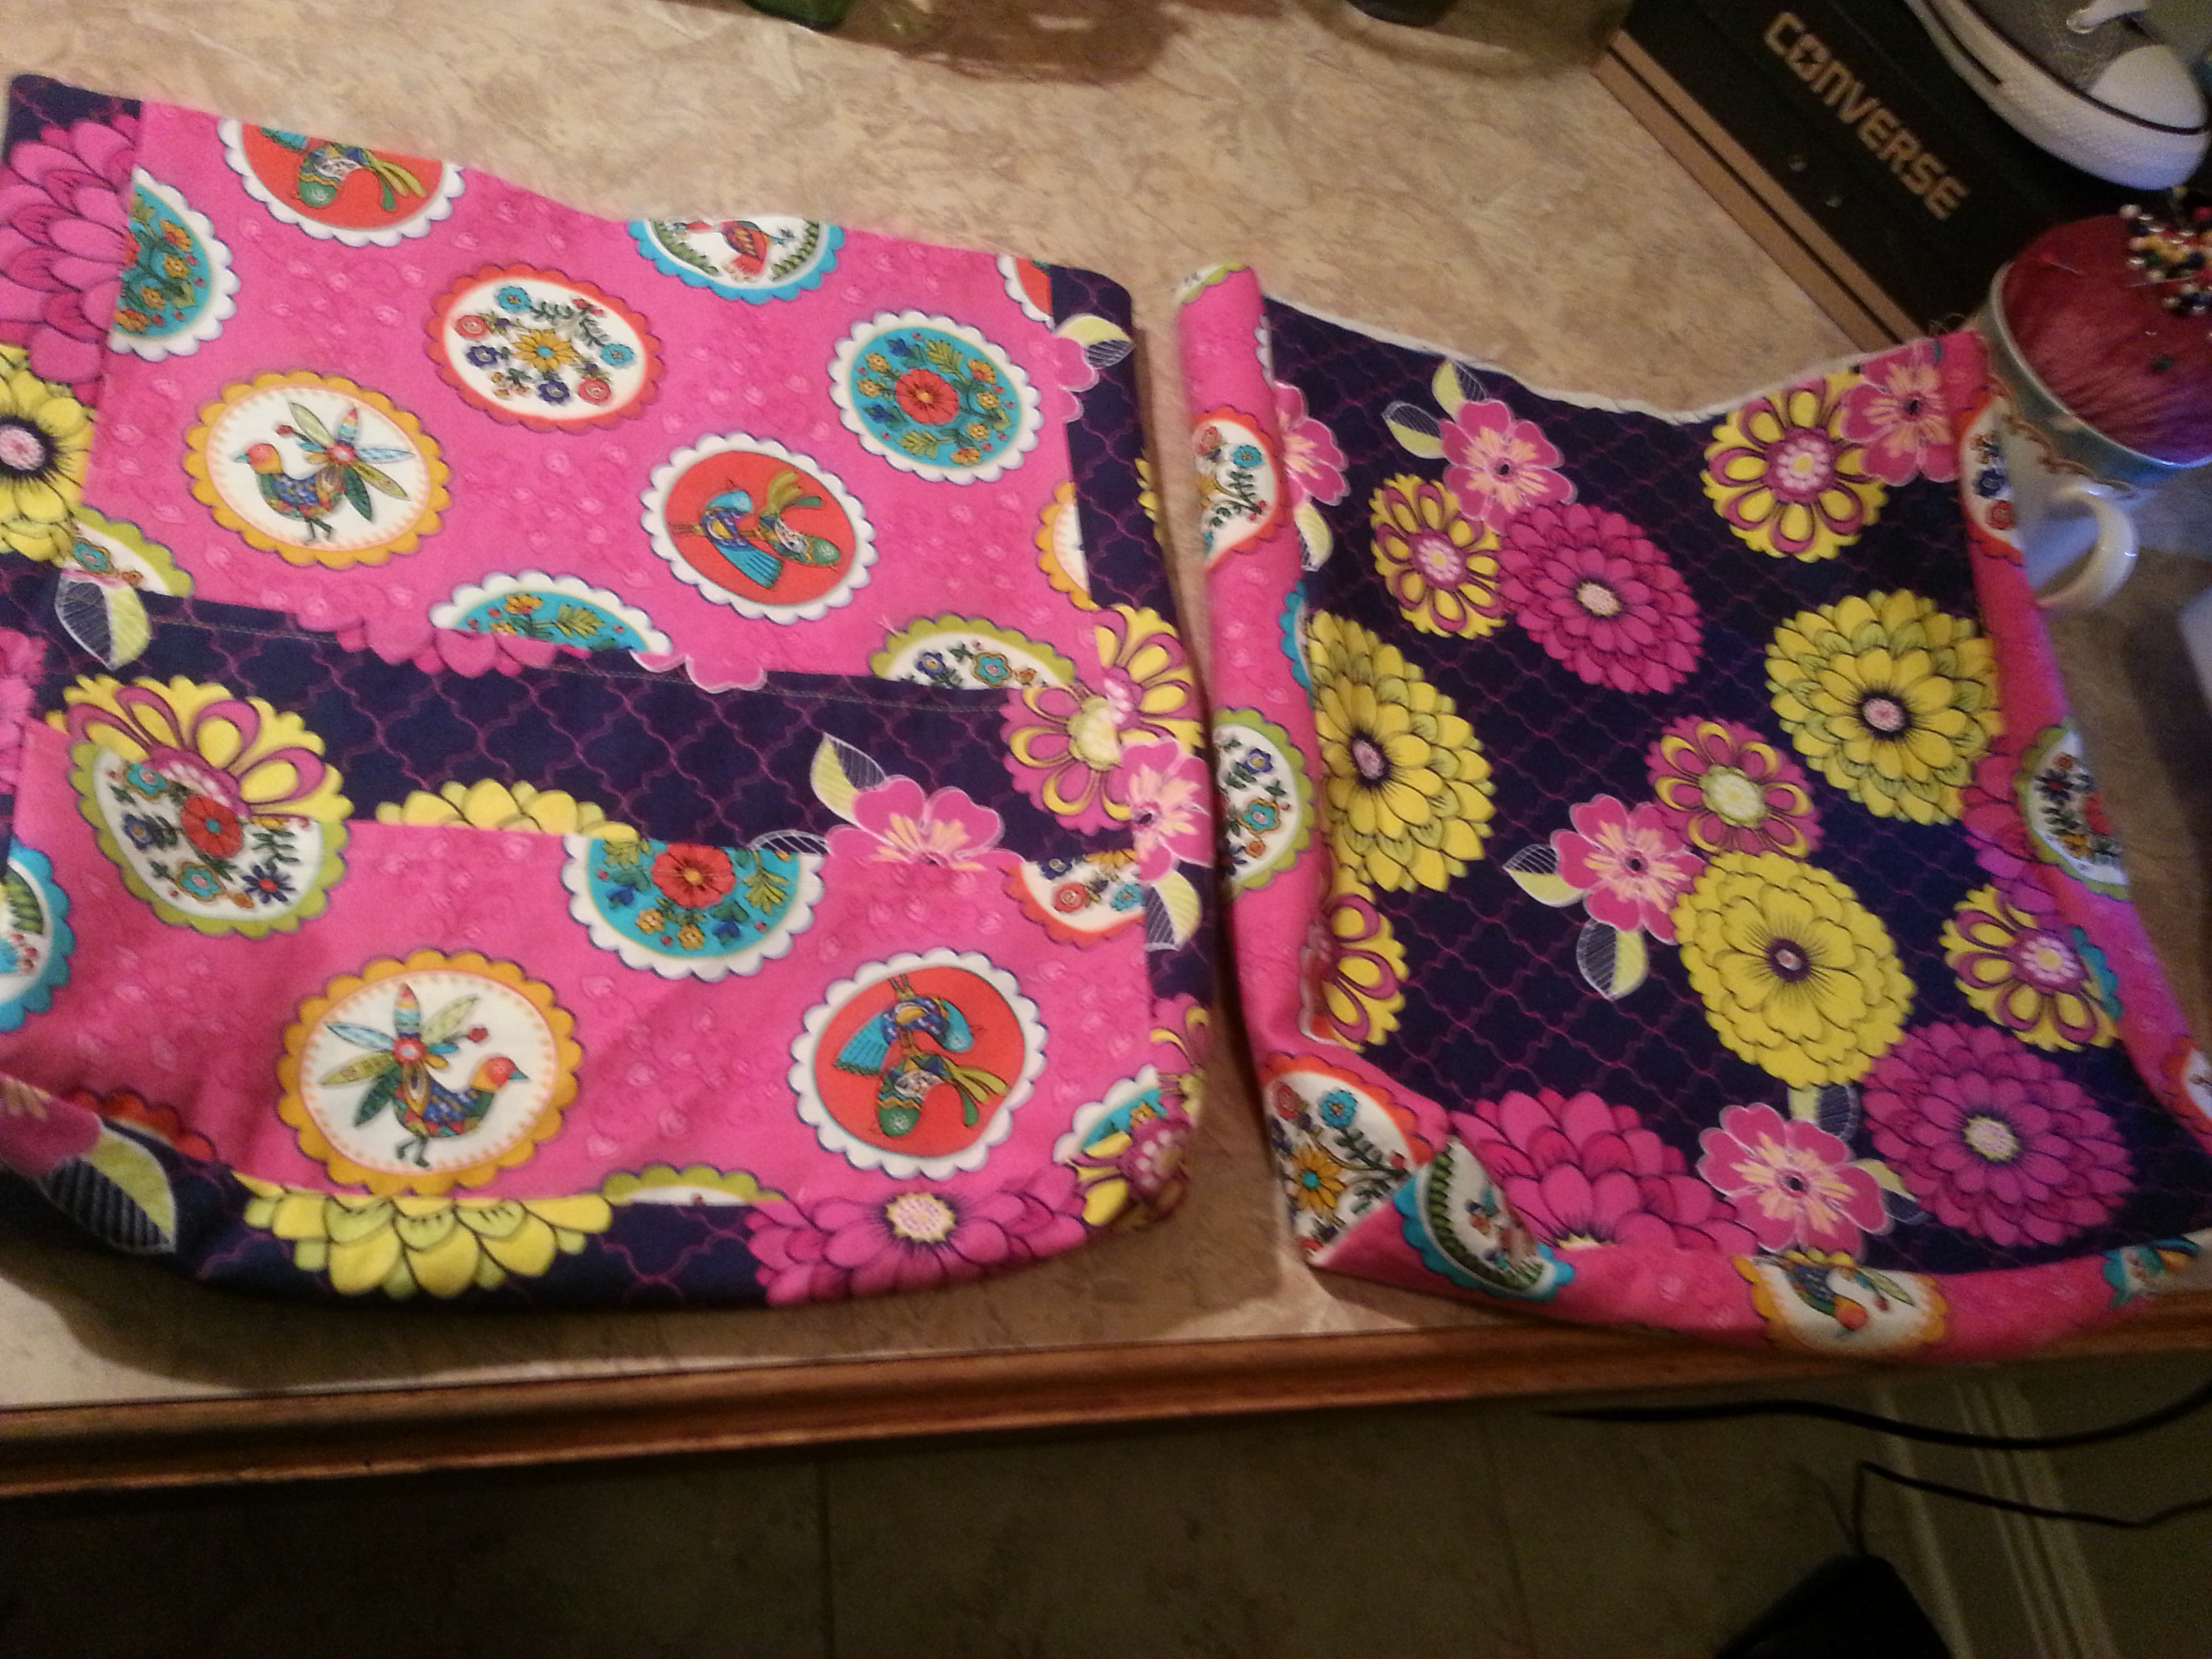
Now stack your pockets onto you front right side of your panel (10″x 12″), the way you wish for them to be seen from the outside, hemmed sides on top. (Note: your pockets should look slightly taller. I added 2″ to this tutorial)
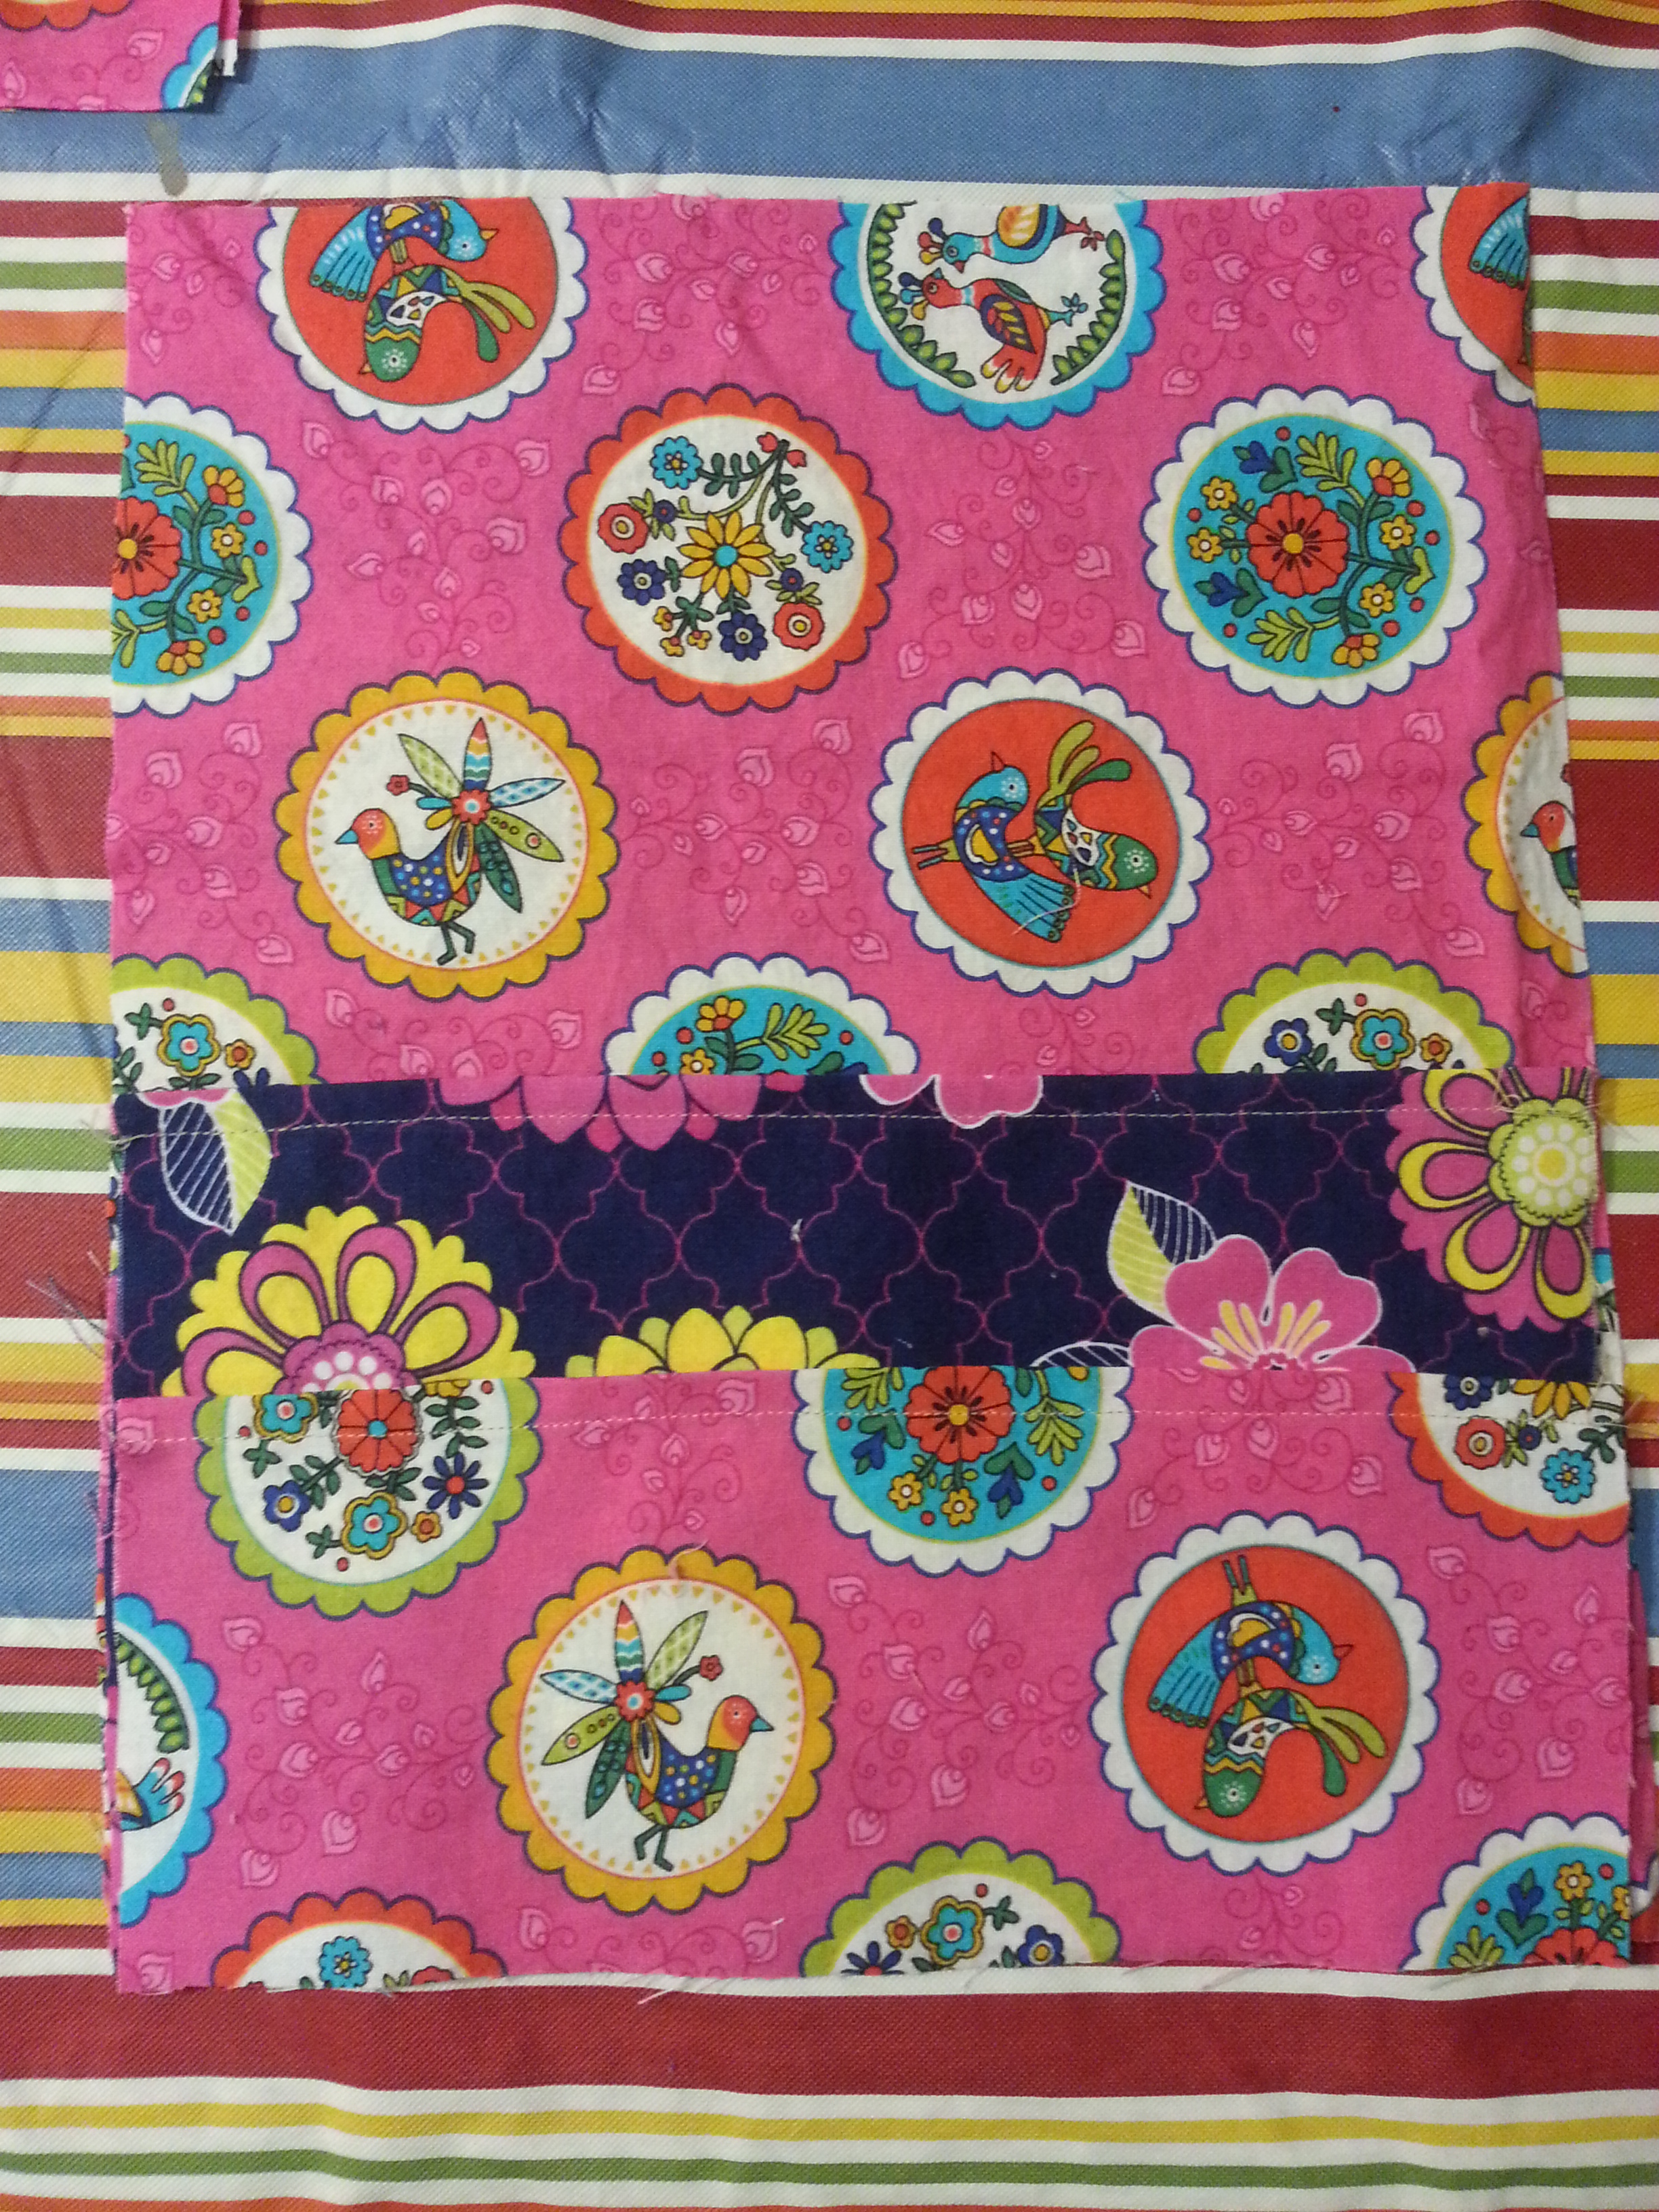
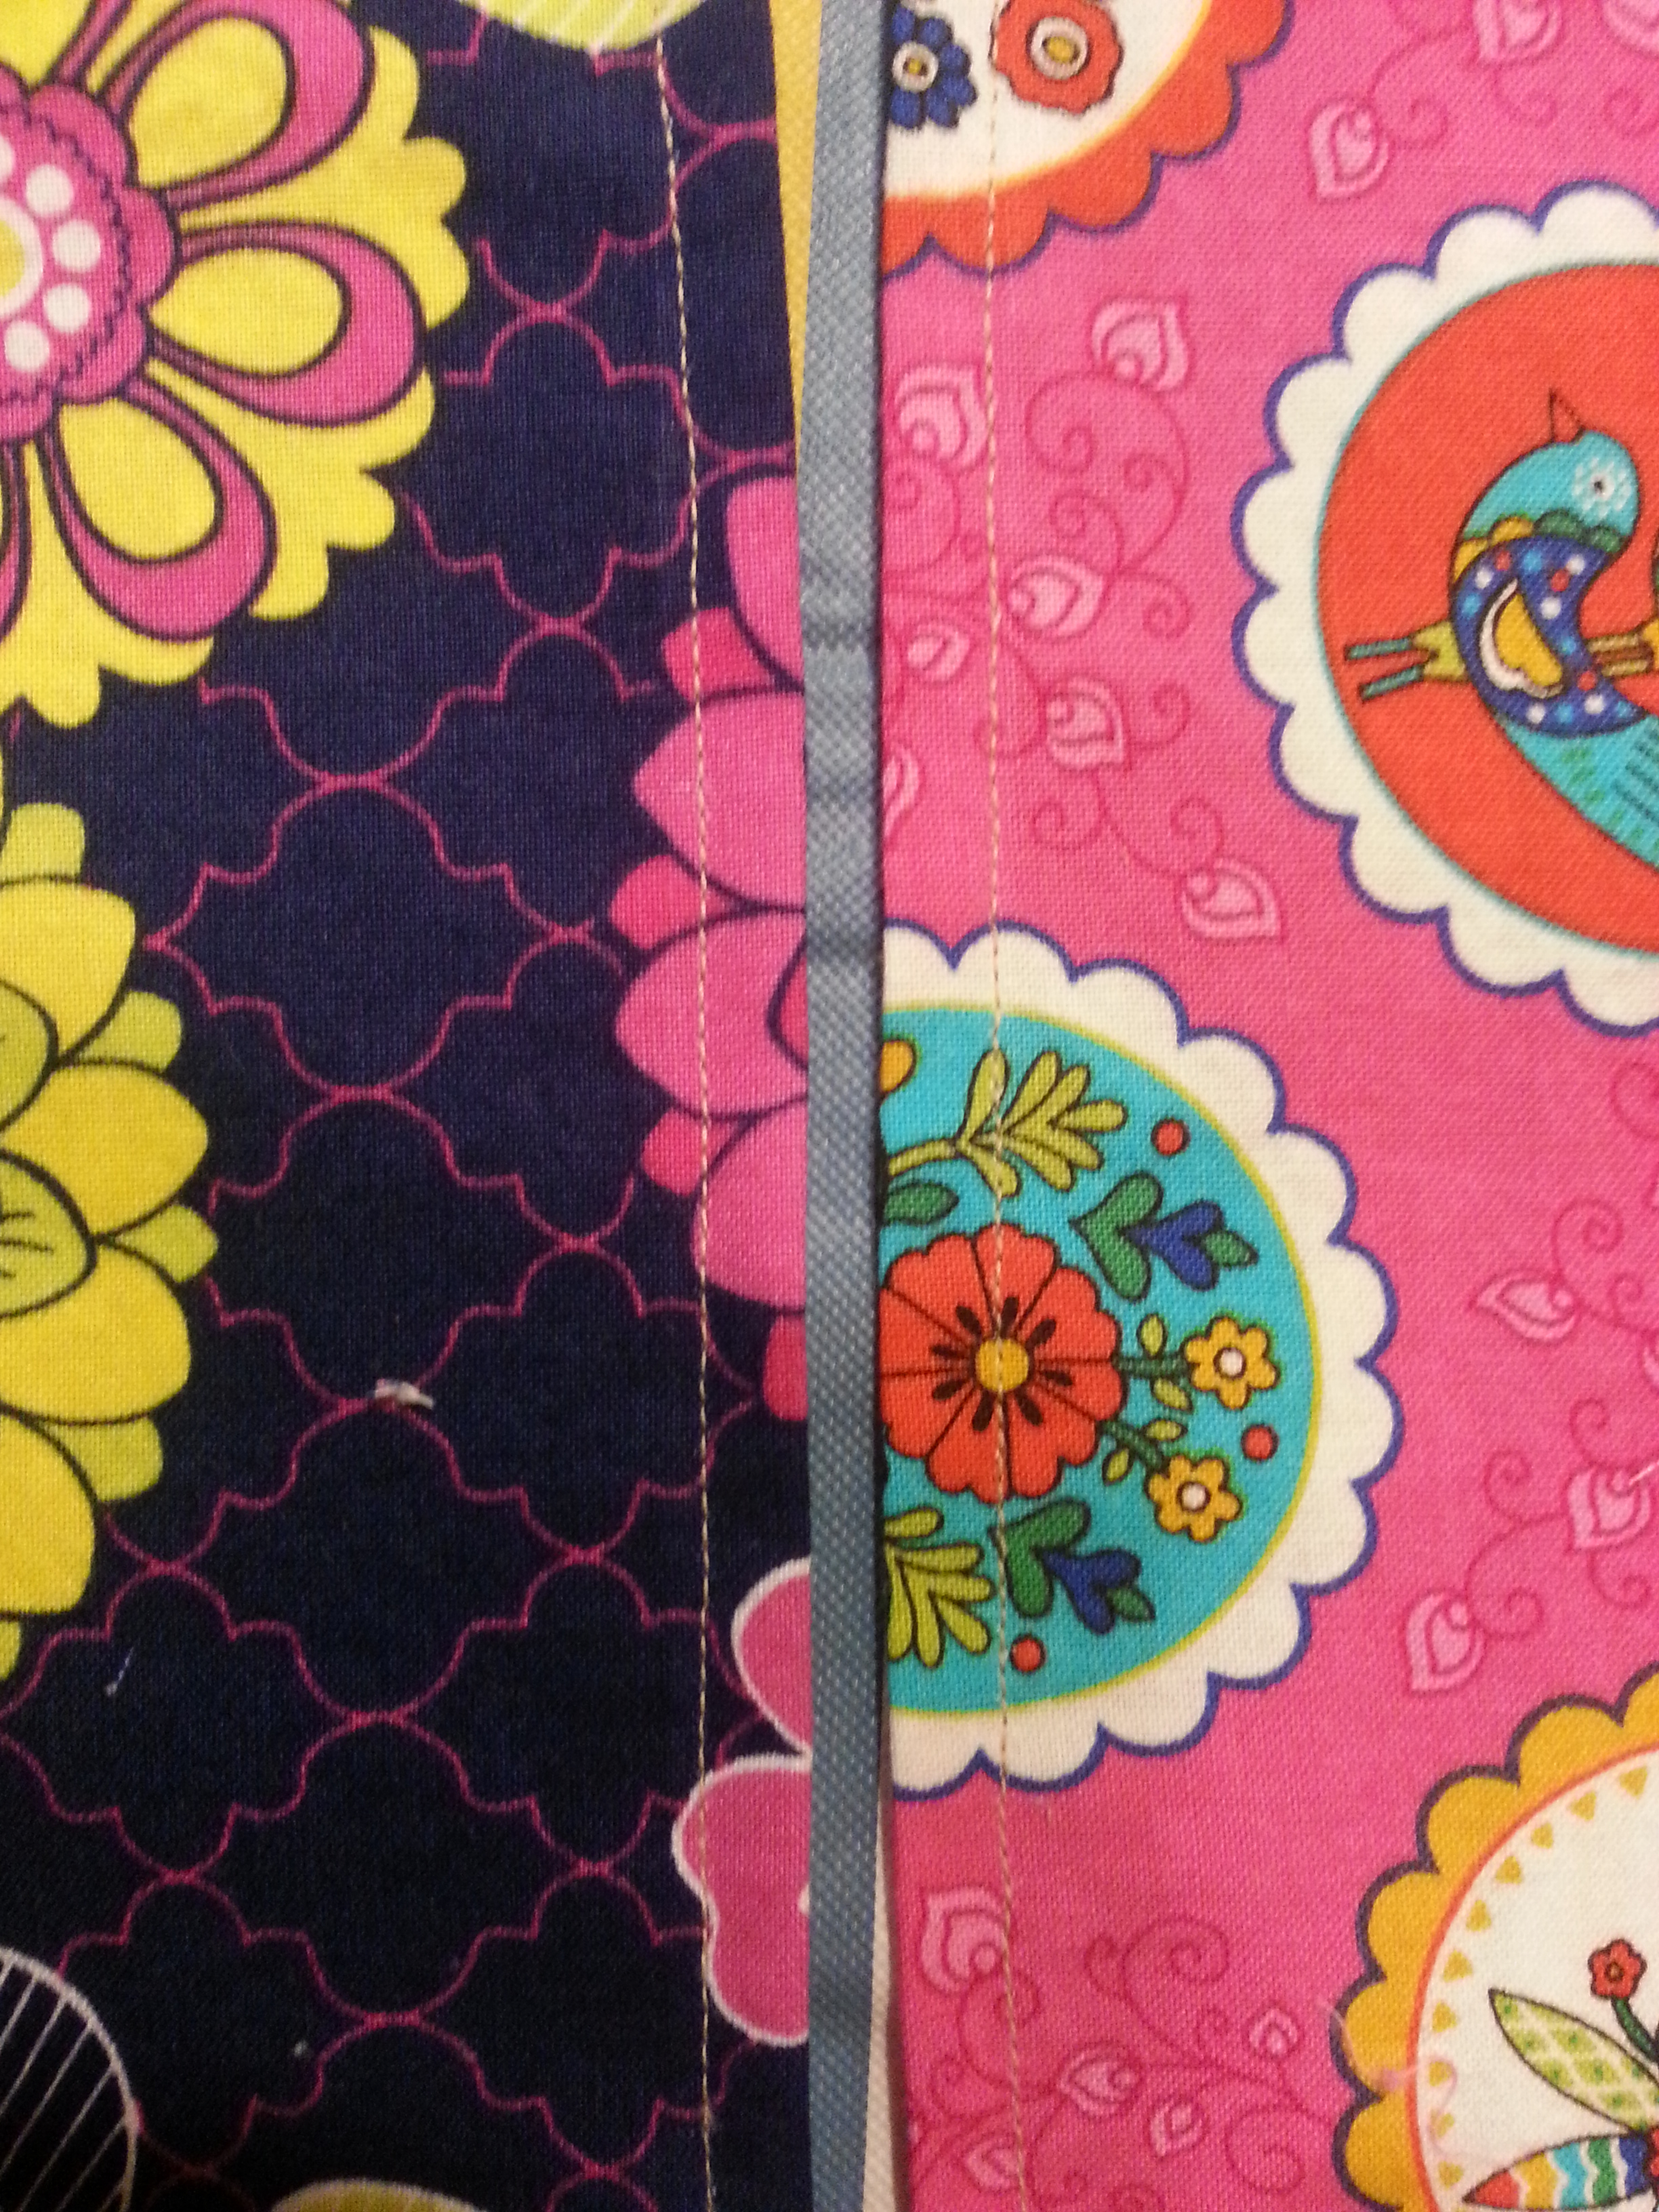
Using your two 12″x 3.5″ Lining fabrics, place and pin them right sides together onto both sides of your front panel.
Sew along the 12″ edges straight down, being sure to sew over the pocket edges also. Open and press open seam.
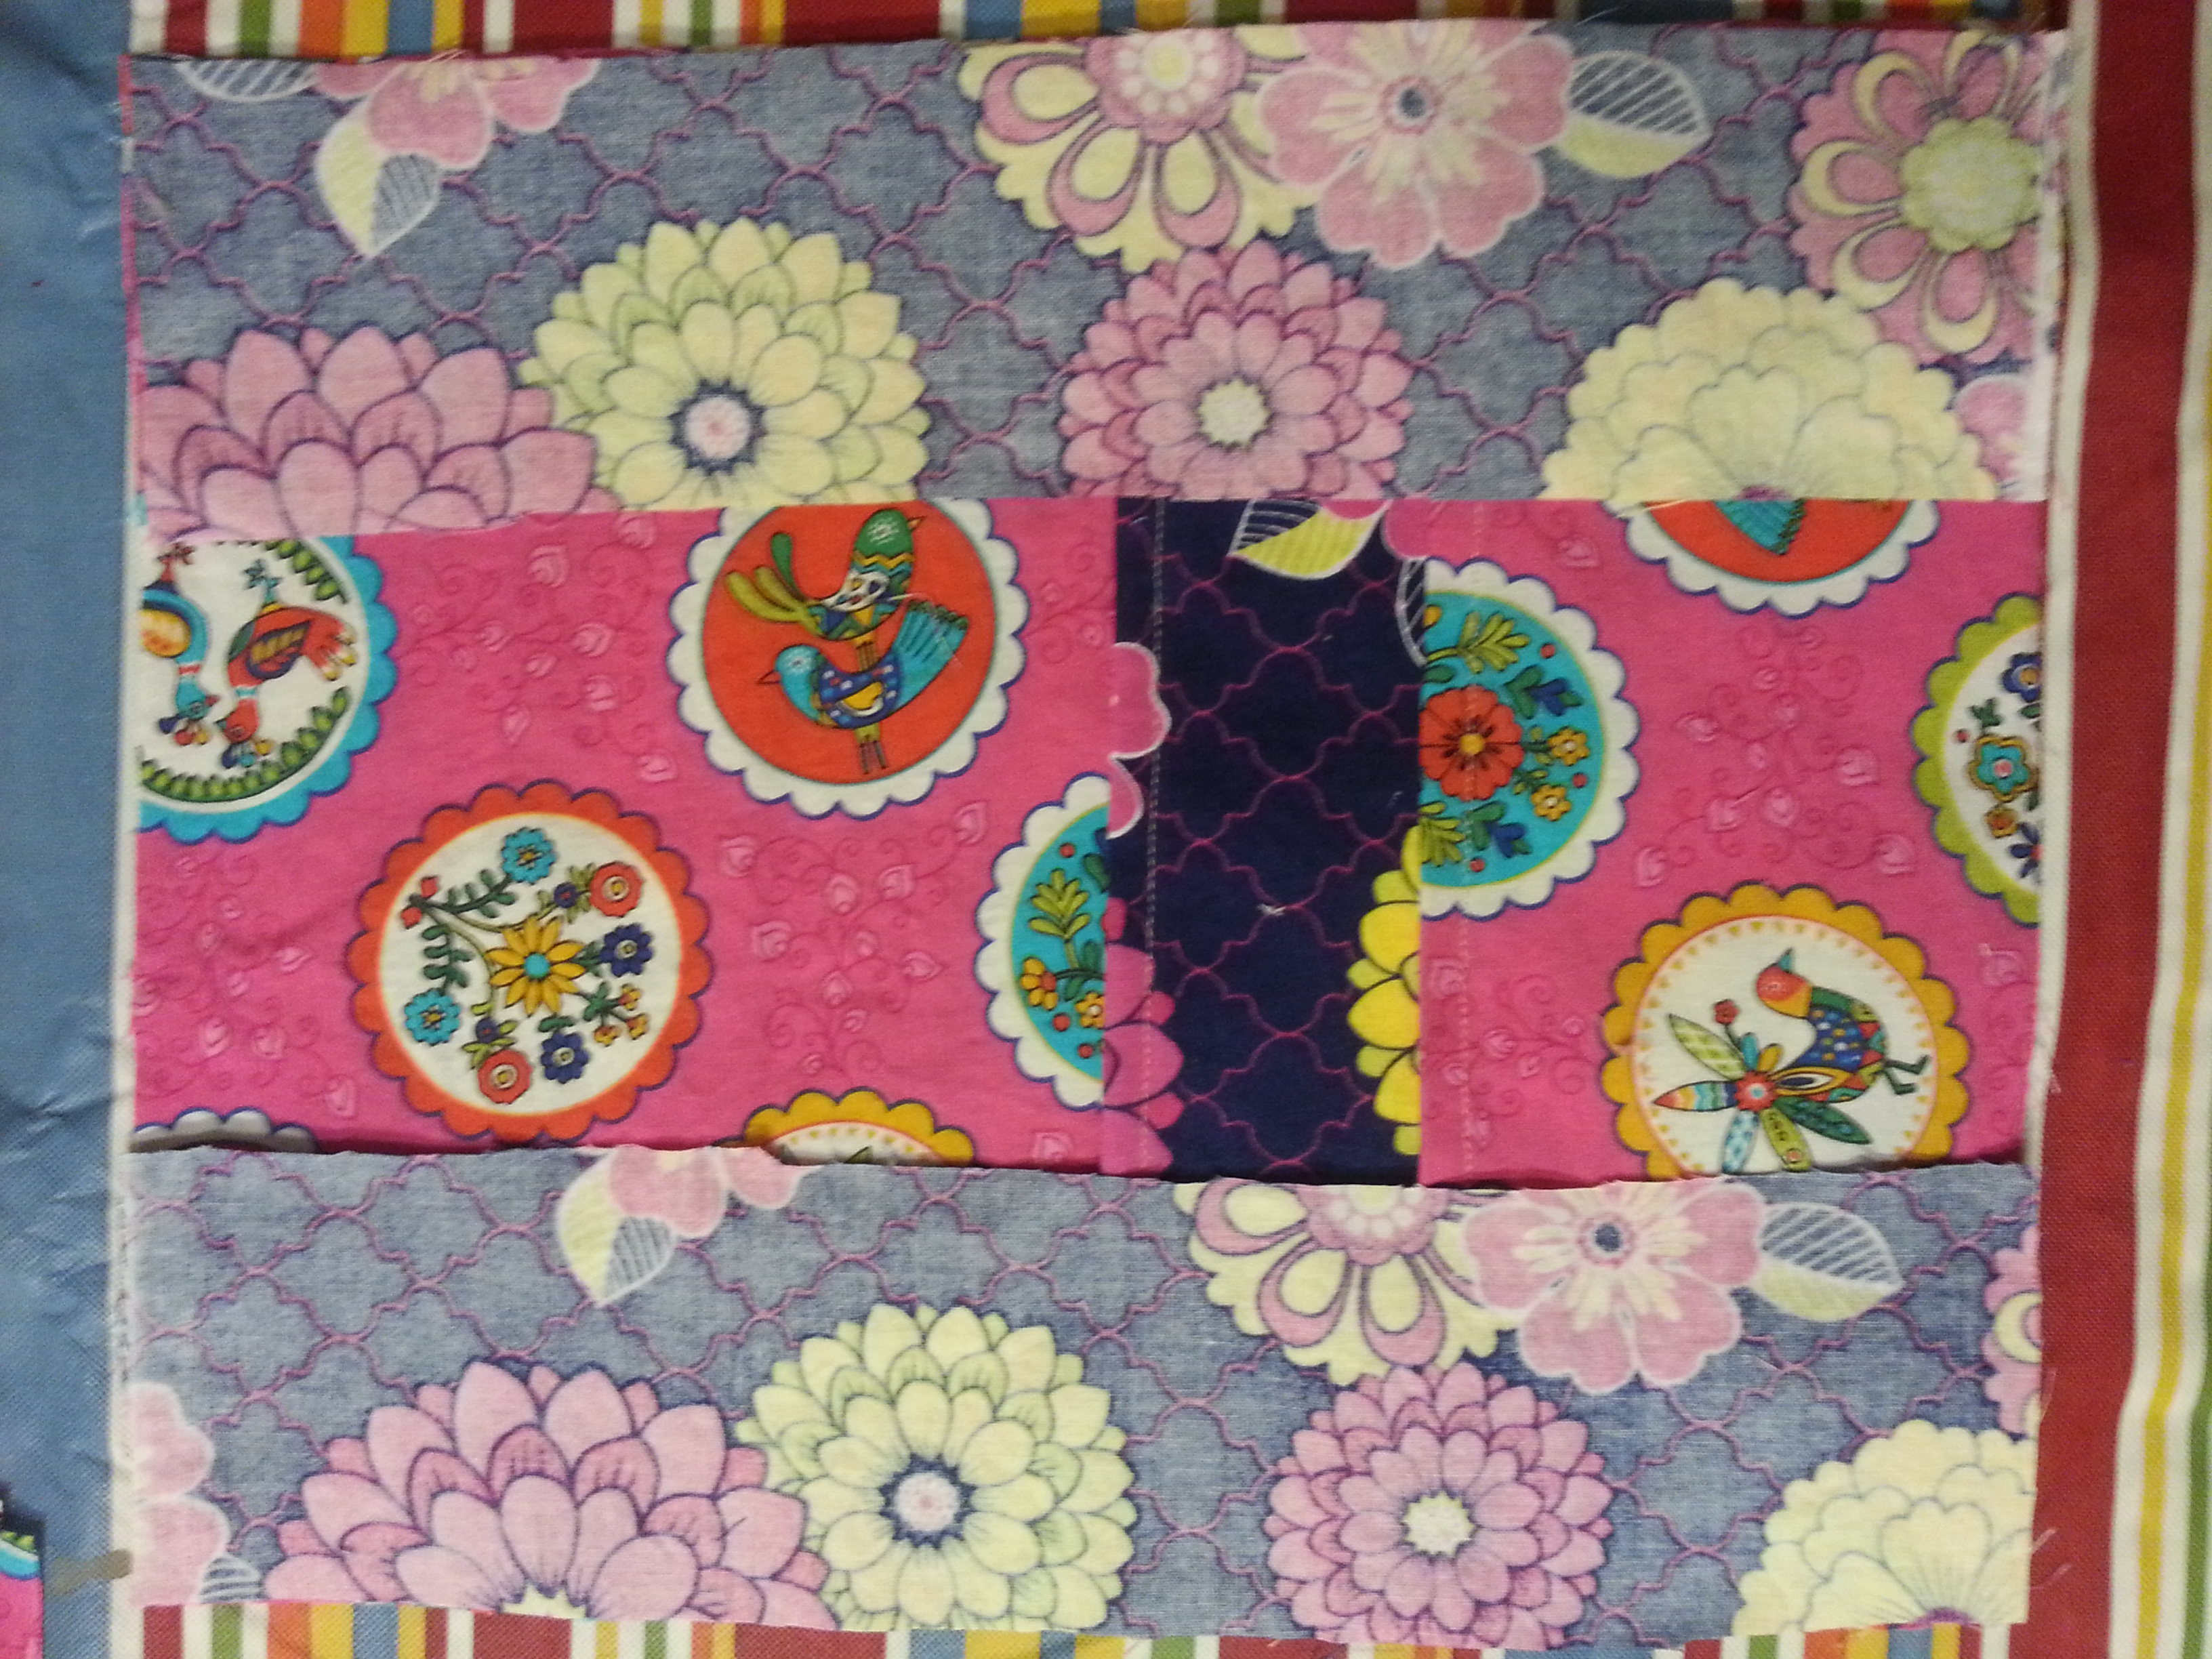
using your 10″x 3.5″ Lining piece, place and pin it right sides together across the bottom front panel, Just like the two pieces before. Sew across, being sure to sew through the bottom of the pockets also. Open and press seam.

Here it gets tricky. You are going to sew together the ends of the lining pieces to form a corner. I wish there were a better way to show you but really, just line them up, straight raw edge to straight raw edge.


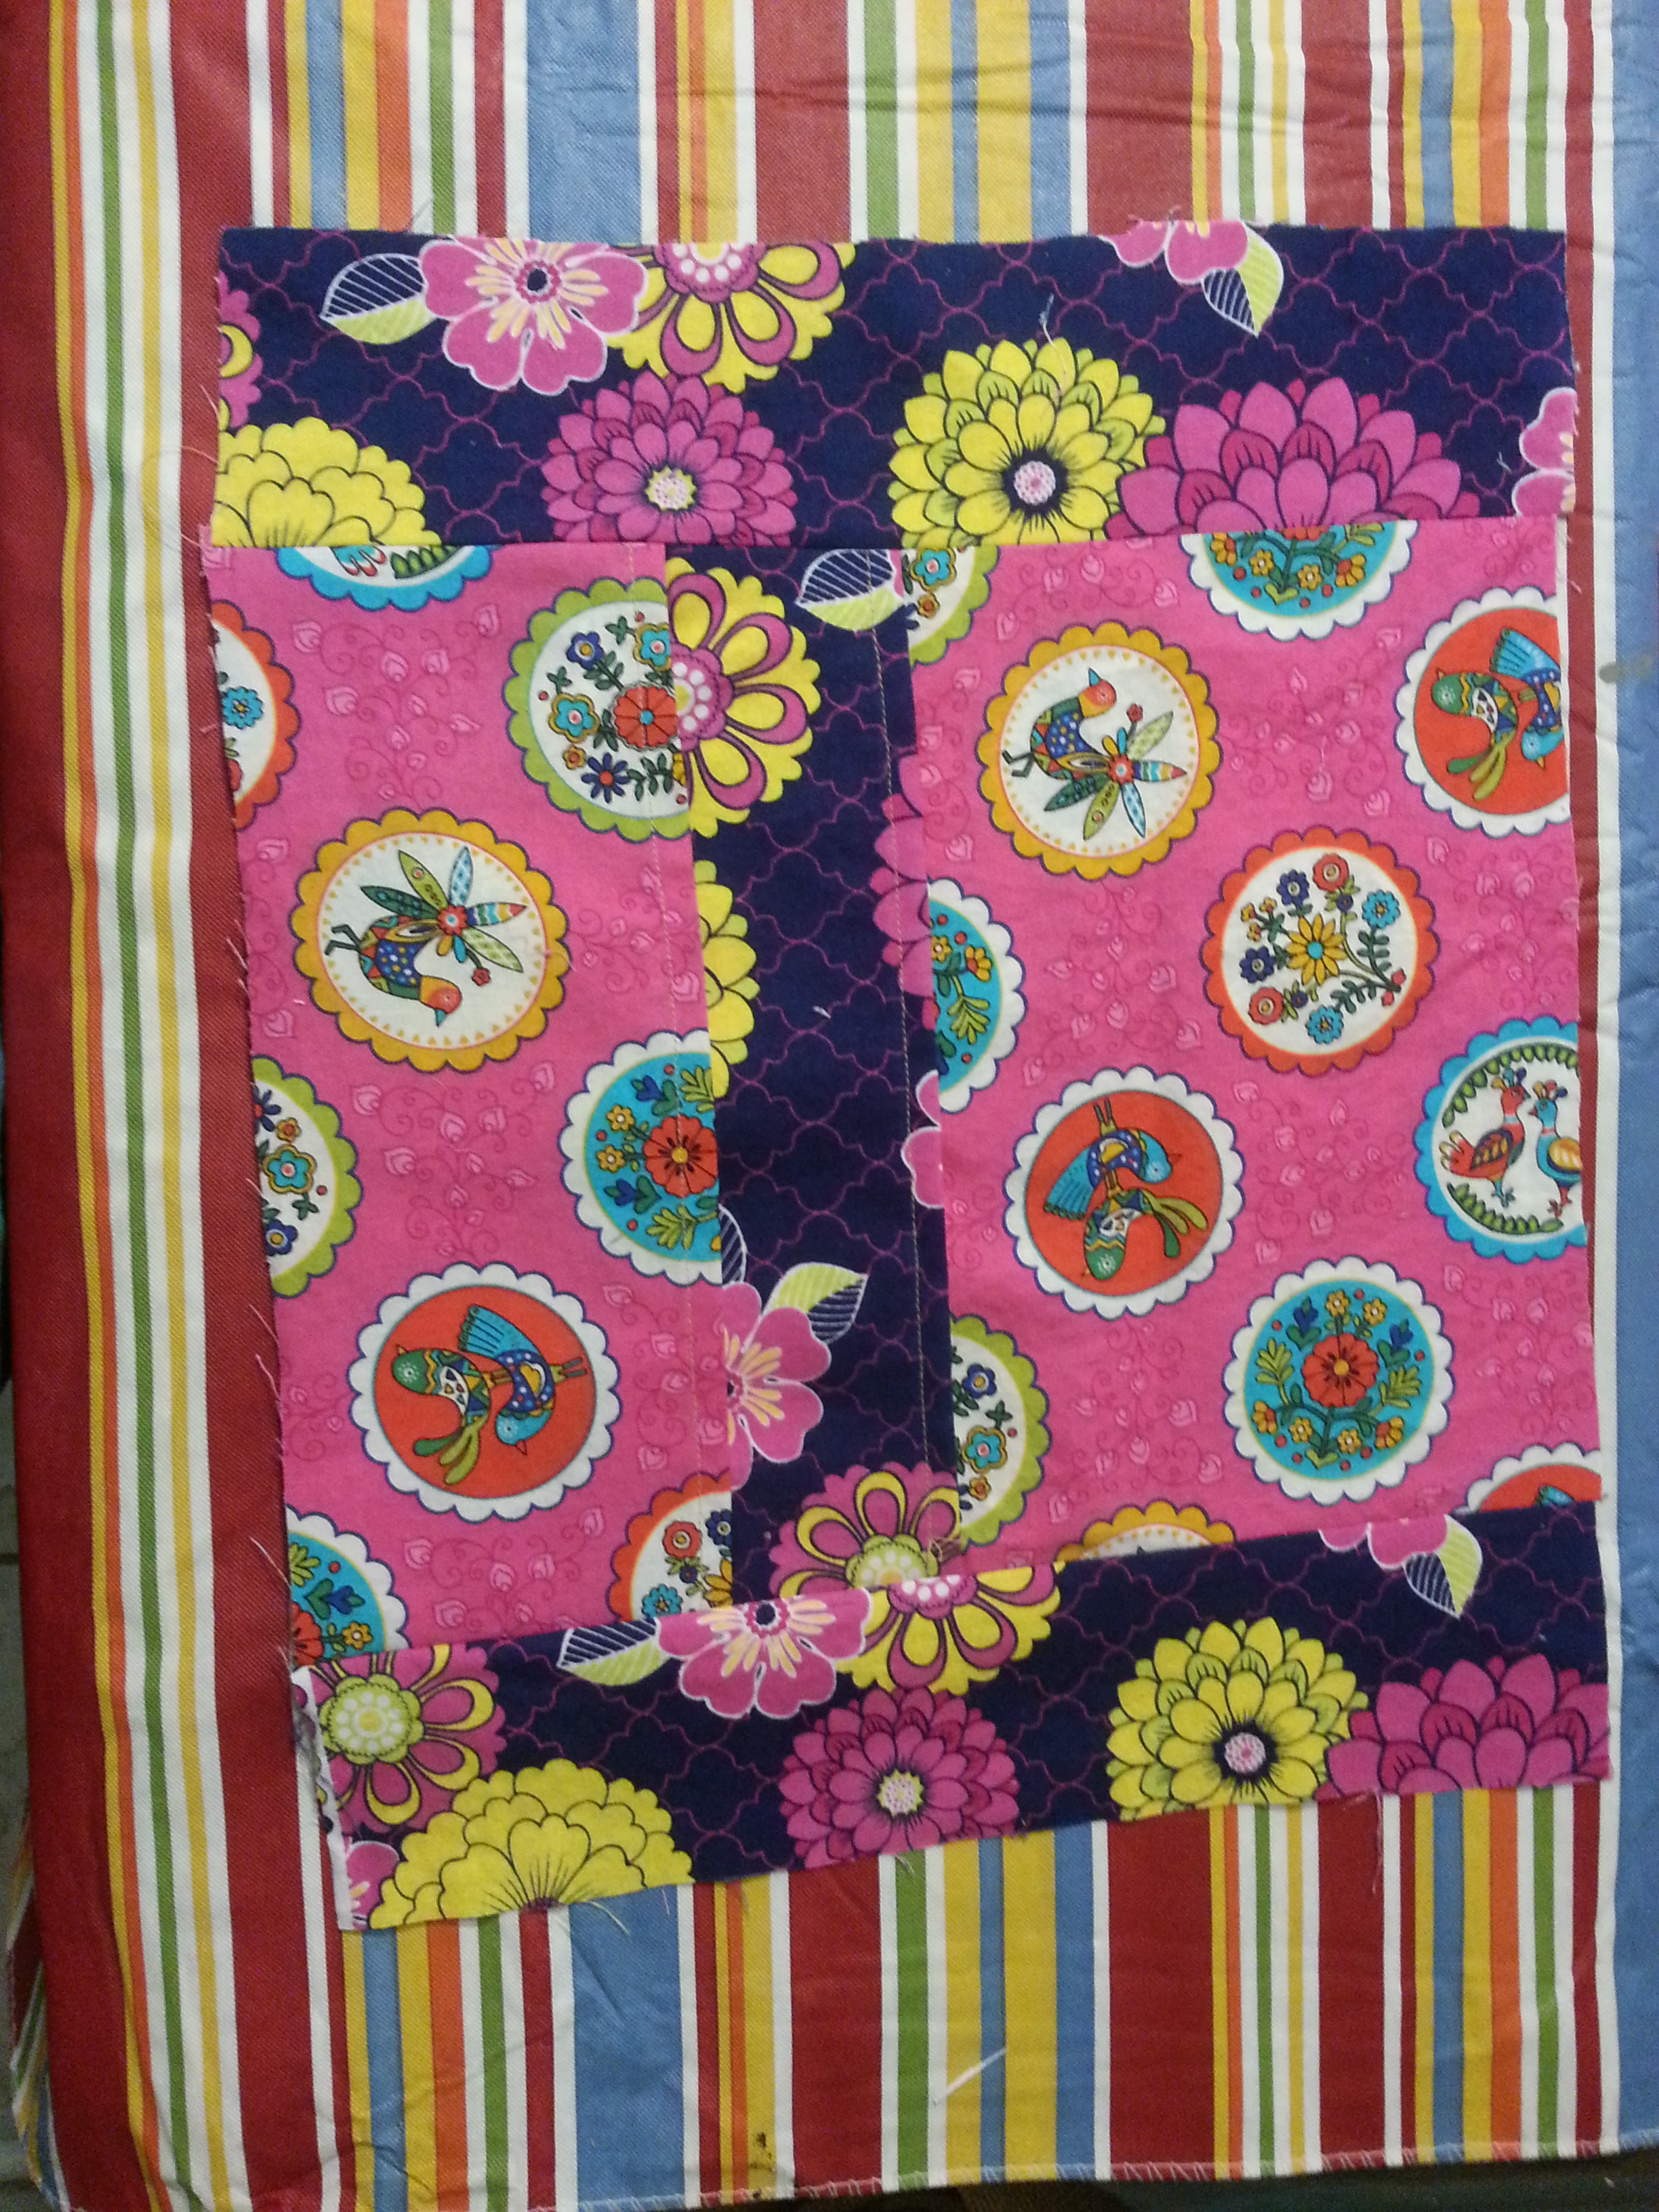
When both are done should look something like…
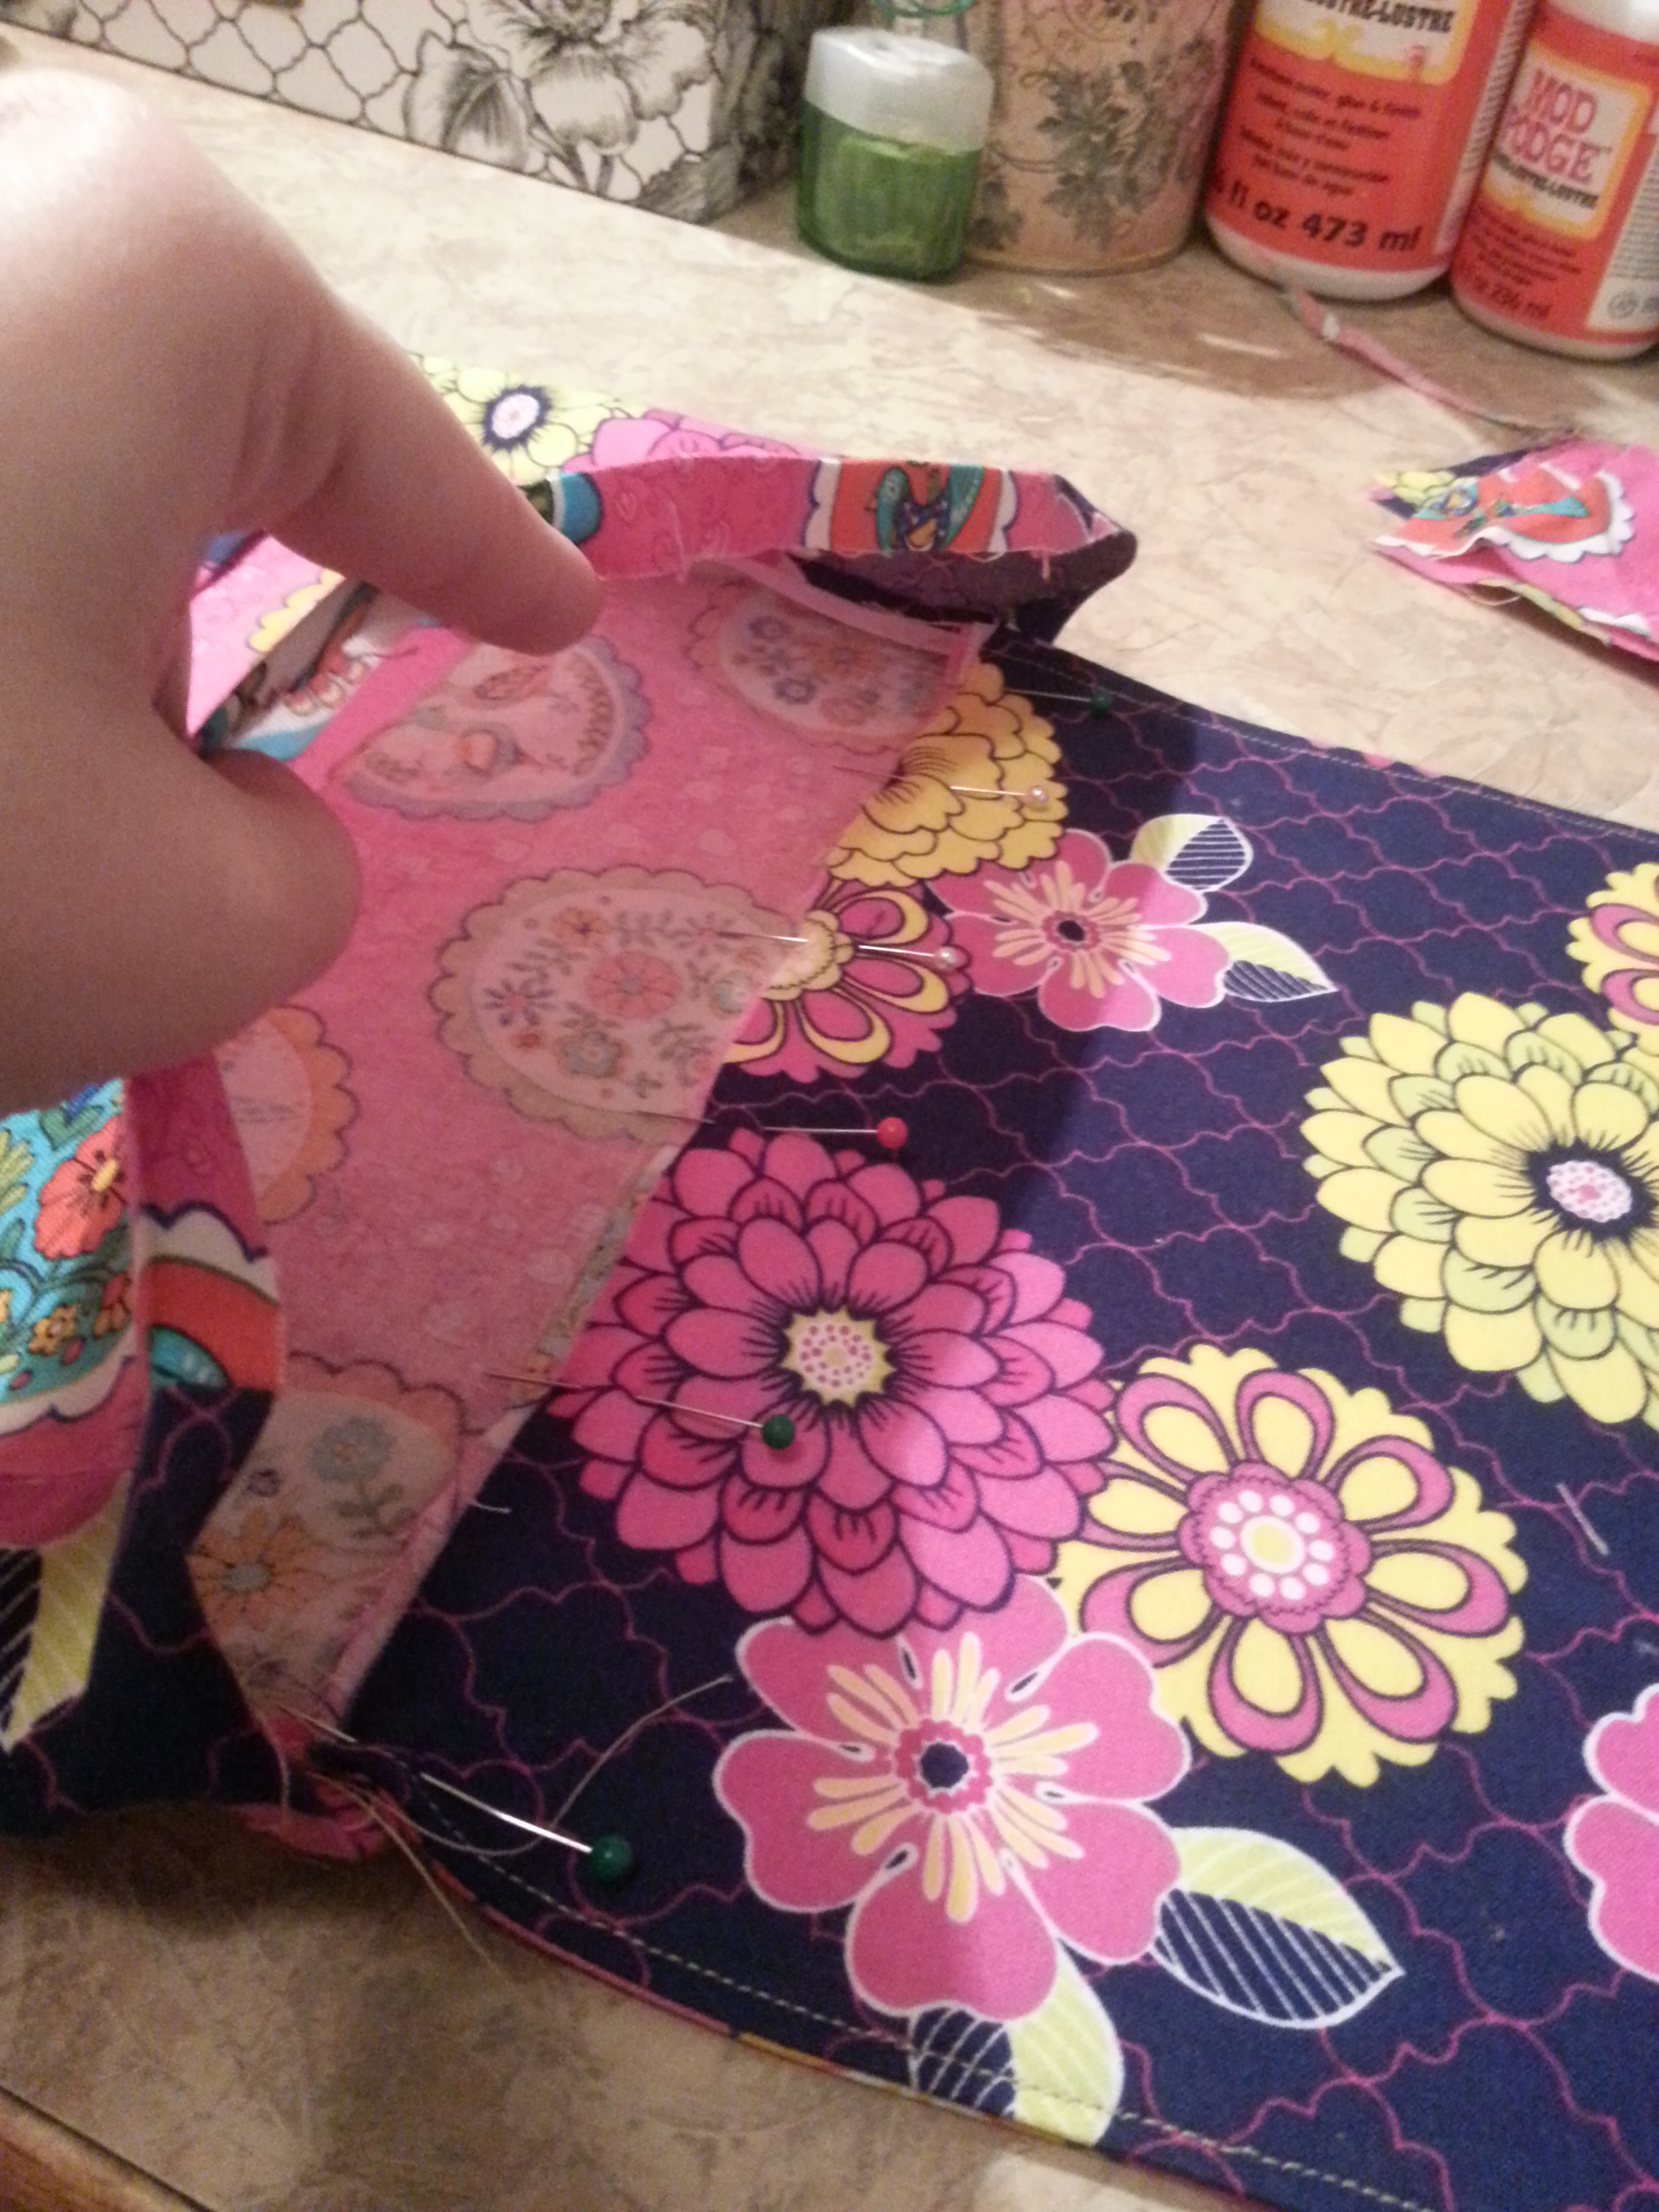
Now, grab all your pins. Use the remaining 12″ x10″ main fabric piece and begin to pin it to all the lining fabric sides on the back (right sides together), creating a bag. Start at bottom corners for best results.

Sew, press, and flip right side out. To save you time and frustration later, press the top raw edges down about 1/2″, do not sew them yet though.


Repeat all these step (without pockets) to create your lining. When finished you should have 2 complimenting bag shapes. Fold and press raw edge of lining bag 1/2″ also. Do not sew.
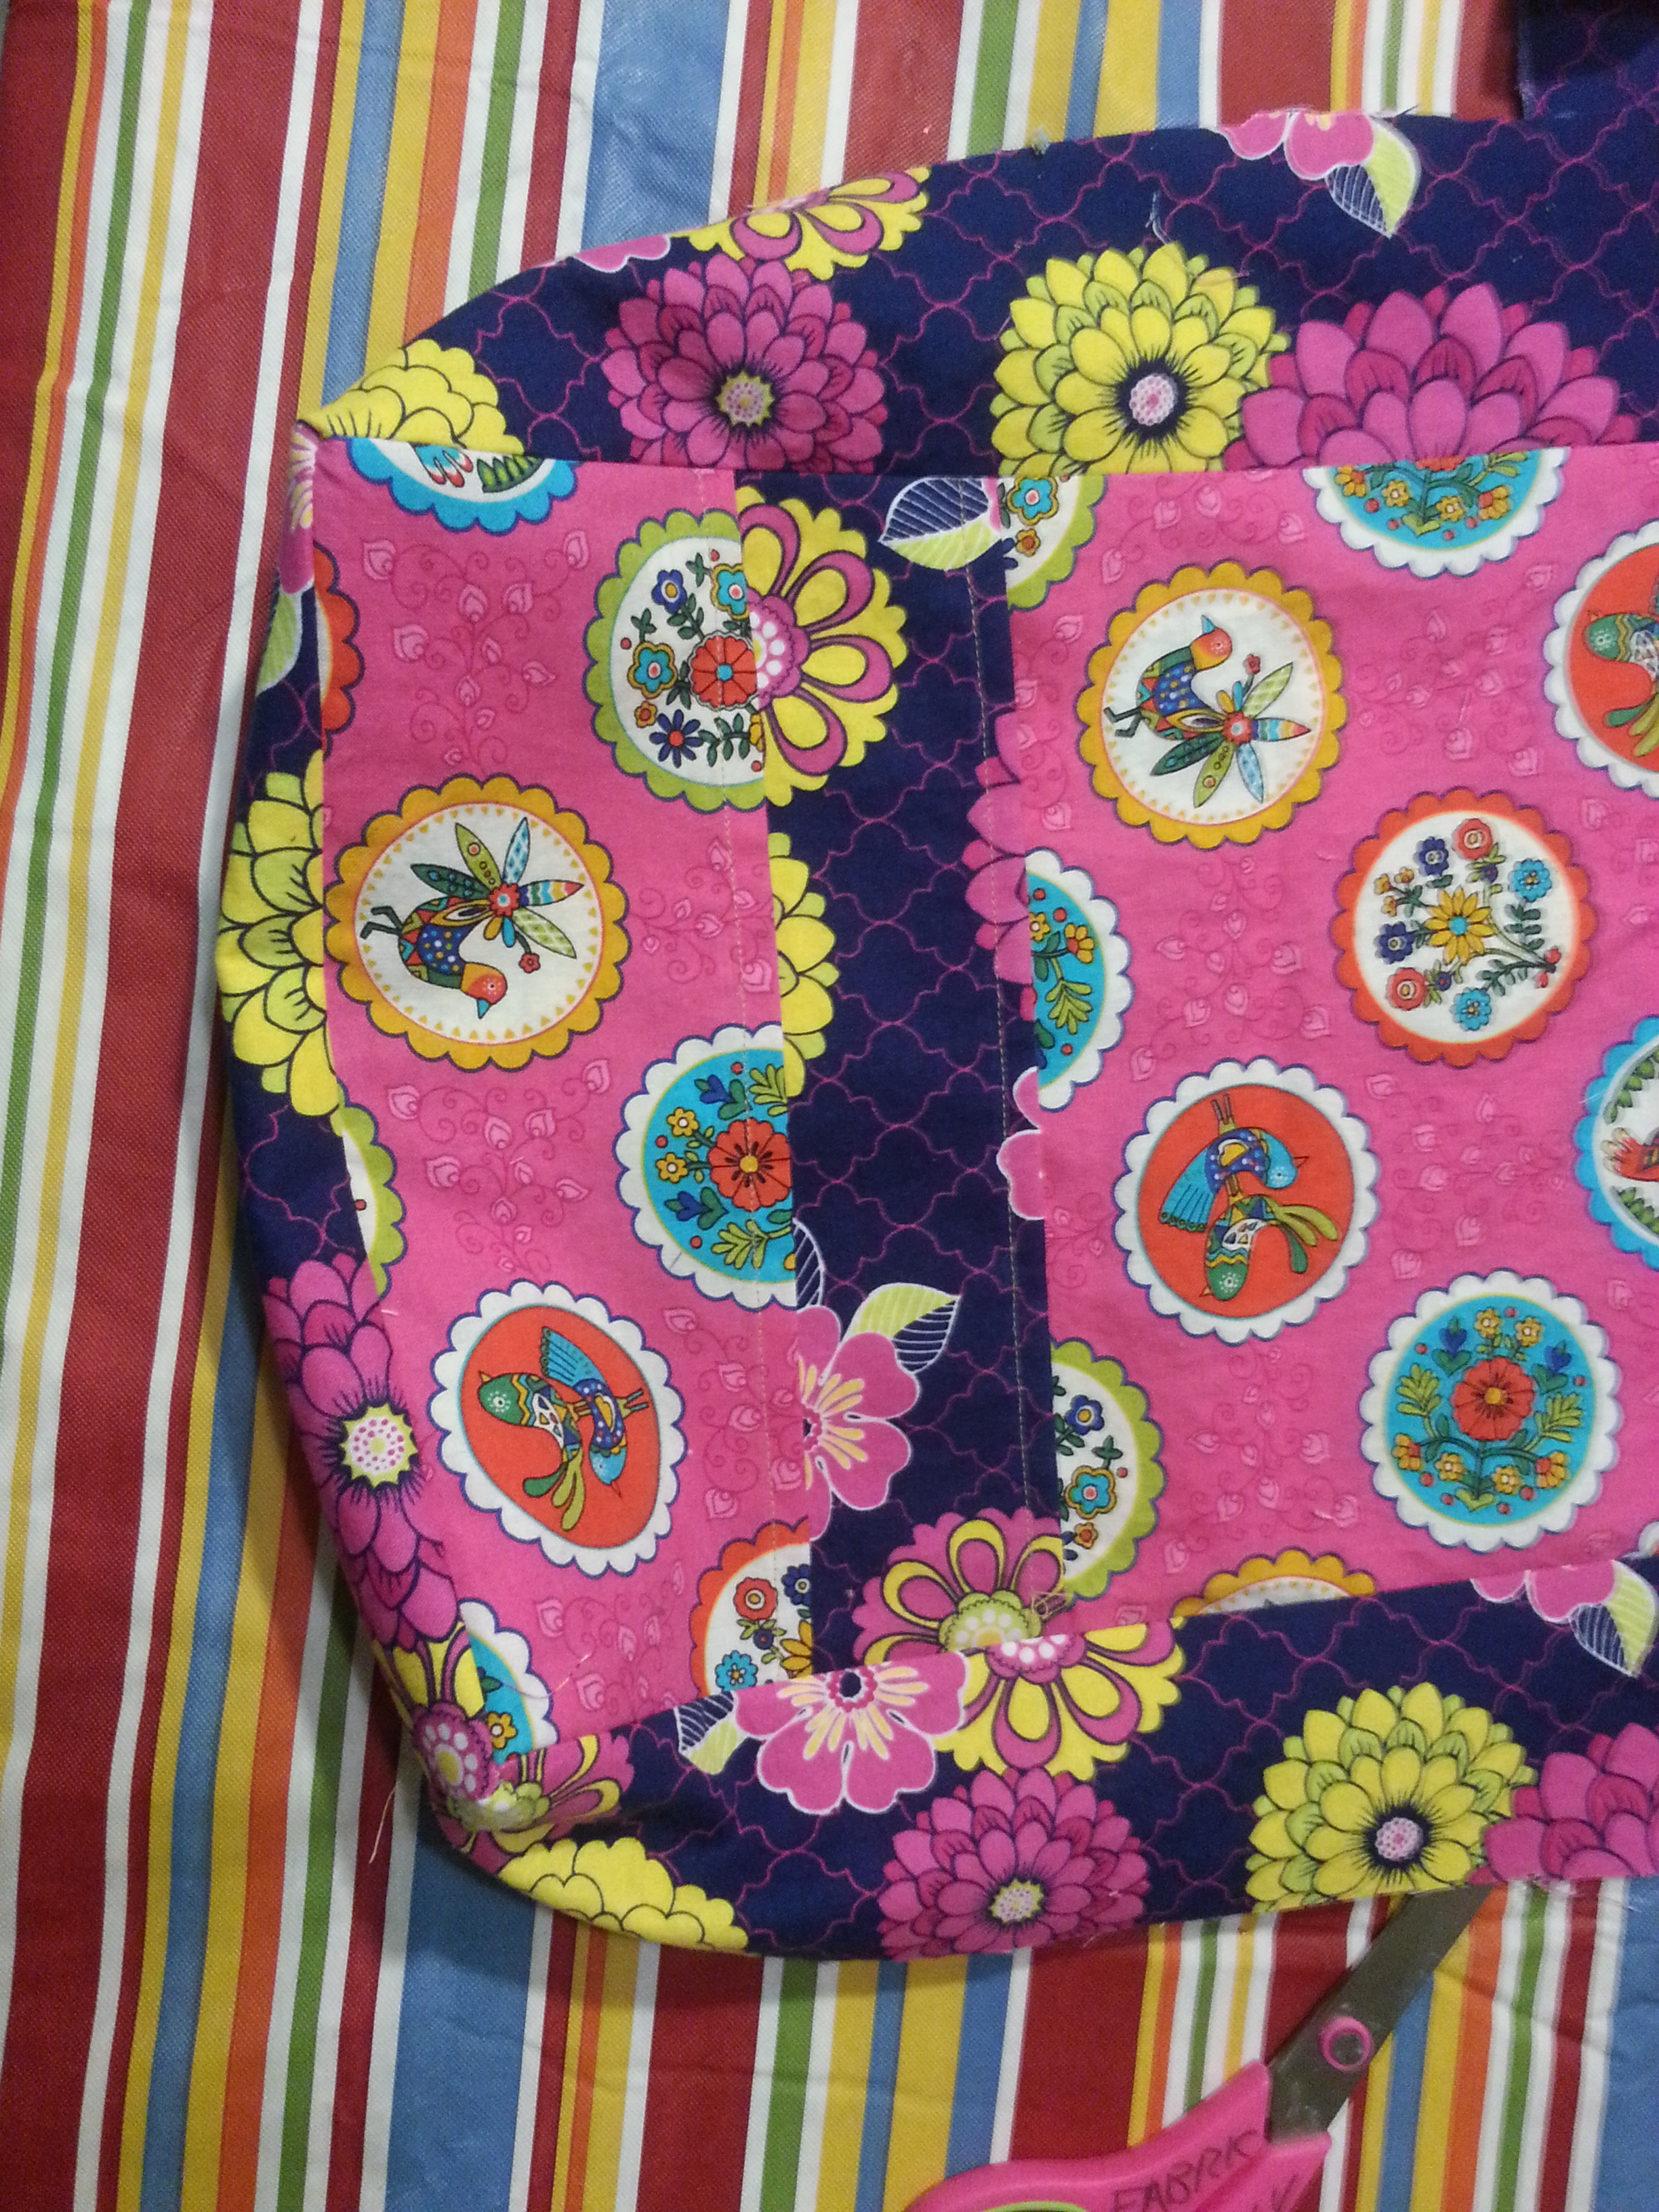
Locate your flap piece with the rounded corners. Now pin your flap to the back inside of your outer shell about 1/2″. Raw edge should be folded down so from the outside there will be no raw edge visible. Sew.
Flip your lining bag inside out and insert into outer bag, so you have right sides visible looking in and out, set aside.
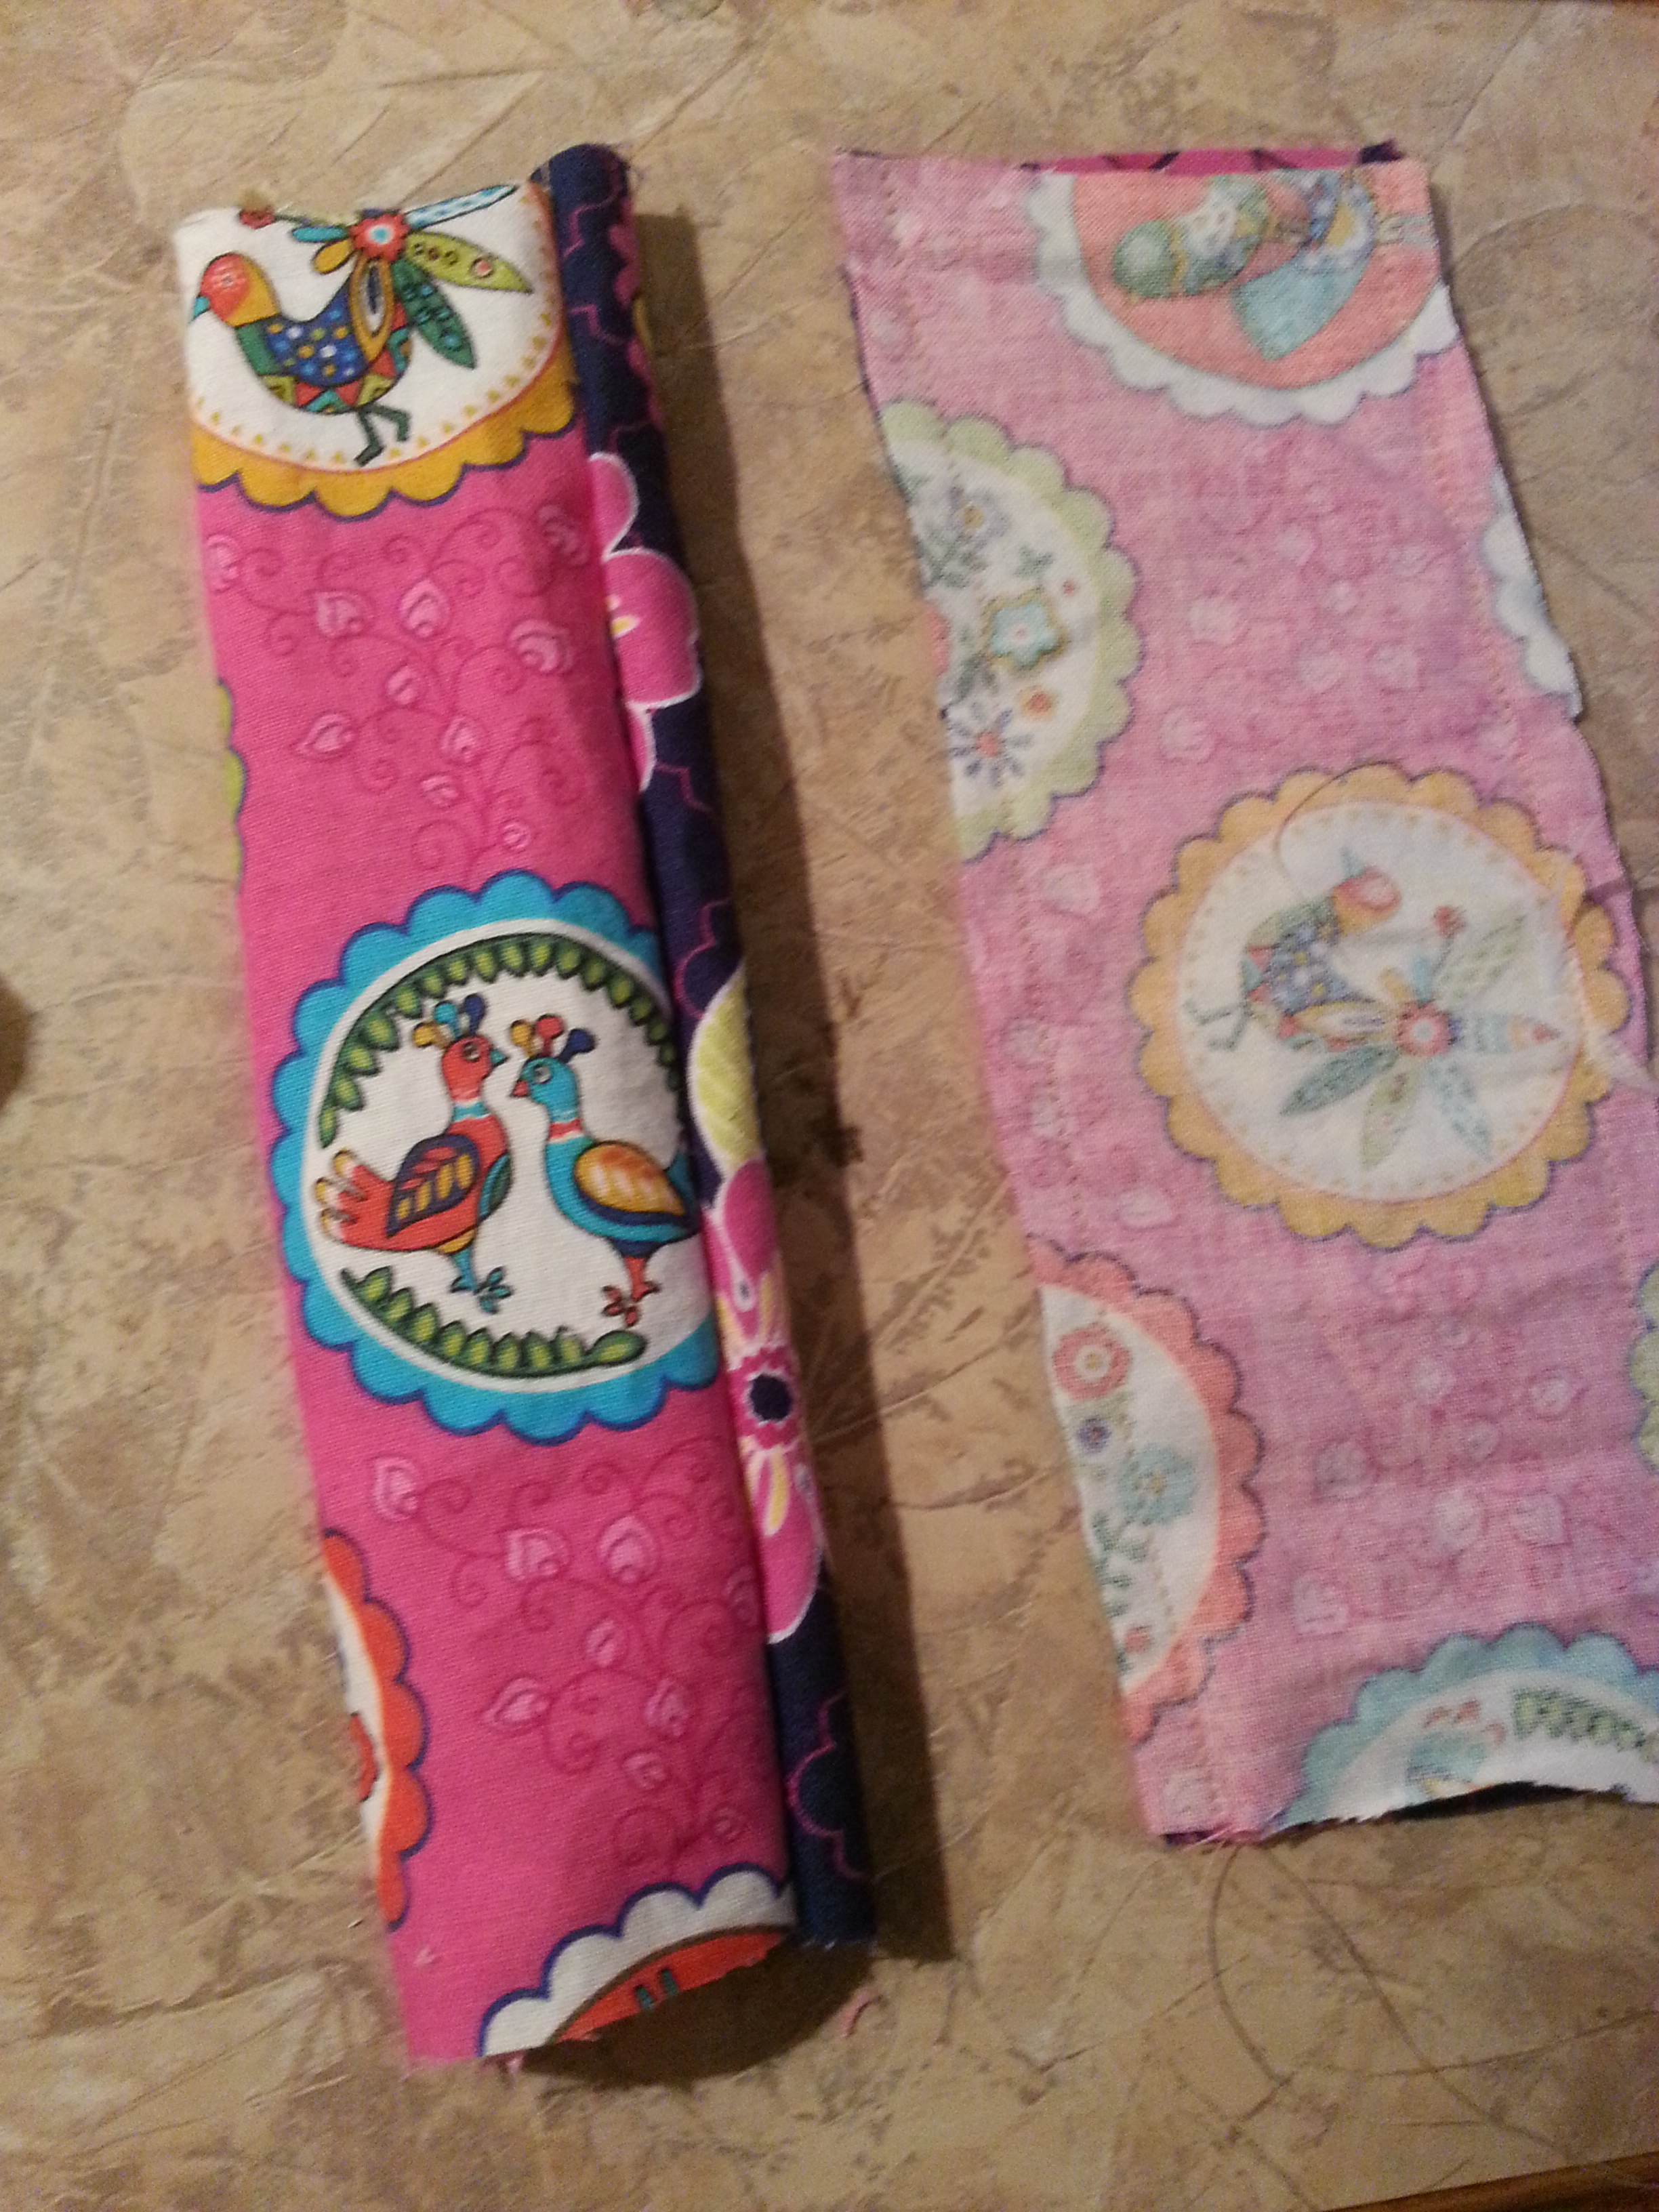
Using your 3.”x 8″ pieces, lay complimenting fabrics right sides together. Stitch completely down both long sides, flip right side out and press. Here is one sewn and one flipped right side out. You should have 2 when complete. These will be your hooks for your metal rings.
loop each piece around one of your metal rings. Sandwich the ends in between the lining and outer shell of your bag along your 3″ sides, inserting ends at least 1″-2″ into the seam. Pin

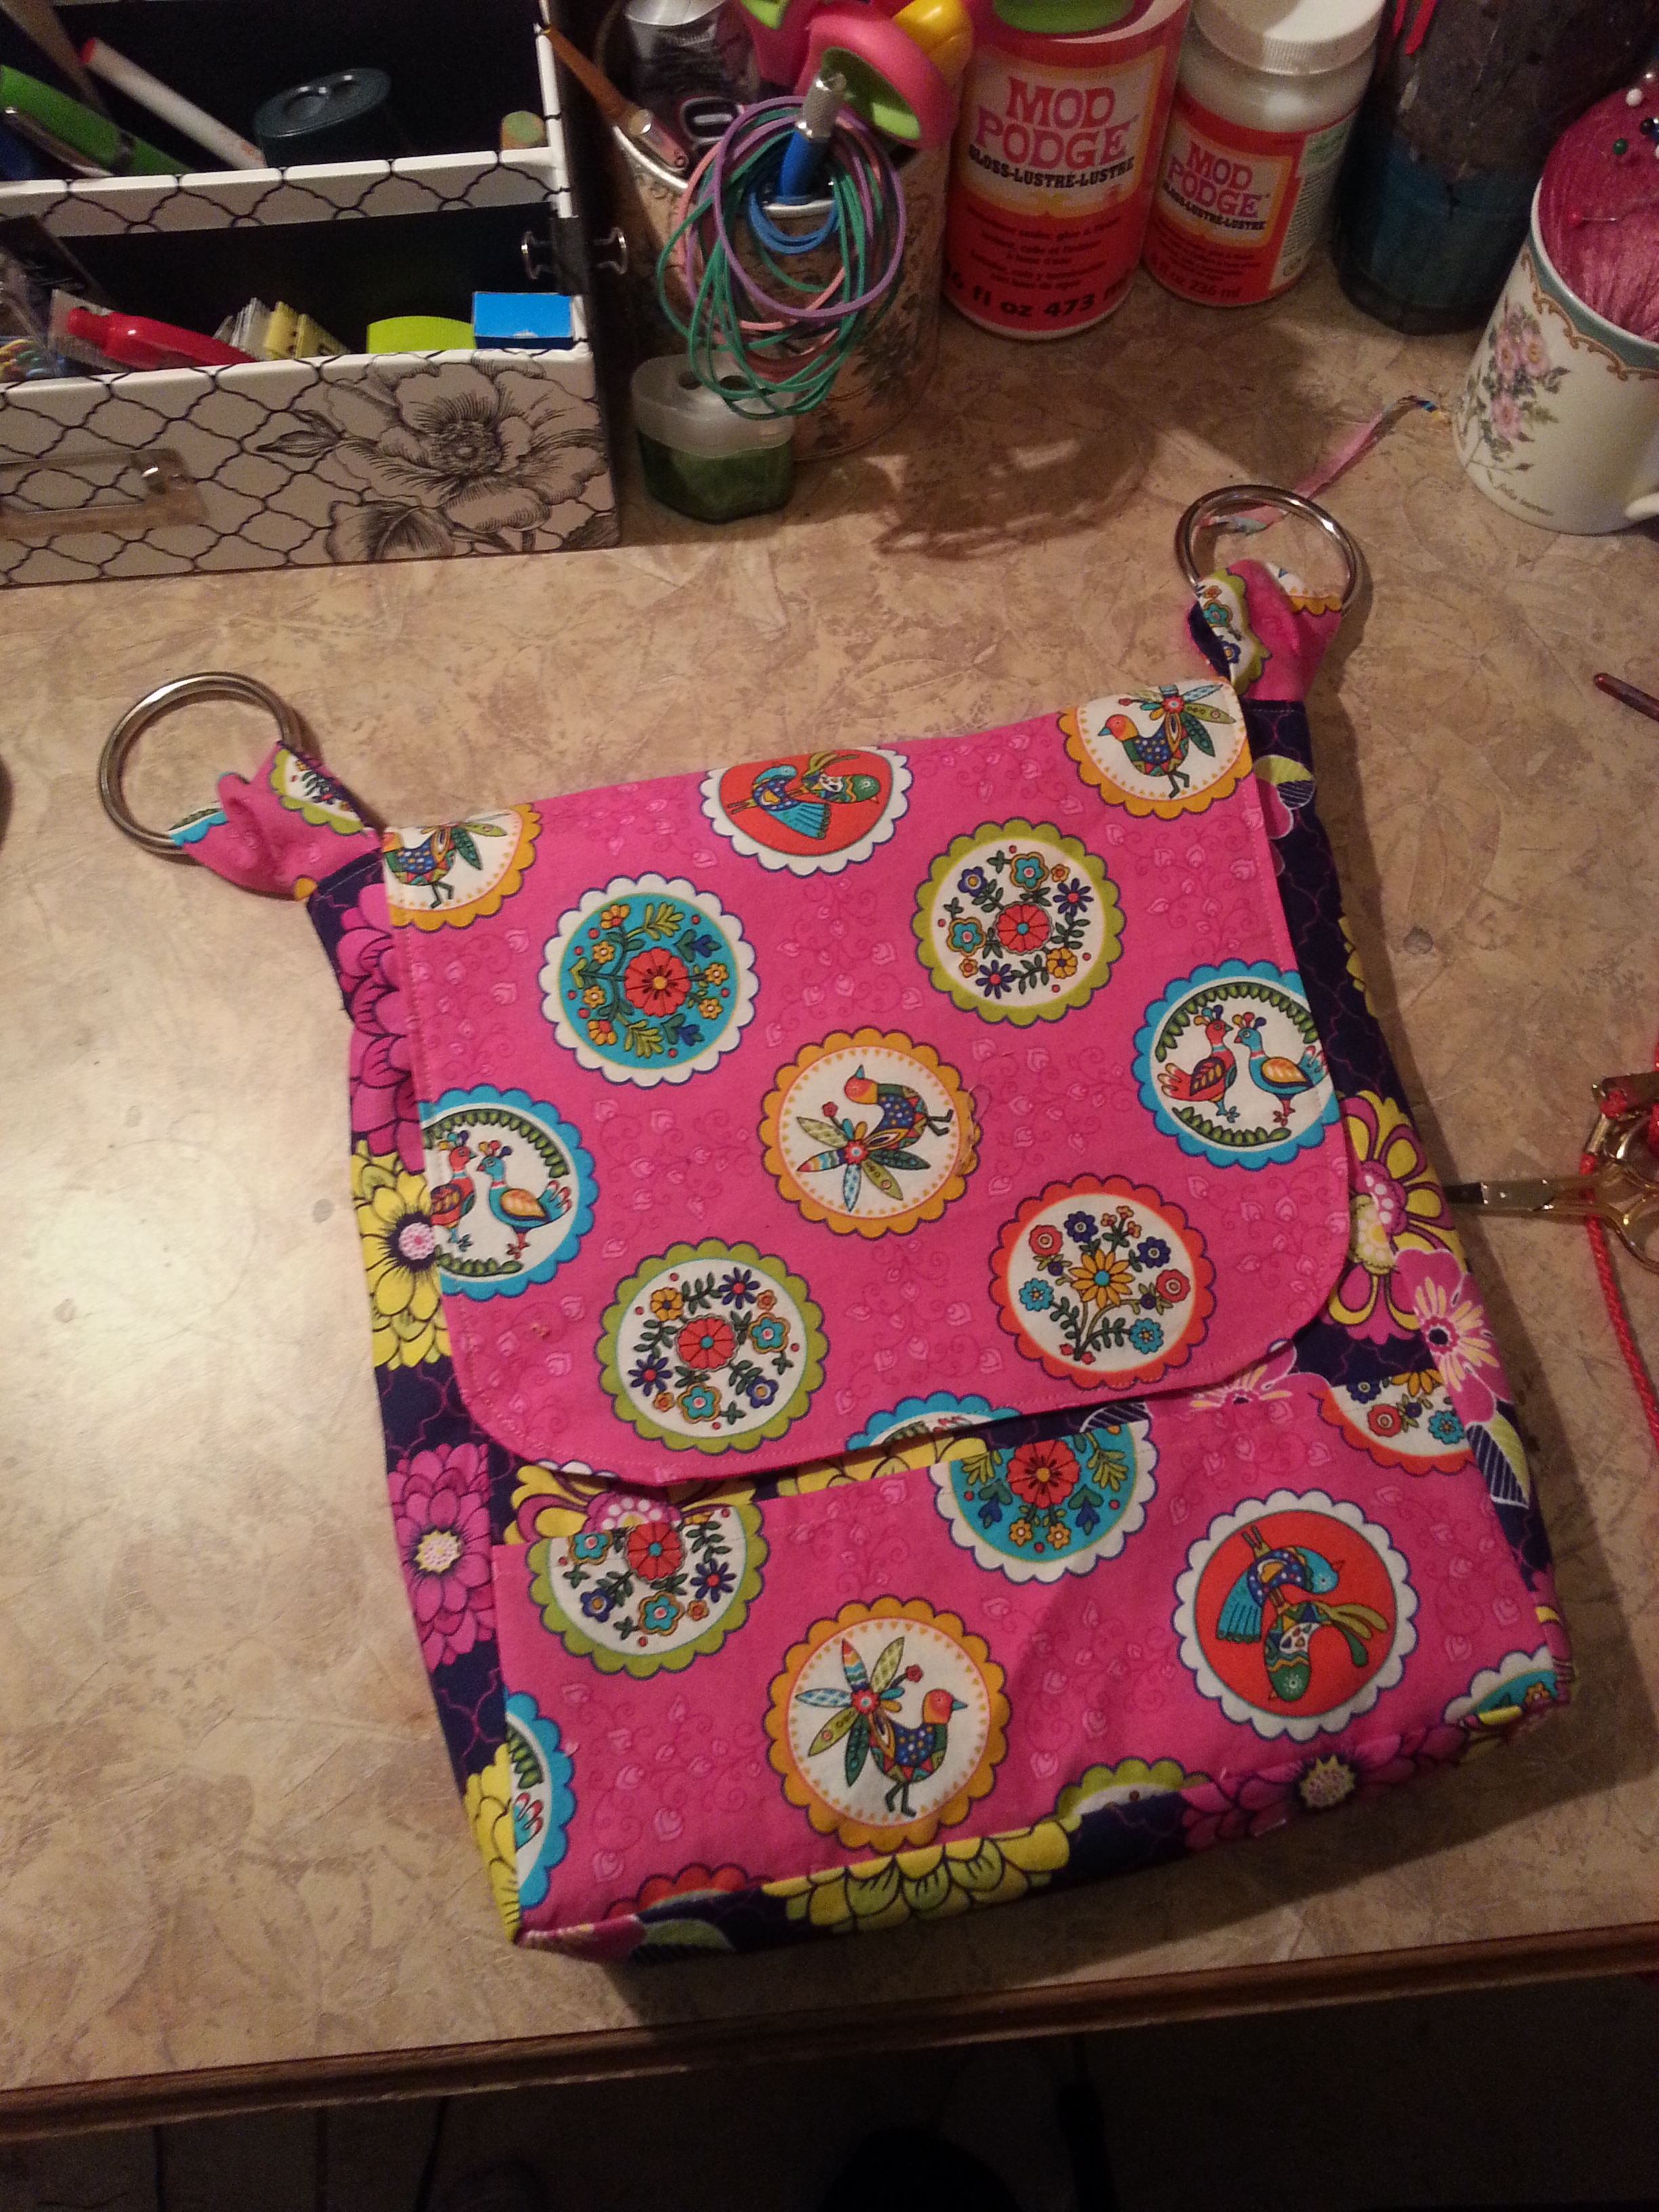
Continue pinning around the entire mouth of bag. With raw edges folded under. Sew a 1/4″ seam around the entire top. Be sure to sew a few extra stitches on both sides with the metal rings. They will be weight bearing seams so reinforce them.

When finished should look something like…
Now for straps. I did not manage to get pictures but there are several way to do this. I cut all my remaining scraps into 3″ strips. I then sewed them all together in a continuous strip, being sure to reinforce each seam with a zig-zag stitch. After I had one long strip of fabric (1.5 yards) I folded my strip in half, right sides together, and sewed straight down.
Then using a safety pin, fed one end through the looong tube pulling it right side out. Press.
You could also use one continuous strip of fabric if you have it, or use nylon strapping.
To attach to your metal rings you have 2 options. One being the most simple, by choosing a set strap length and sewing it directly around the loop on both sides. Be sure to fold your raw edge under.

To make an adjustable strap, FIRST attach one end of the strap to your 2 smaller rings

Then loop your raw end thru one big ring and into the smaller rings much like a belt. Pull all the way to the opposite larger ring and sew like in first drawing above. you should have double strap on one side like so…
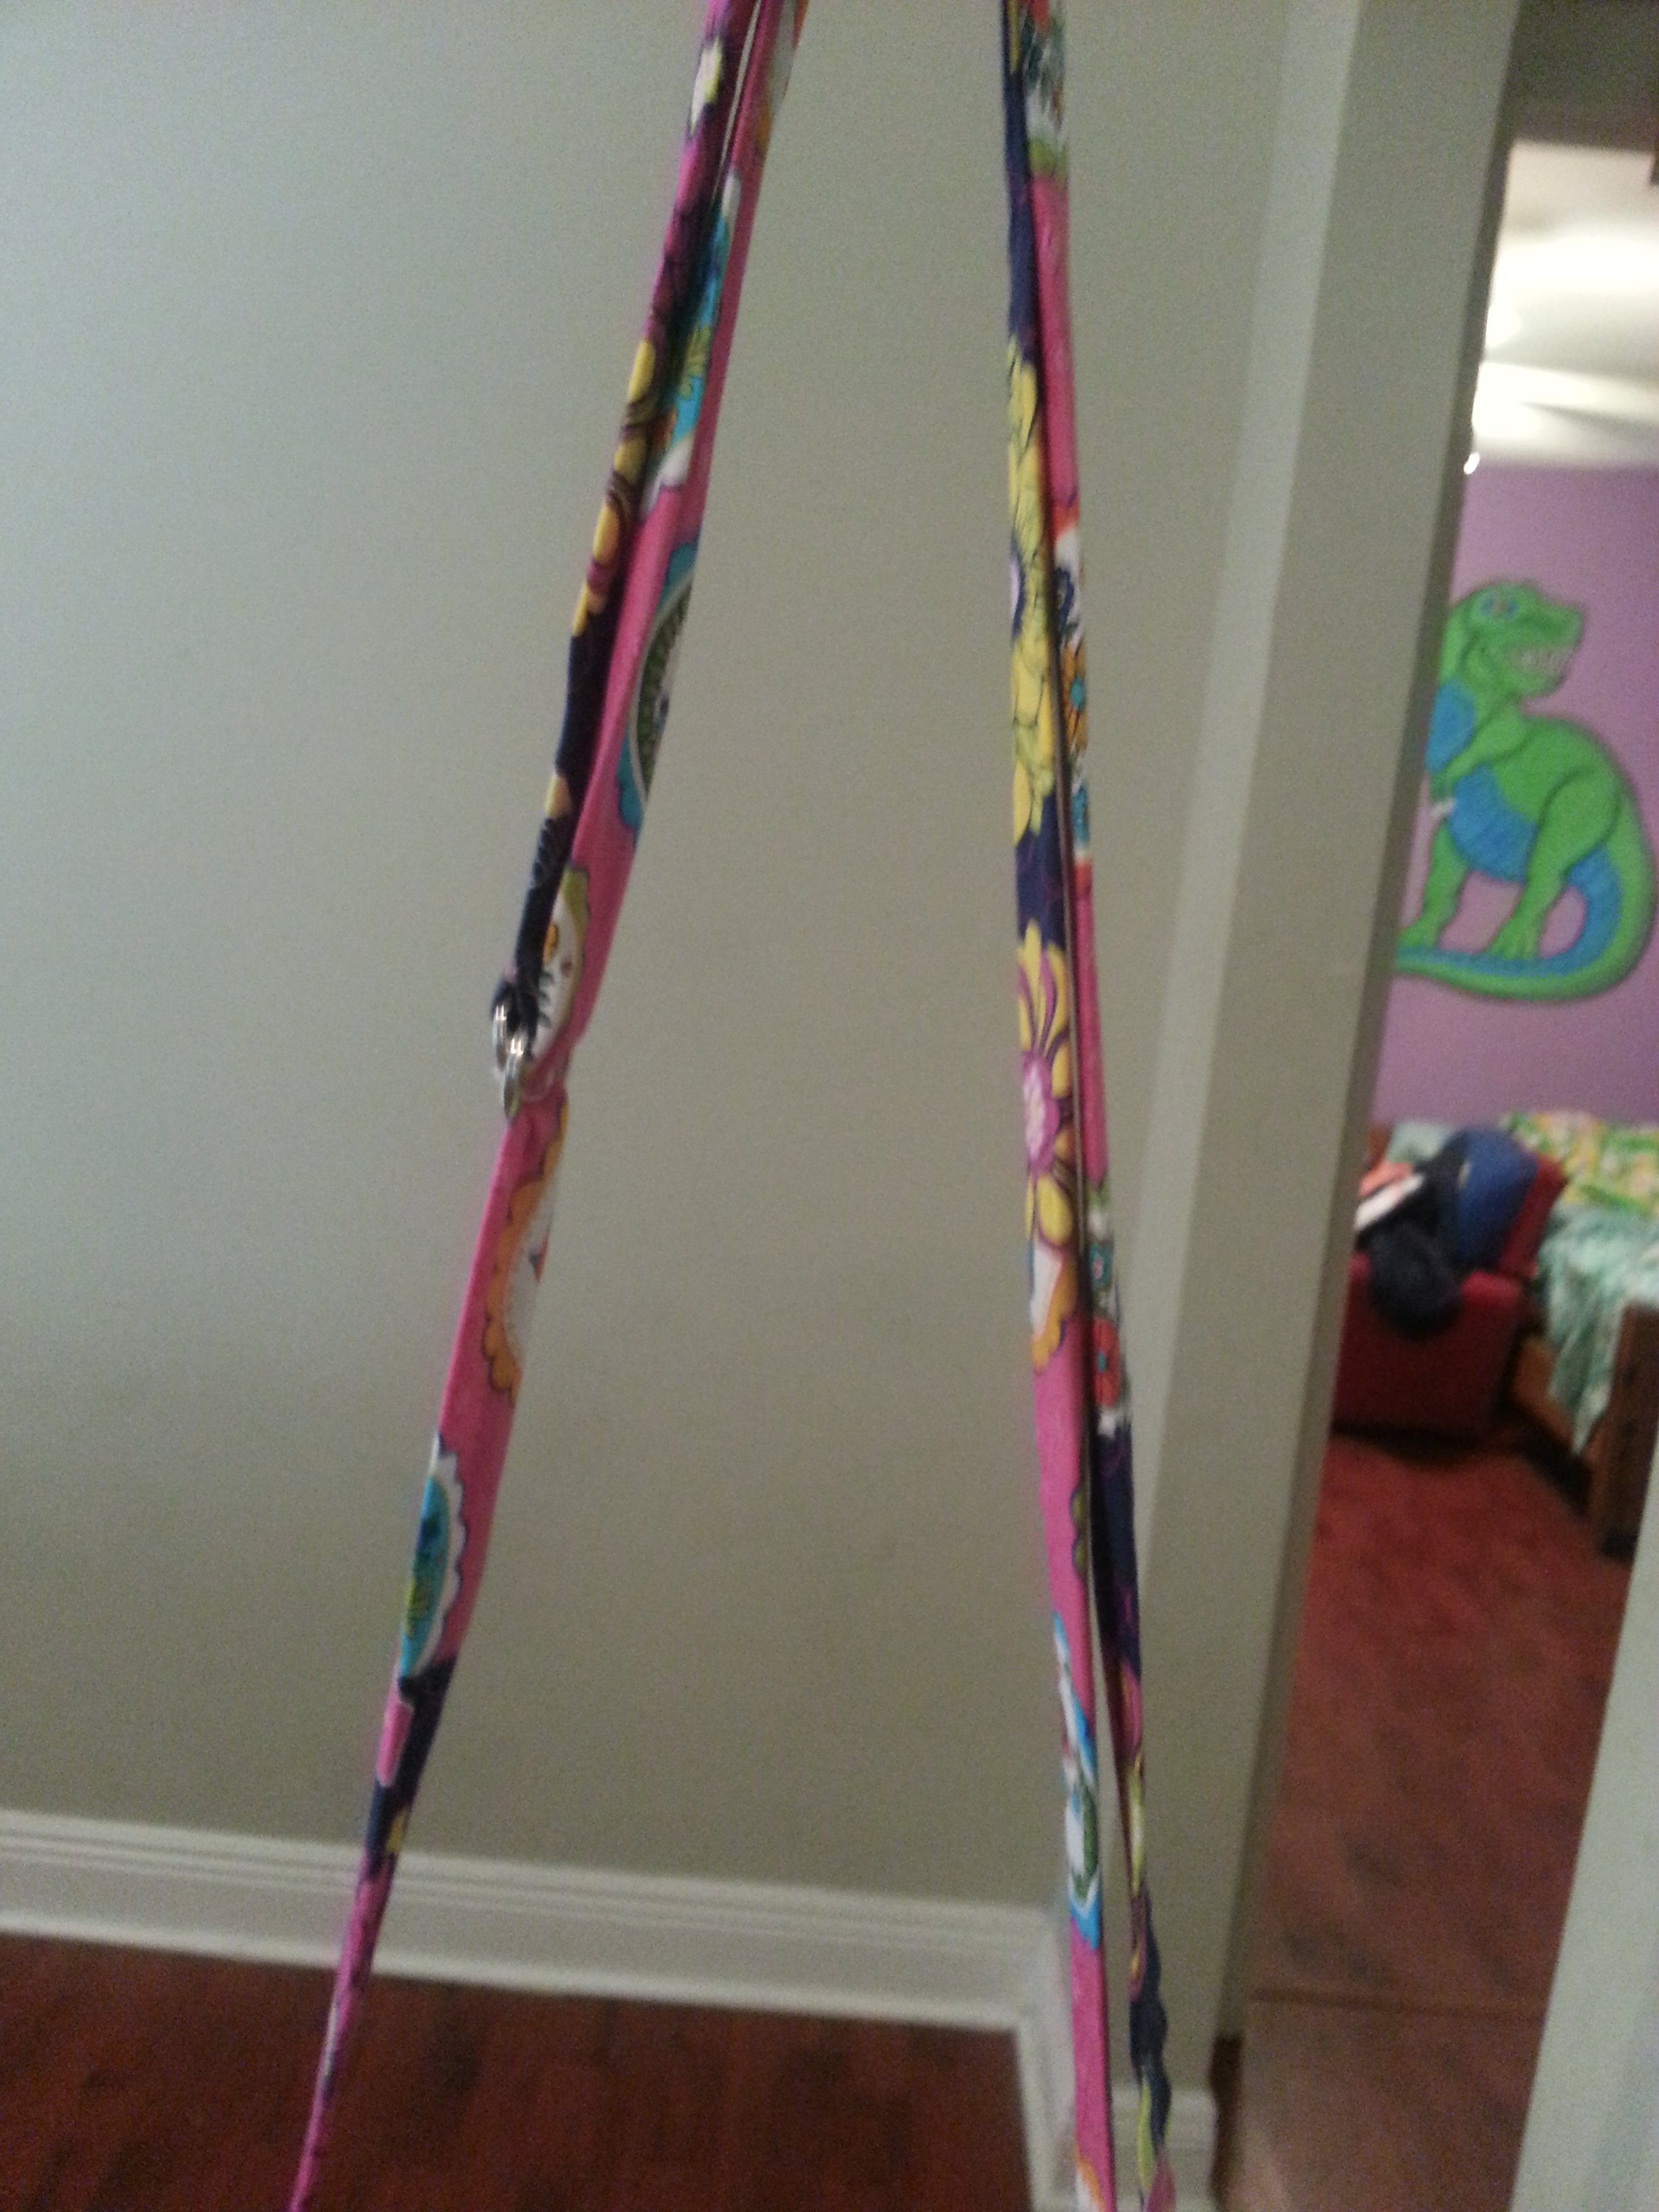
Attached to larger rings like so…

Once That’s done, ENJOY YOUR BAG!
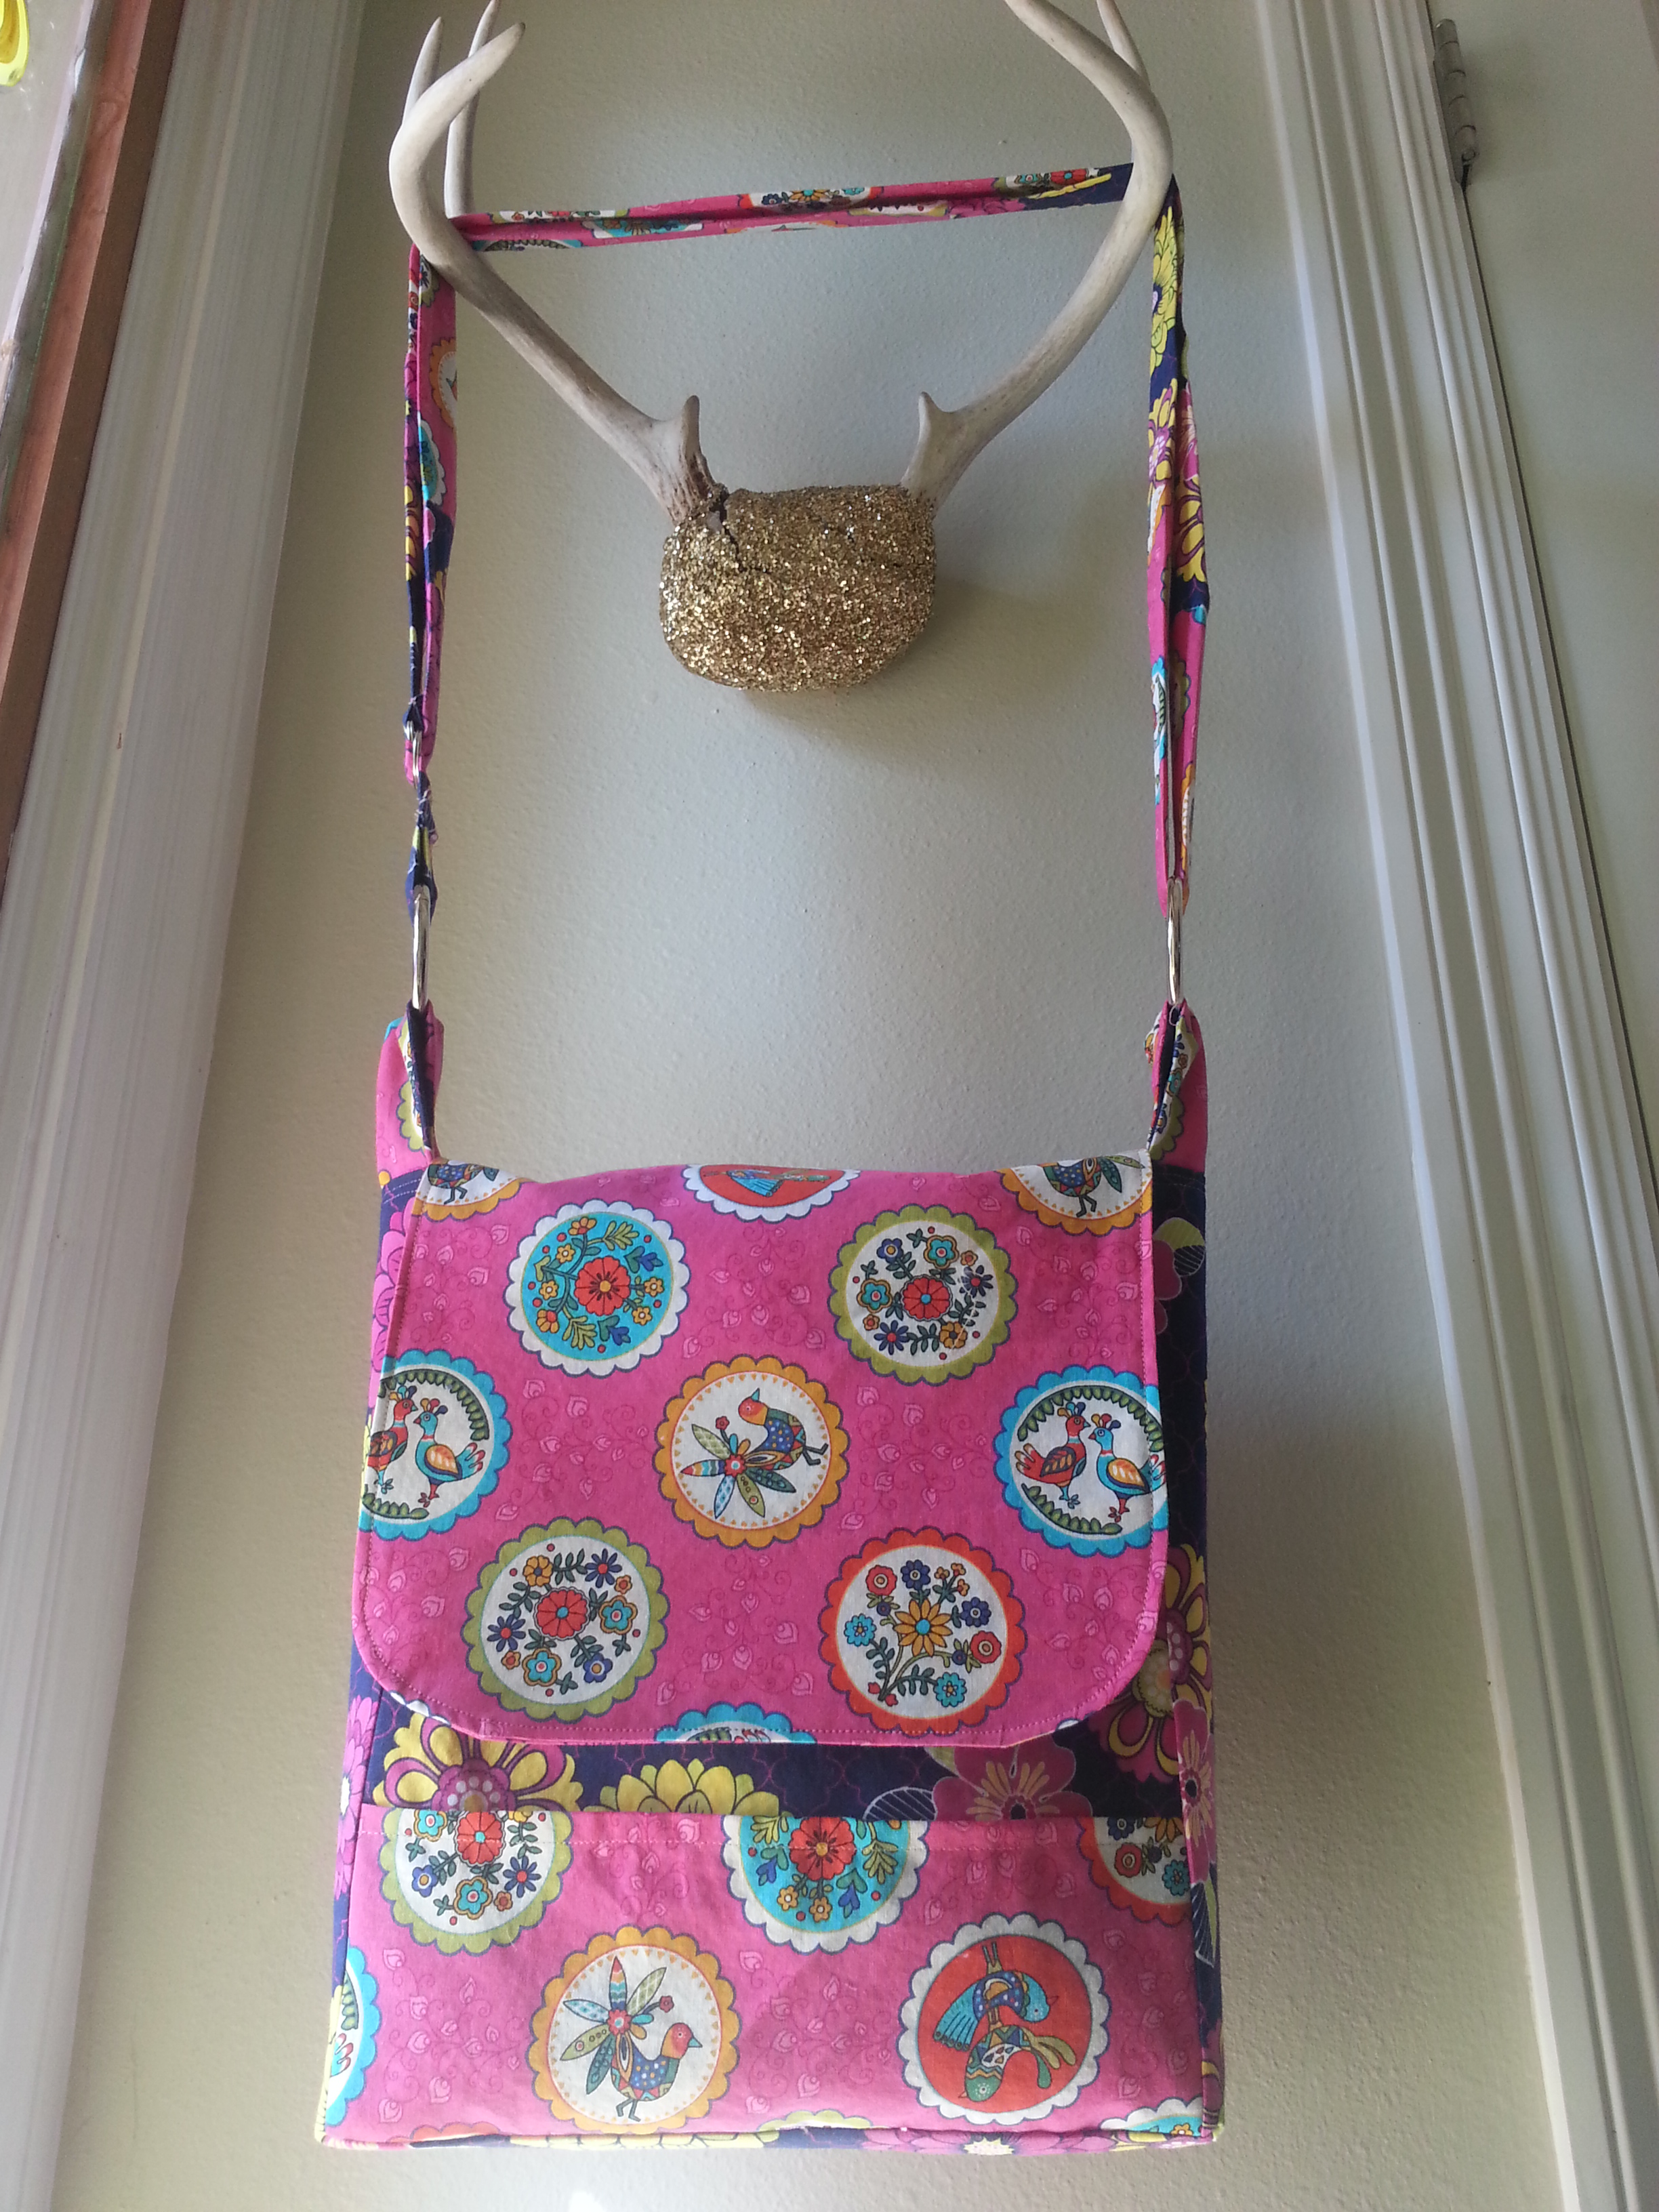
Note: You can add snaps or velcro. I didn’t have any handy for this project but I prefer the flip and grab. My current bag has a magnetic snap and I want to chunk it every time I try to snap it while wrestling kids though a parking lot.. Like looking for a contact in a blizzard. Will probably go with velcro if I make another though.
