
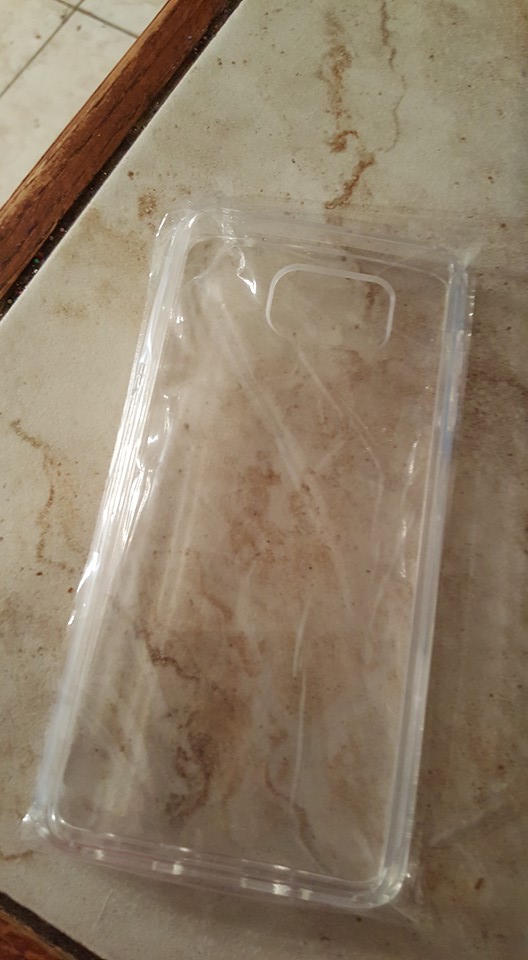
Step 1. Purchase a clear case to fit your phone model. They are available for $2 all over Amazon.com. Can’t beat that. One case will work for multiple designs though, so you only need one.
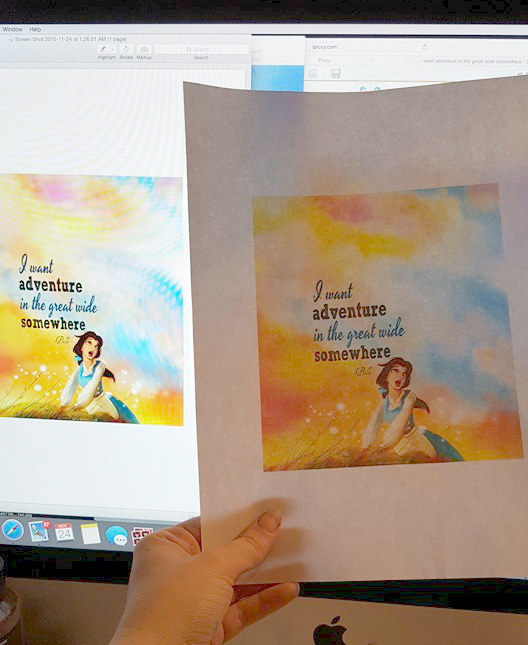
Step 2. Find an image you like and print. Here, you can use trial and error to print the size you like or to save ink I opened the image I wanted in adobe reader as a pdf. There you can see the image in the exact size on screen as it will print on paper. I held my clear case to the screen until the size was what I wanted.
Step 3: Lay case over the image, as you want it to look on the phone and trace around it. Cut the image out by cutting ever so slightly INSIDE the trace line.


Step 4: Carefully put image into case. You may have to cut away very small edges at a time to adjust to case. You do want some of the paper to fold over the phone edge though so precision isn’t a big deal. Once on, use a box cutter or x-acto knife to cut out the camera slot. (Do this with the paper side up. It is much easier that way)


Step 5: Put it on your phone! Voila! You can change it as often as you want. Use photos of family, let your kids draw on pre-cut phone templates, use a pic from a magazine, anything paper!

(((I made two thus the difference in finished product and tutorial pics. I decided I wanted more Belle and more colors after I finished the first one.)))
