
I have seen lots and lots and lots of photo to canvas transfers. The majority of these transfers call for a gel medium which runs about $13…. NOPE! It also calls for 12 hours of drying. “Ain’t nobody got time for dat”
So here is my version that was muuuch cheaper! It also makes creating a more vivid picture easier without as much peeling and tearing.
Supplies:
Printed image from laser jet printer
Canvas to fit printed image
White acrylic paint
Modge Podge
Olive or vegetable oil.
Blow Dryer (optional)
Cost:
To print $0.10
Paint $0.30
Modge Podge $0.10
Vegetable oil $0.05
Canvas $1.00 (9 pack for $9)
Total: $1.55 per canvas photo
Now here is how you do it!

Step 1: Print you image. Be sure to flip it the opposite of how you want it to look as you will be transferring it face down. Paint your entire canvas with one good coat of white acrylic paint. Be sure to paint the entire surface. Allow to dry. You can use a blow dryer to speed up this process or it will dry on it’s own within 15-30 minutes depending on how thick the paint is.

Step 2: Cover entire surface in modge podge.
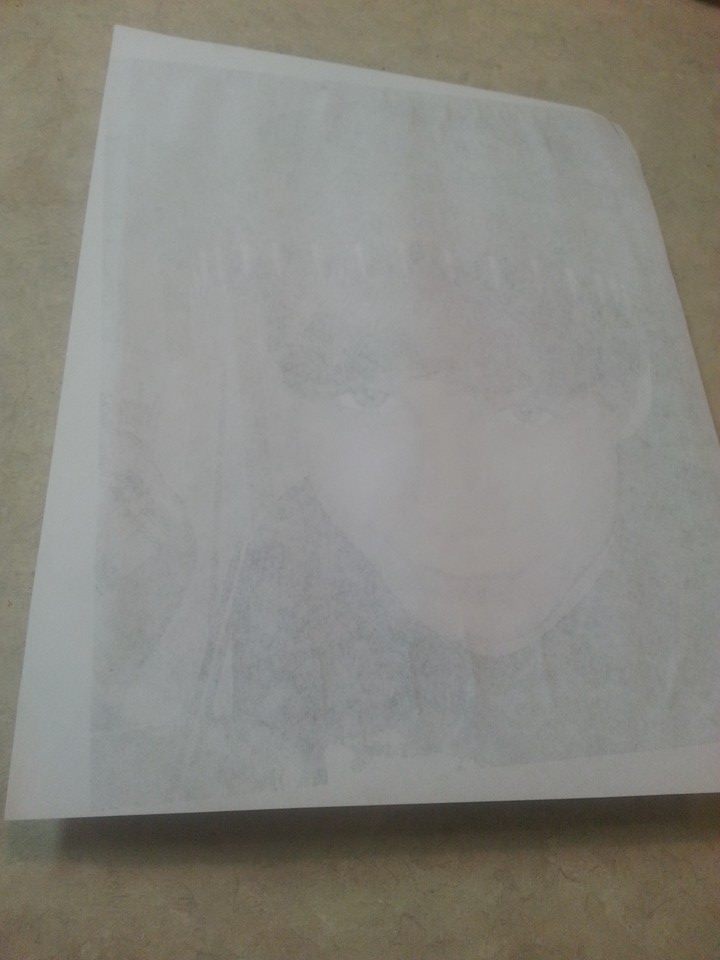
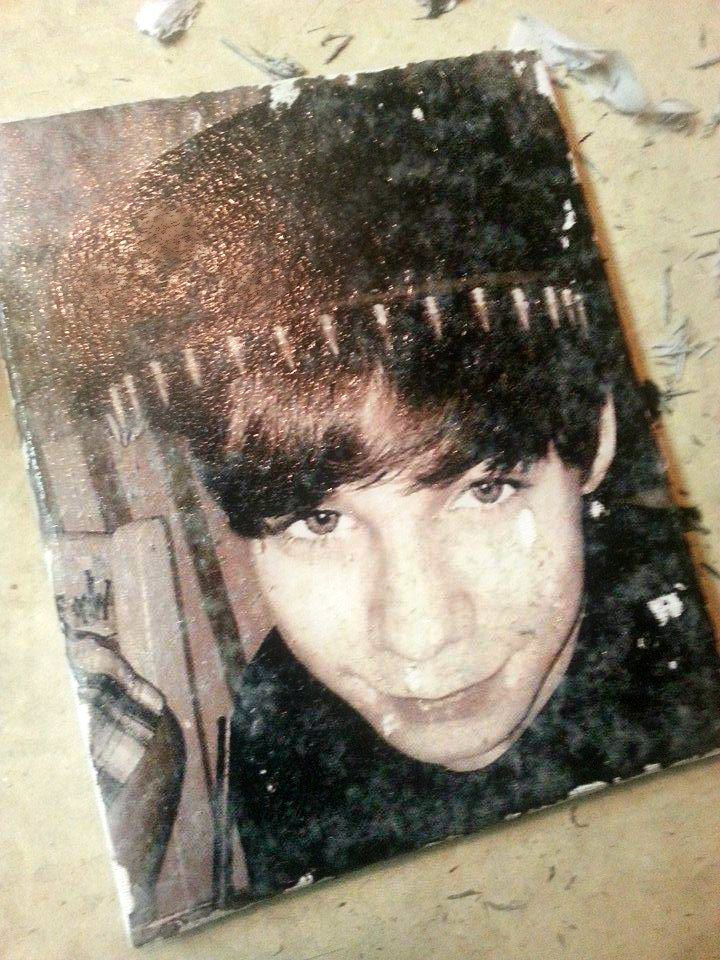
Step 3: Place photo face down onto canvas and smooth out all bubbles. Try to create as little wrinkles and bubbles as possible. Allow to dry. This can be sped up with a blow dryer also. Without a dryer allow 20-40 minutes to dry.
(This is a great project to work on while cleaning the house or preparing supper)
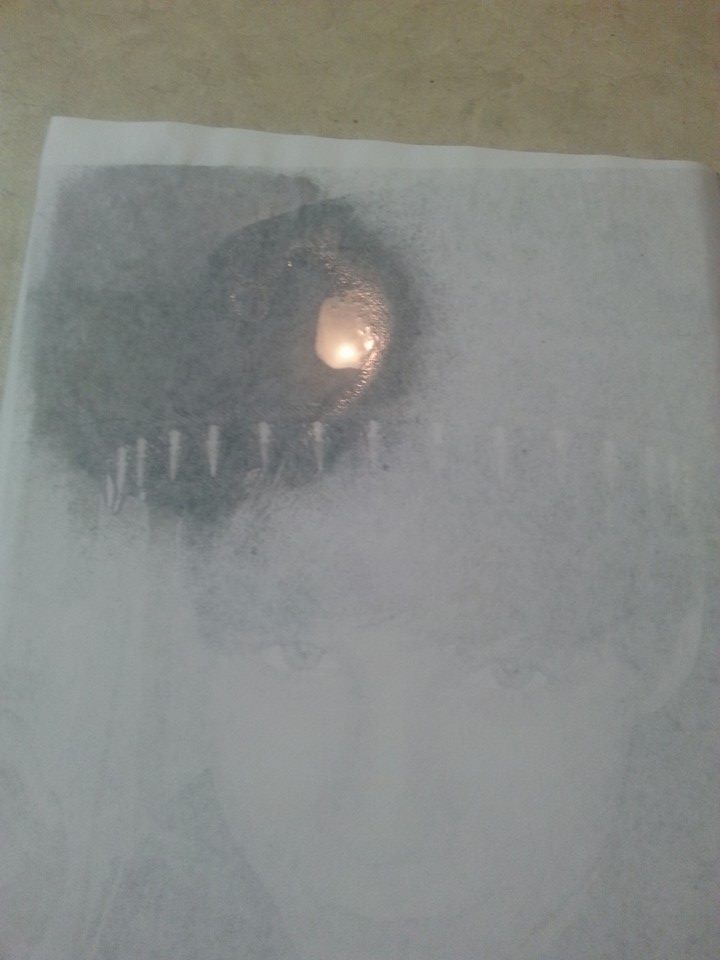
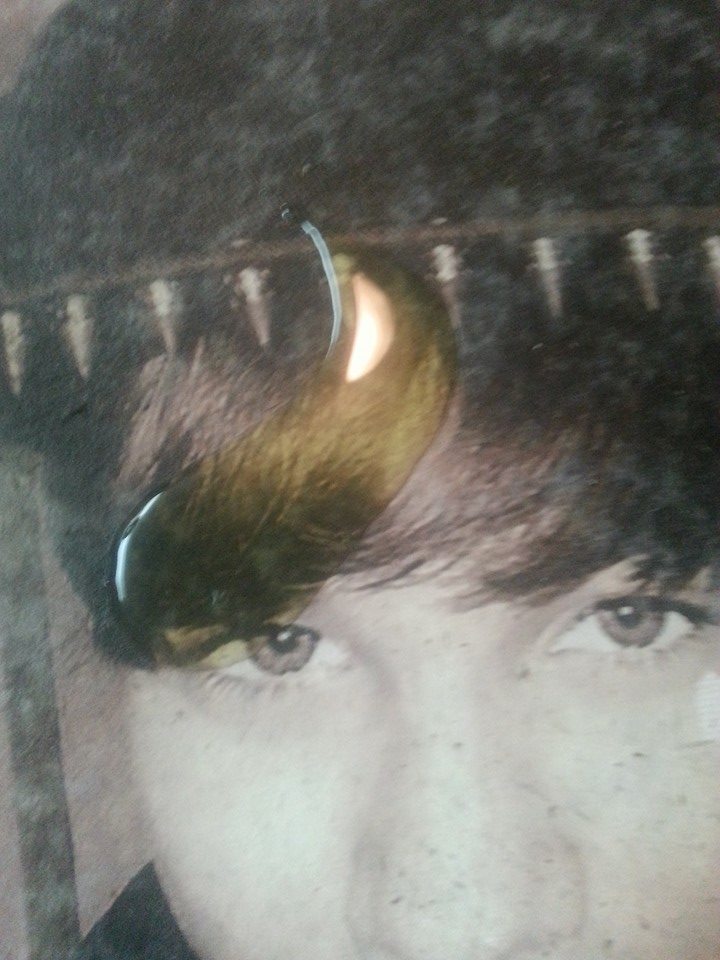
Step 4: Spray the now dried paper with water. This works best if you work in sections instead of soaking the entire canvas. I used a spritz bottle with water. You can also use a wet sponge or wet rag….

…Begin rubbing with your finger. layers of paper will start to peel away. Be very careful in this process. Peel one layer at a time away. It will look vivid when wet but as the water dries it will look more white again. I will show you how to fix that.
The more layers you remove the more vivid the photo becomes but on the same hand the more layers you remove the more apt it is to tear and leave a hole in the photo. So one or 2 layers is plenty! Don’t over do your rubbing!

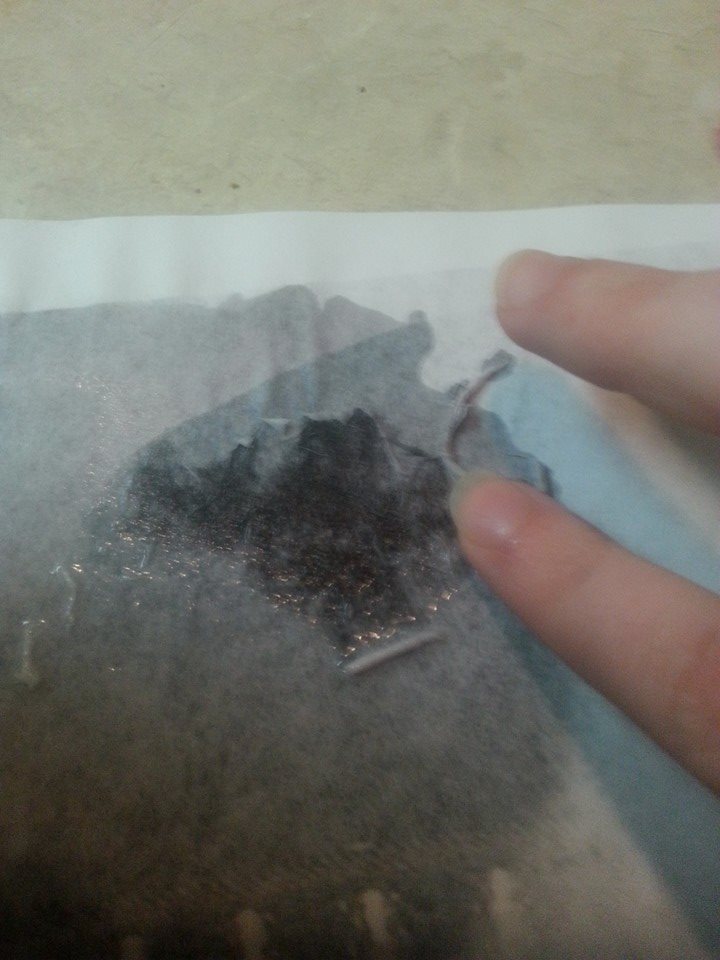
Once completely peeled it will still have a hazy white over it, let it dry, only takes a few minutes or use the blow dryer. Then use a dry rag or paint brush to brush off loose pieces of paper lint.
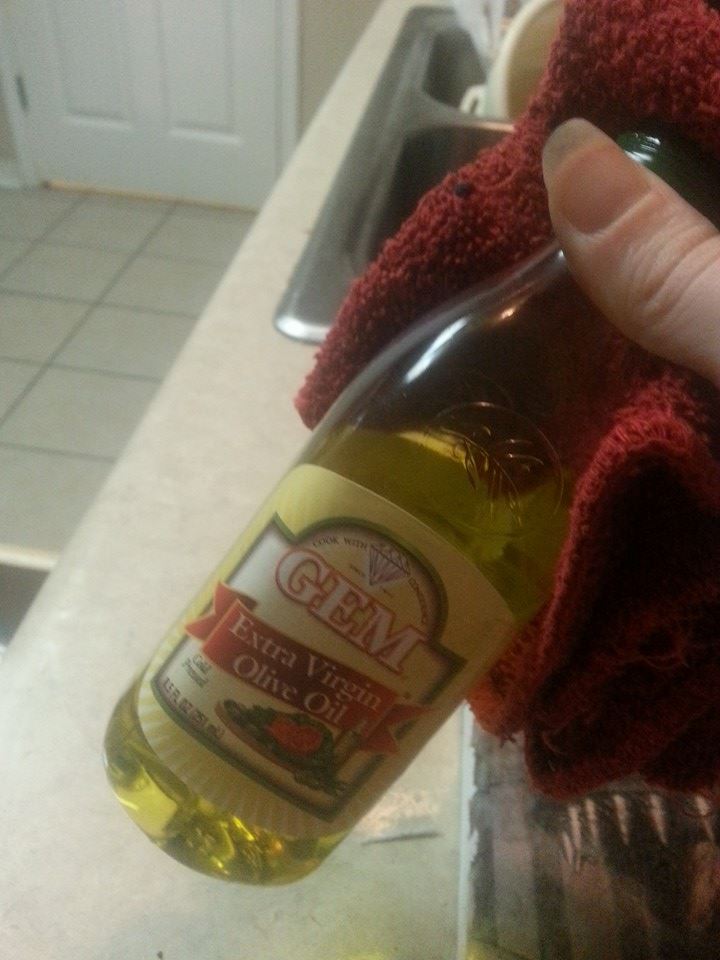
Step 5: Grab that vegetable or olive oil….
… pour onto canvas and use a soft cloth or brush to spread the oil over the canvas.
the oil will soak into the paper and make the colors stand out much like the water did. Only the oil will not dry up! Allow the oil about 1-2 minutes to saturate the thin layer of paper.
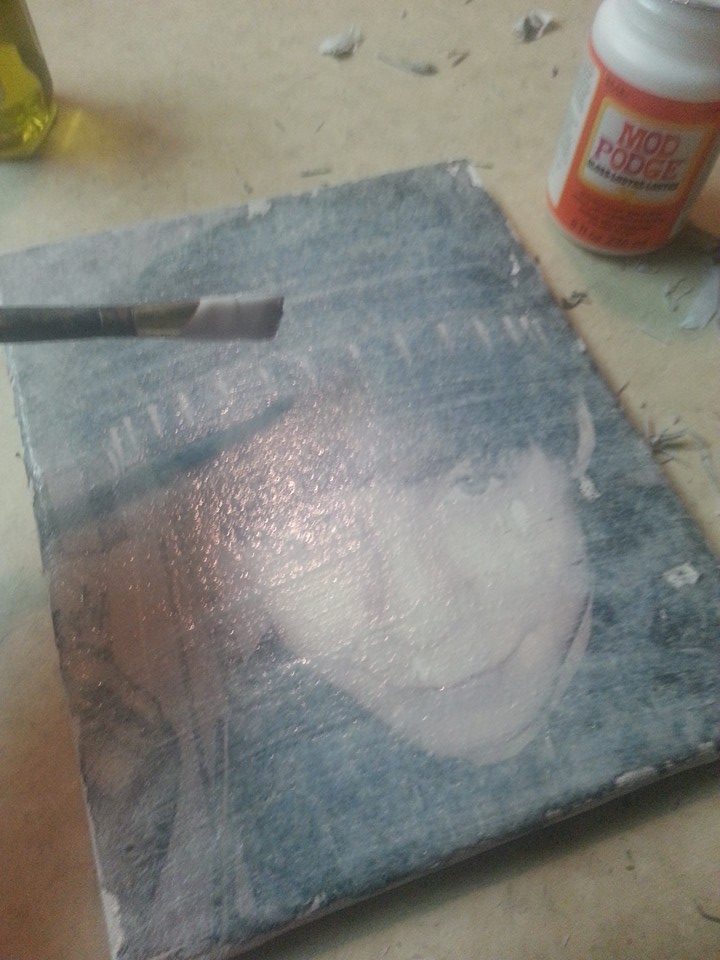
Step 6: After oil has had a couple minutes to saturate go over the entire canvas with modge podge. The modge podge will mix with the oil but don’t worry. It will still dry and the oil will still stay within the paper/canvas.
You can use a paint brush to create paint strokes in the modge podge for a faux painting if you wish.
Then allow 30-40 minutes to dry. The surface my still have a slight greasy feeling after it dries but I have had my others on the walls for a few months and they are completely dry and touchable.
I have not hung This one yet but here is his sisters photo’s. A couple of them transferred so flawlessly I had to purposely rip pieces away for the raw look I was going for.
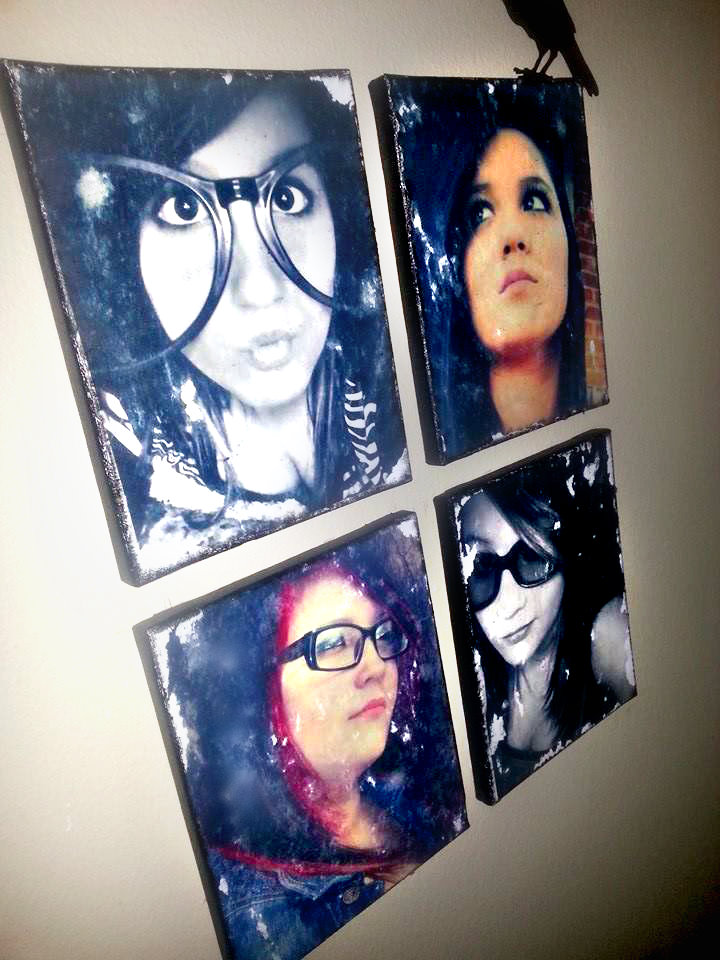
I painted the edges of the canvases after transferring but that is a personal choice. Completely optional.
So there you have a easier way to create these beautiful pieces of art!
